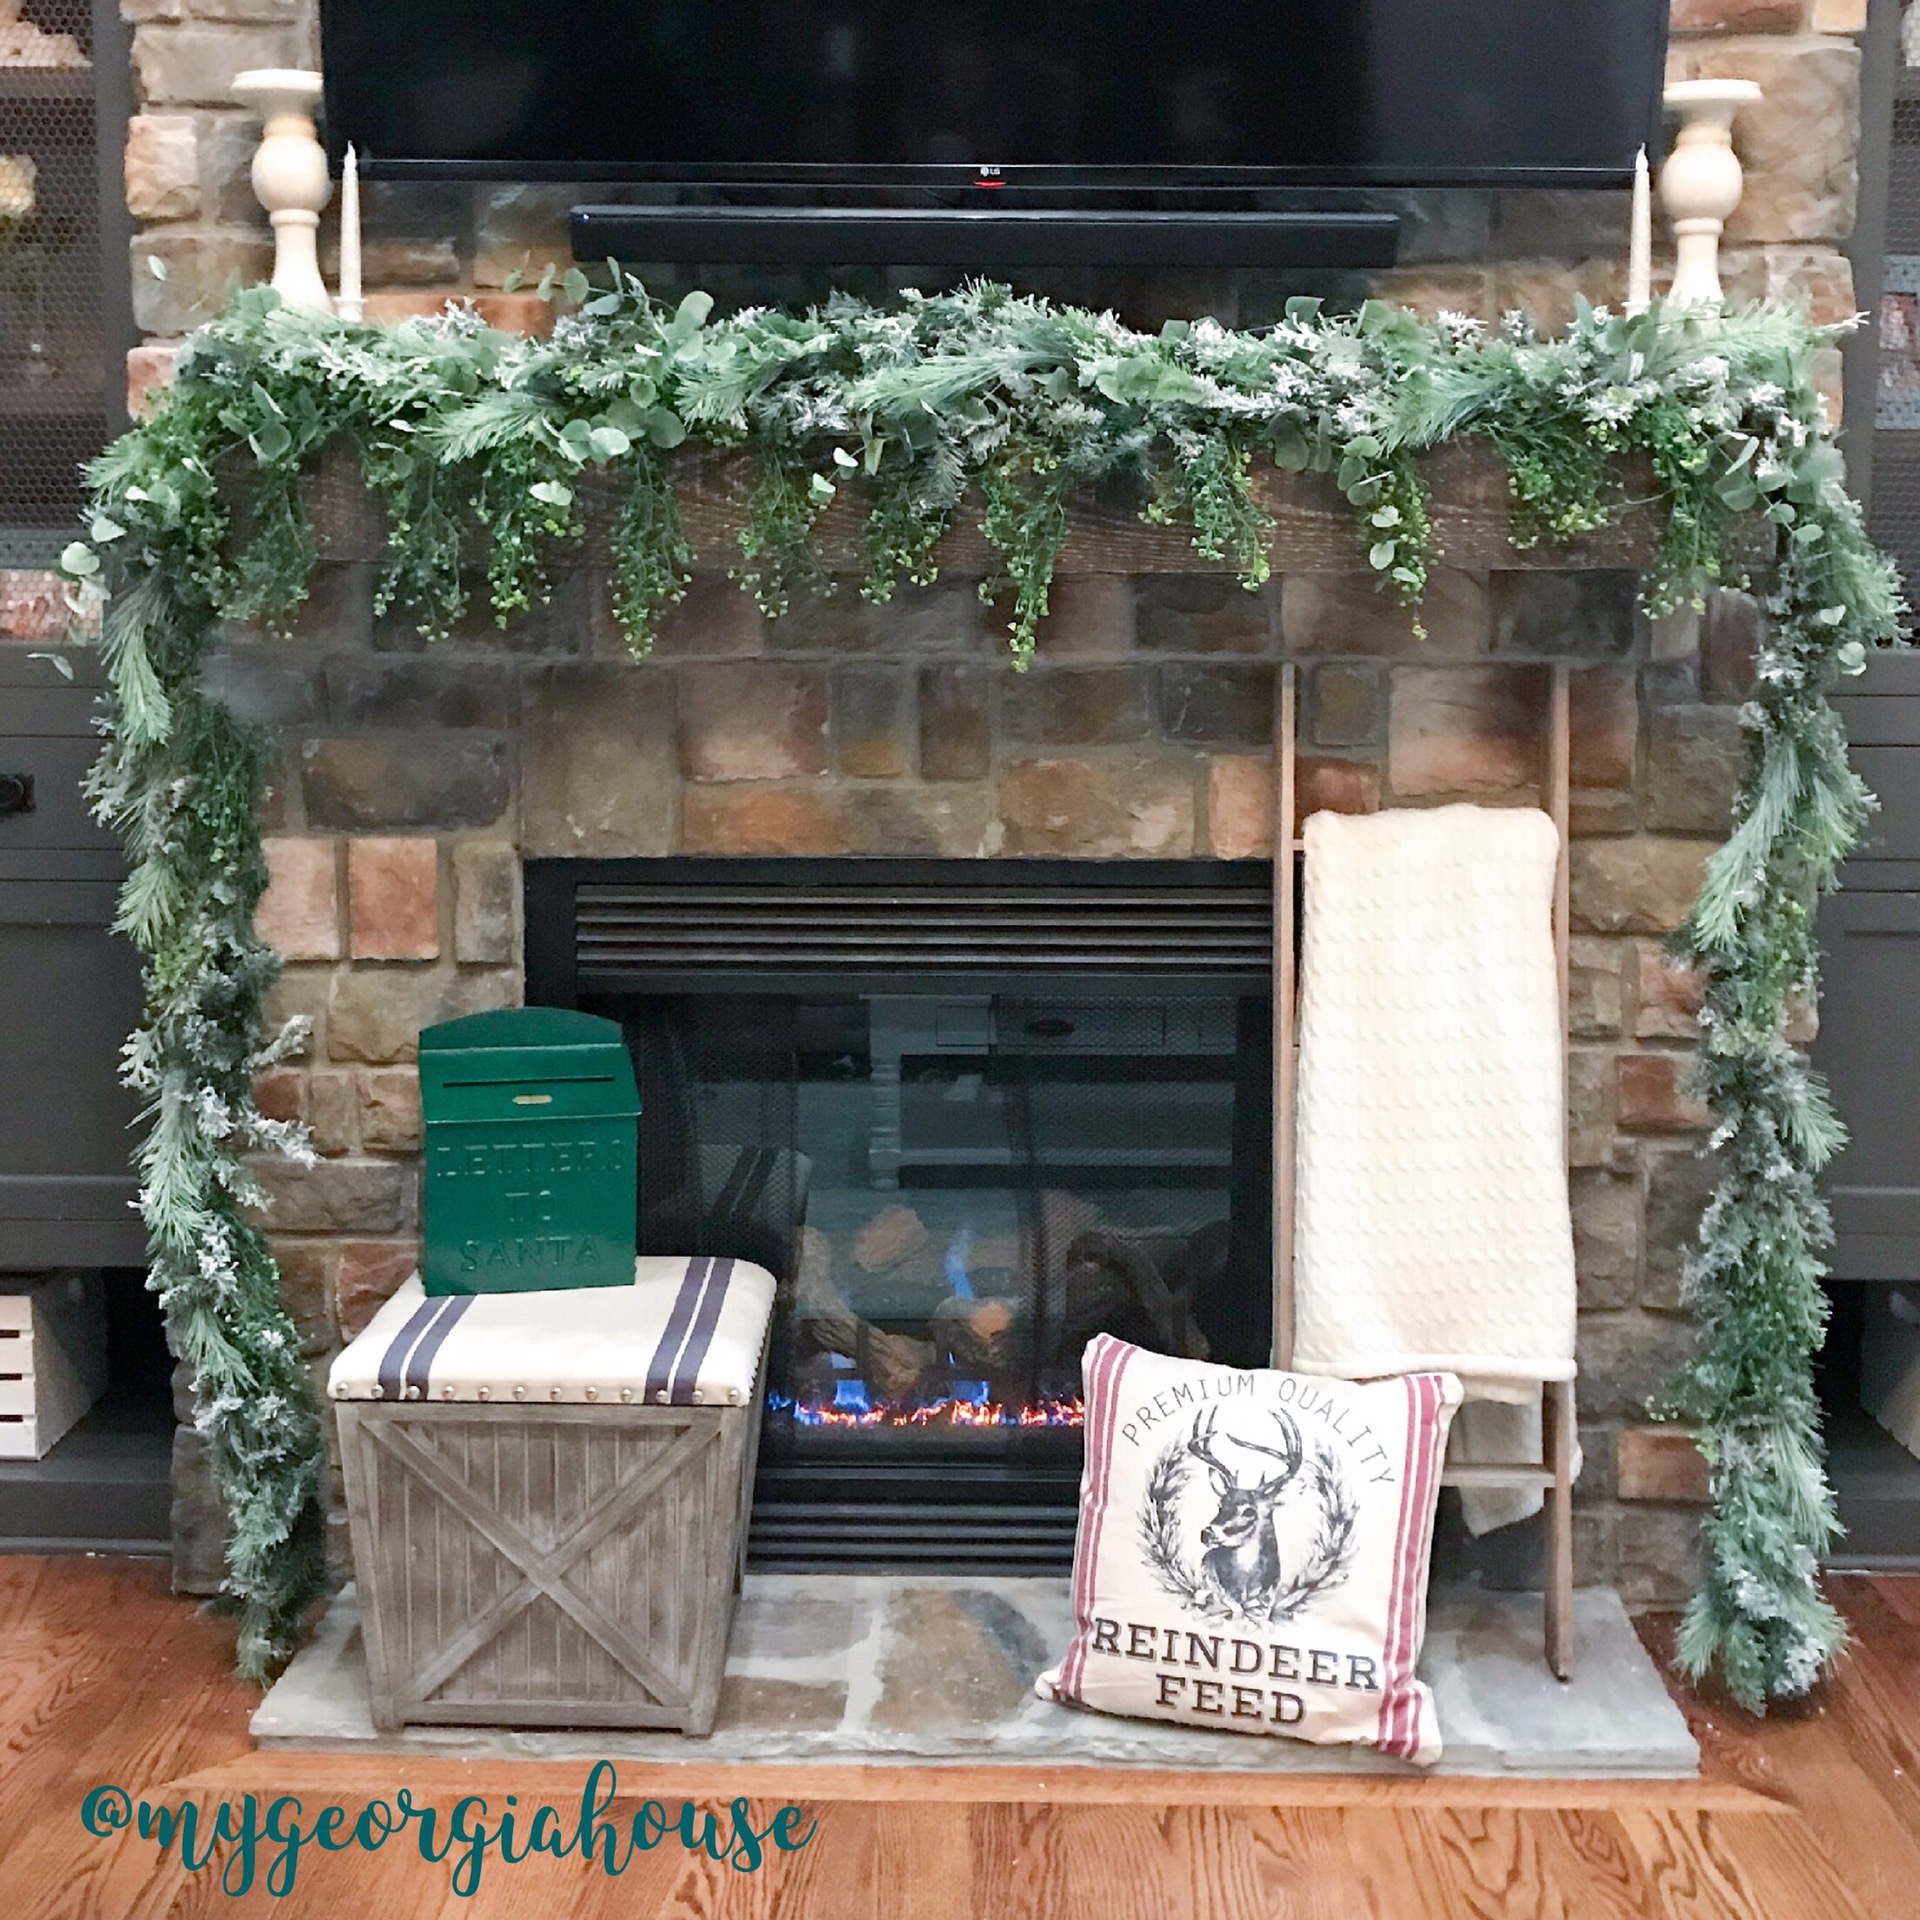
I was inspired by the live garland I bought last year at Costco. I wanted to recreate the same textured look with faux pieces that had more of a winter-y feel.

I used flocked garland and filler pieces that had glitter and ice effects.
The supplies needed for this project are easy to gather and would cost comparably to a similar garland. Garland can have a huge range of prices from $10 to $100’s.
The quality and look also varies so I wanted to create a full, textured garland for a reasonable price.
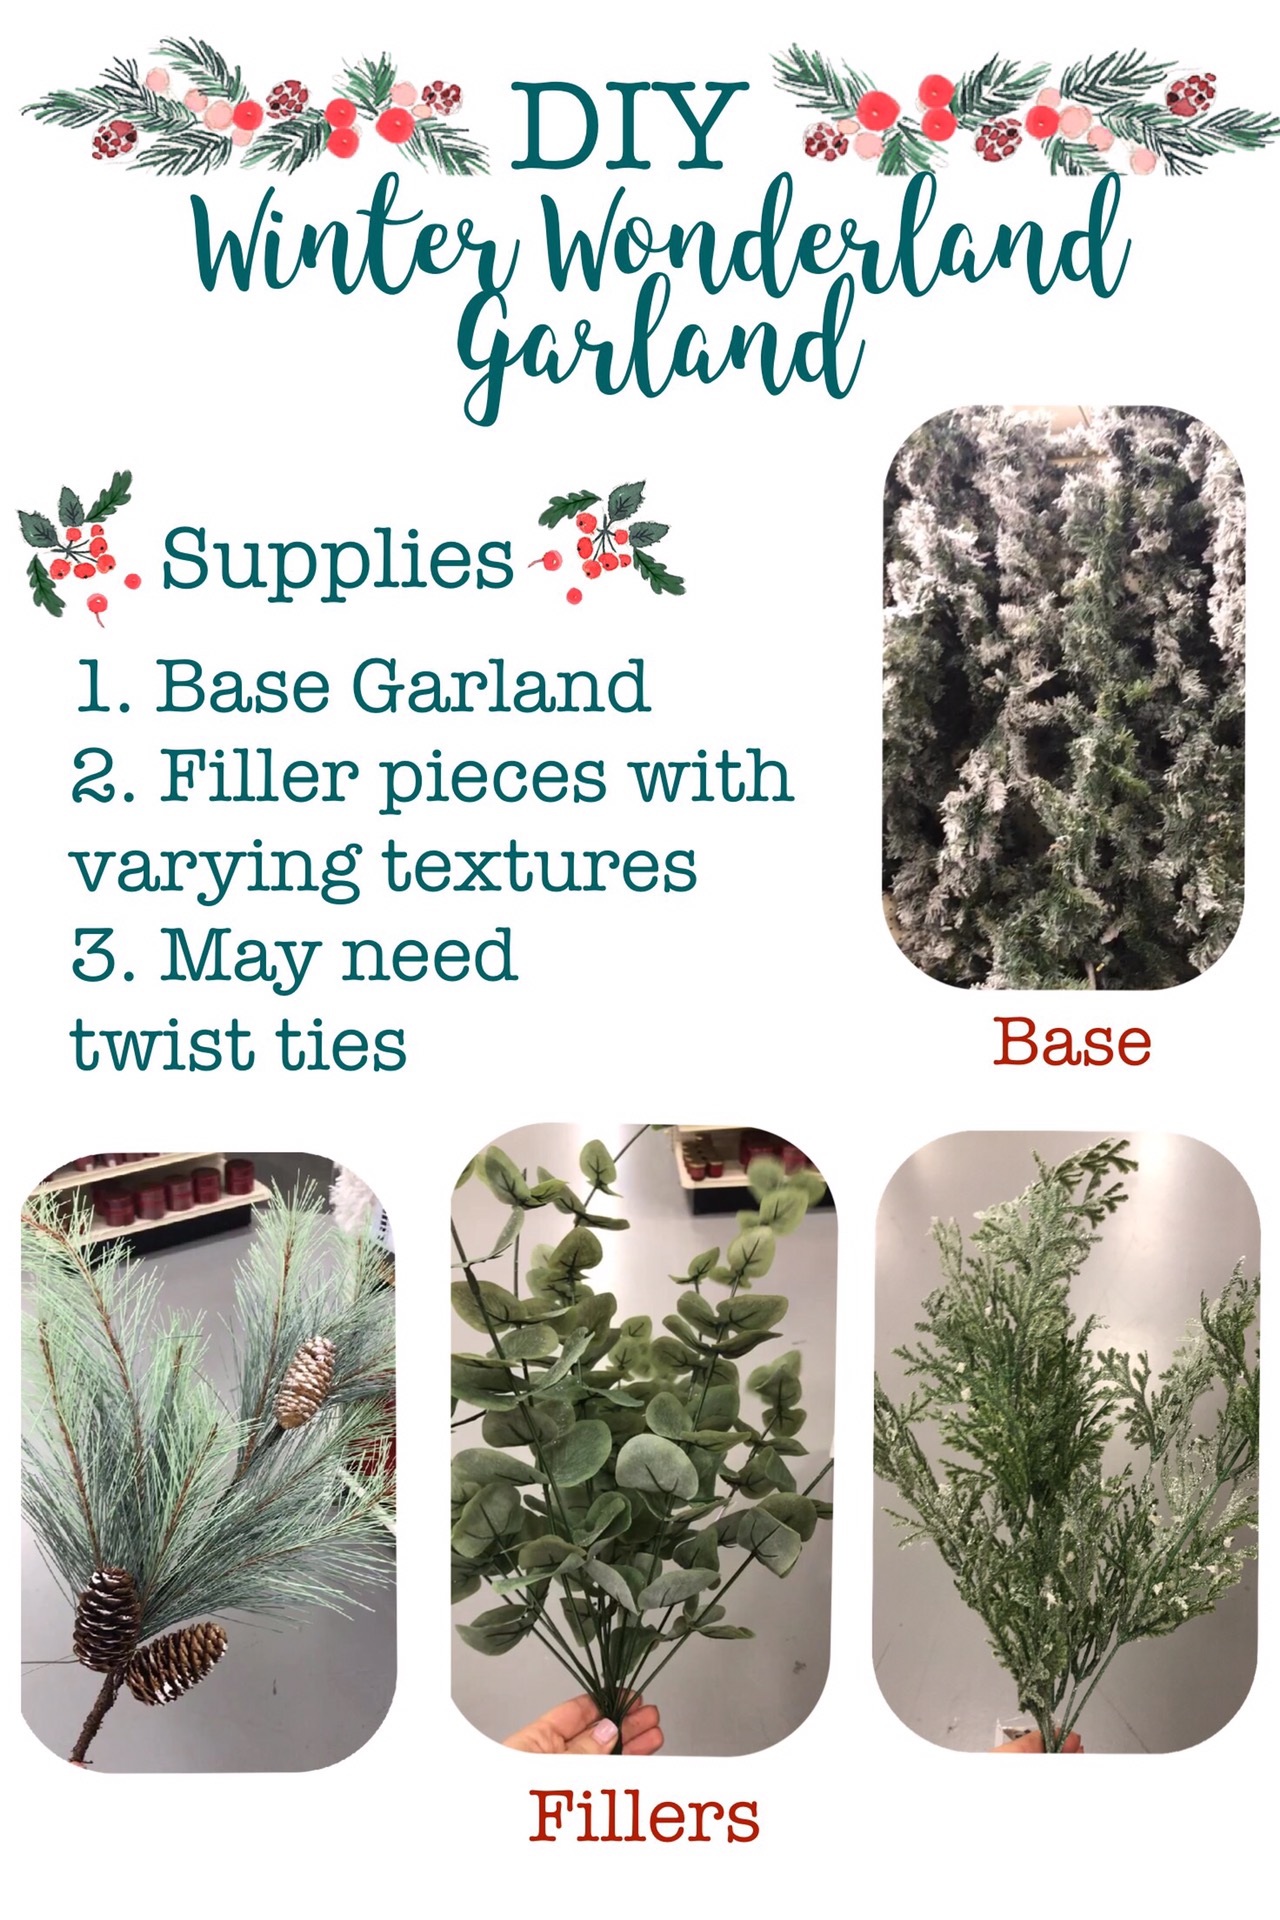
I bought all my supplies at At Home store, but similar products could be found at any craft store. (Hobby Lobby, Michaels, Joann’s)
I started with the flocked base garland. I chose to use no lights on it because the plug on my mantel is hard to access. I may add battery powered twinkle lights, but it’s always an option for electric lights as well. For the same product with lights at At Home it would cost $10 more.
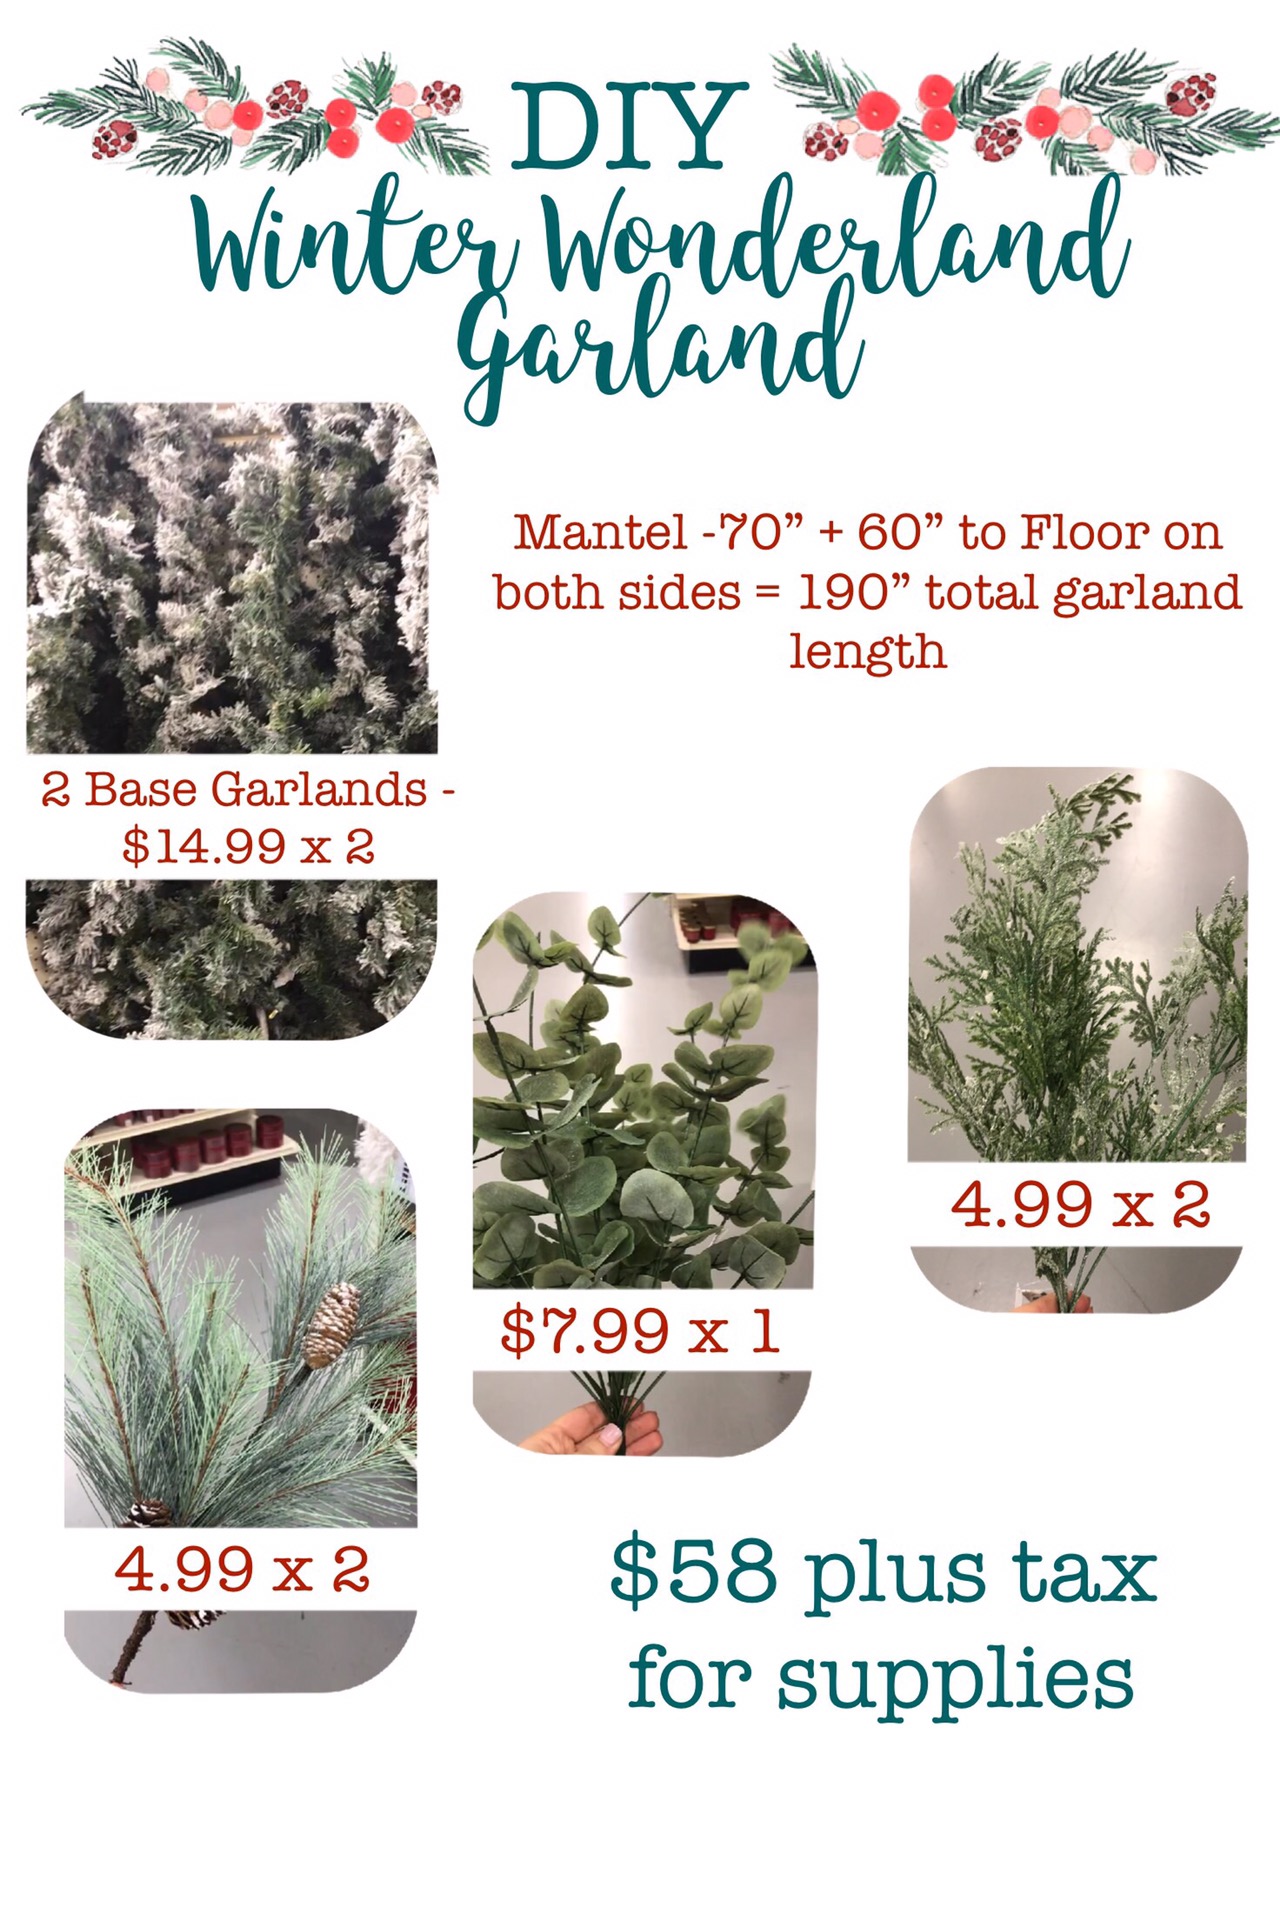
All in I spent $58 for supplies. You may be able to find a garland for that price, but keep in mind you may need two to create the length.

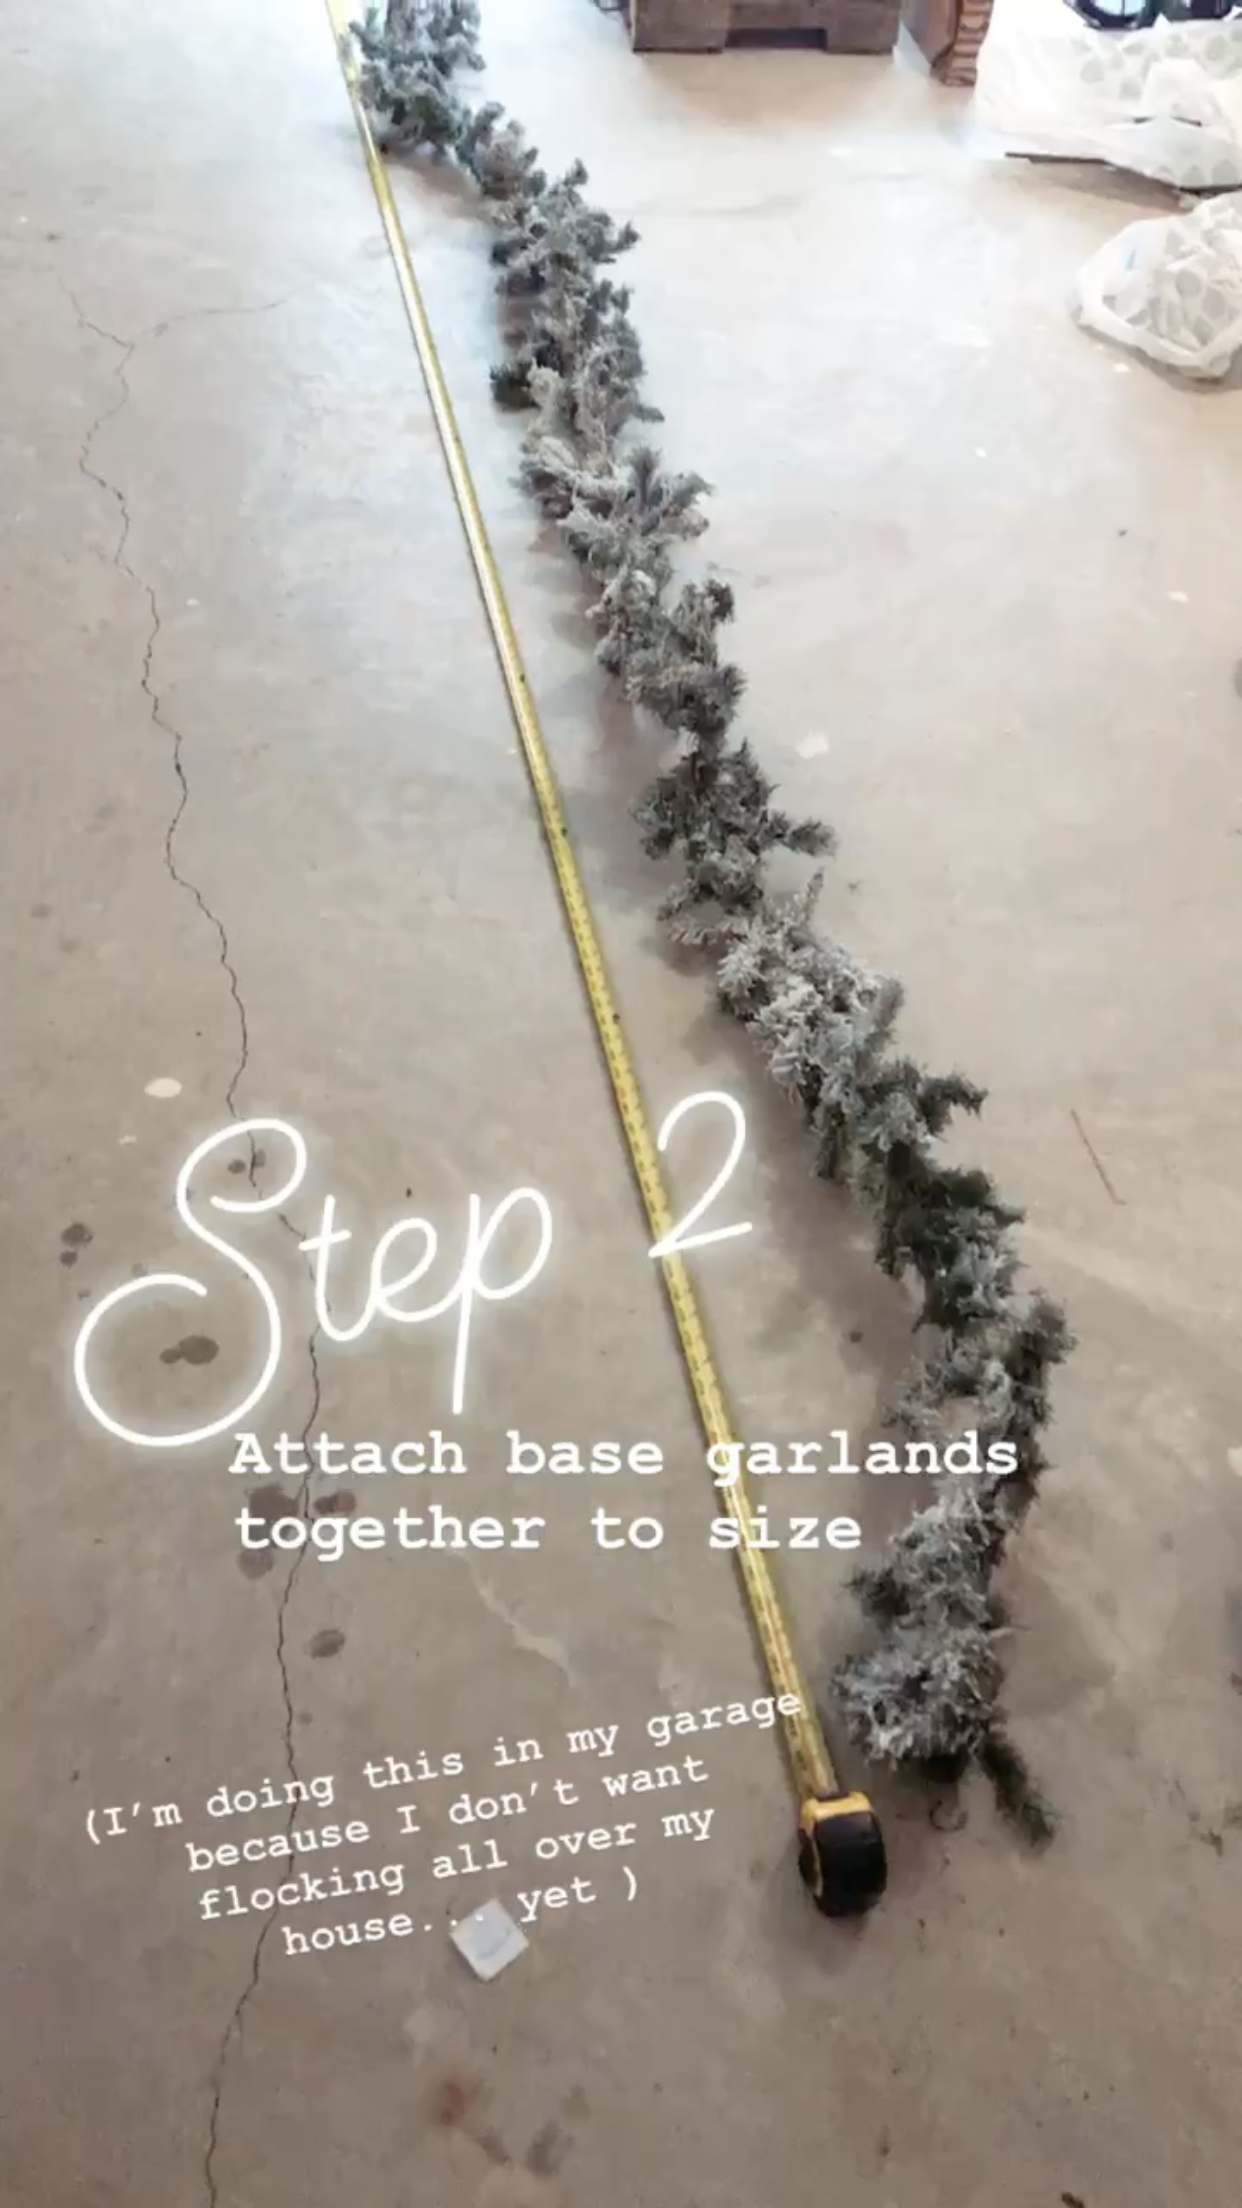
After measuring, assemble the garland. Start with your base pieces and attached them together in the middle. Mine had a wire type base so I was able to twist some branches together to attach. If it doesn’t have a wire base use a twist tie in the same fashion.
Next start adding in the filler. I deconstructed the pieces one by one.
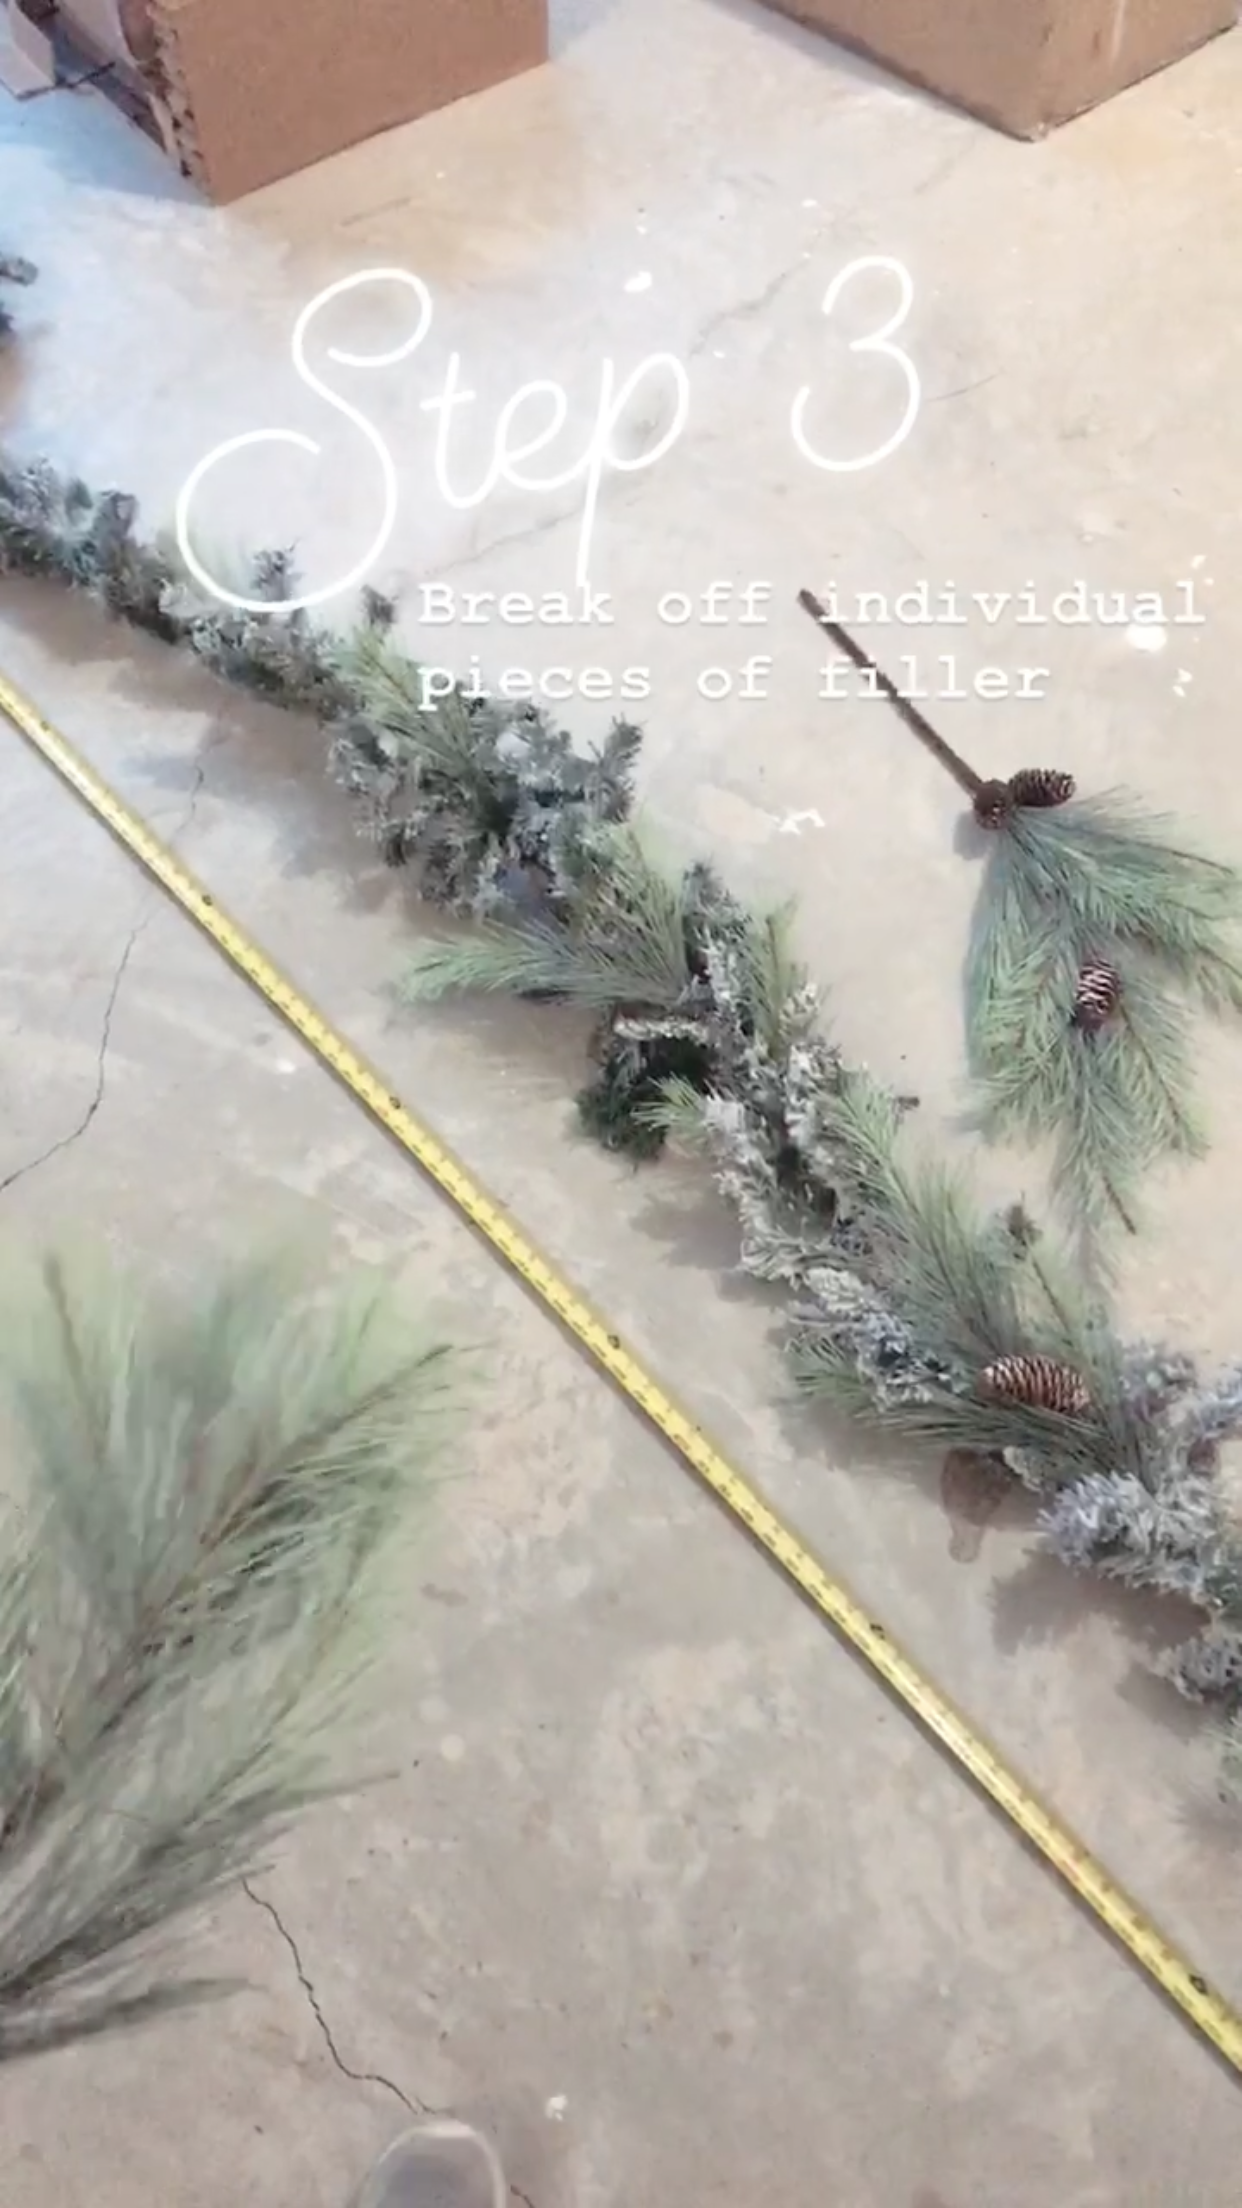
I wiggled the pieces to loosen it and used wire cutters to clip it if necessary. 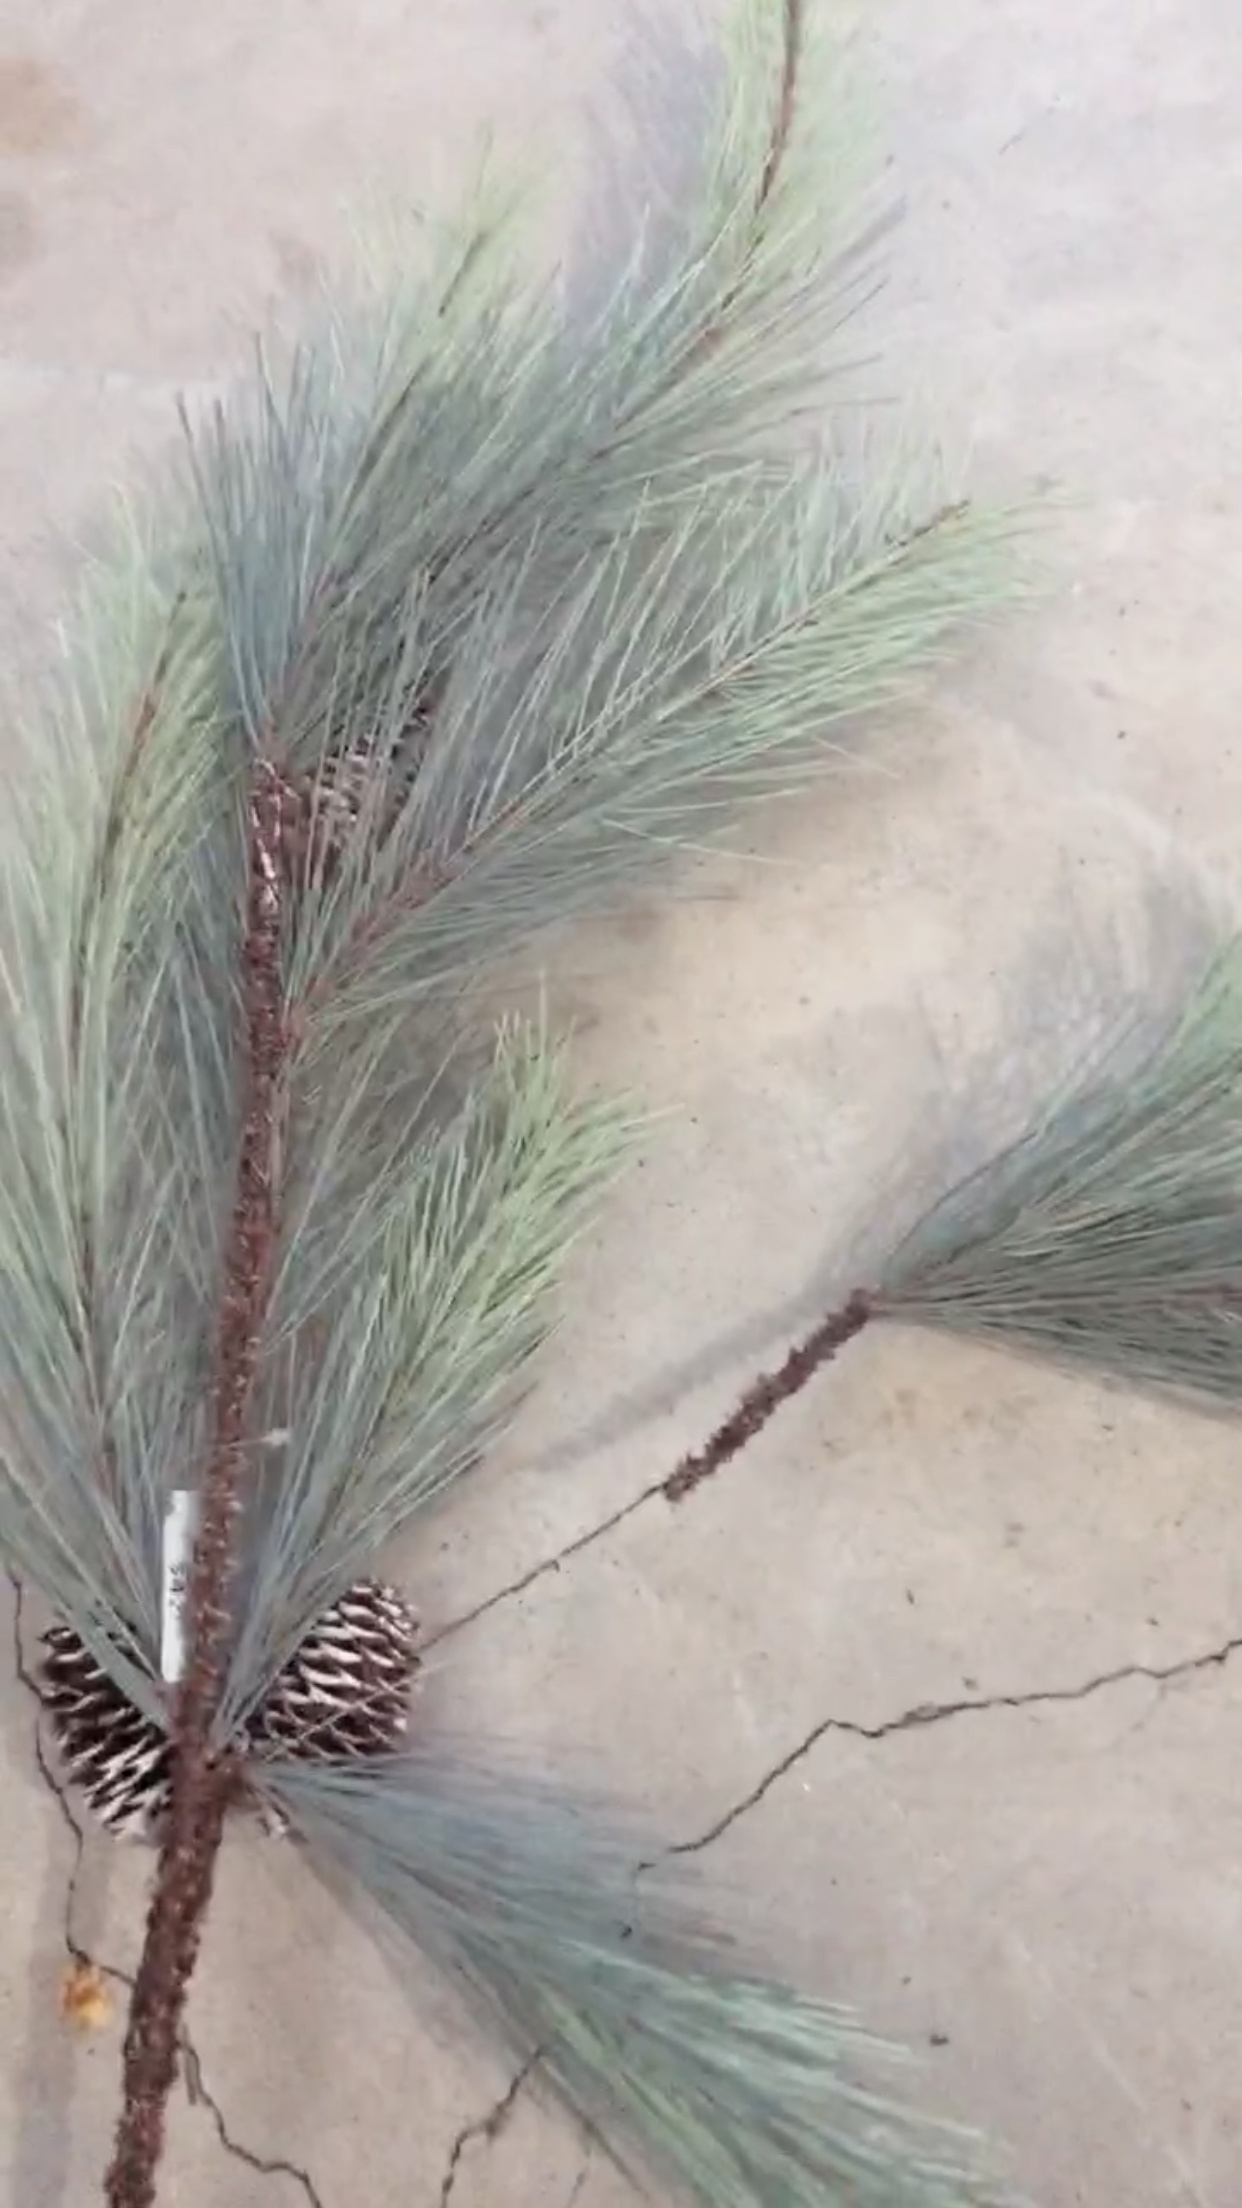
Next, I stuck the filler piece into the garland and used the garland itself as a twist tie by wrapping it around the filler piece. You could also attach with the optional twist ties.
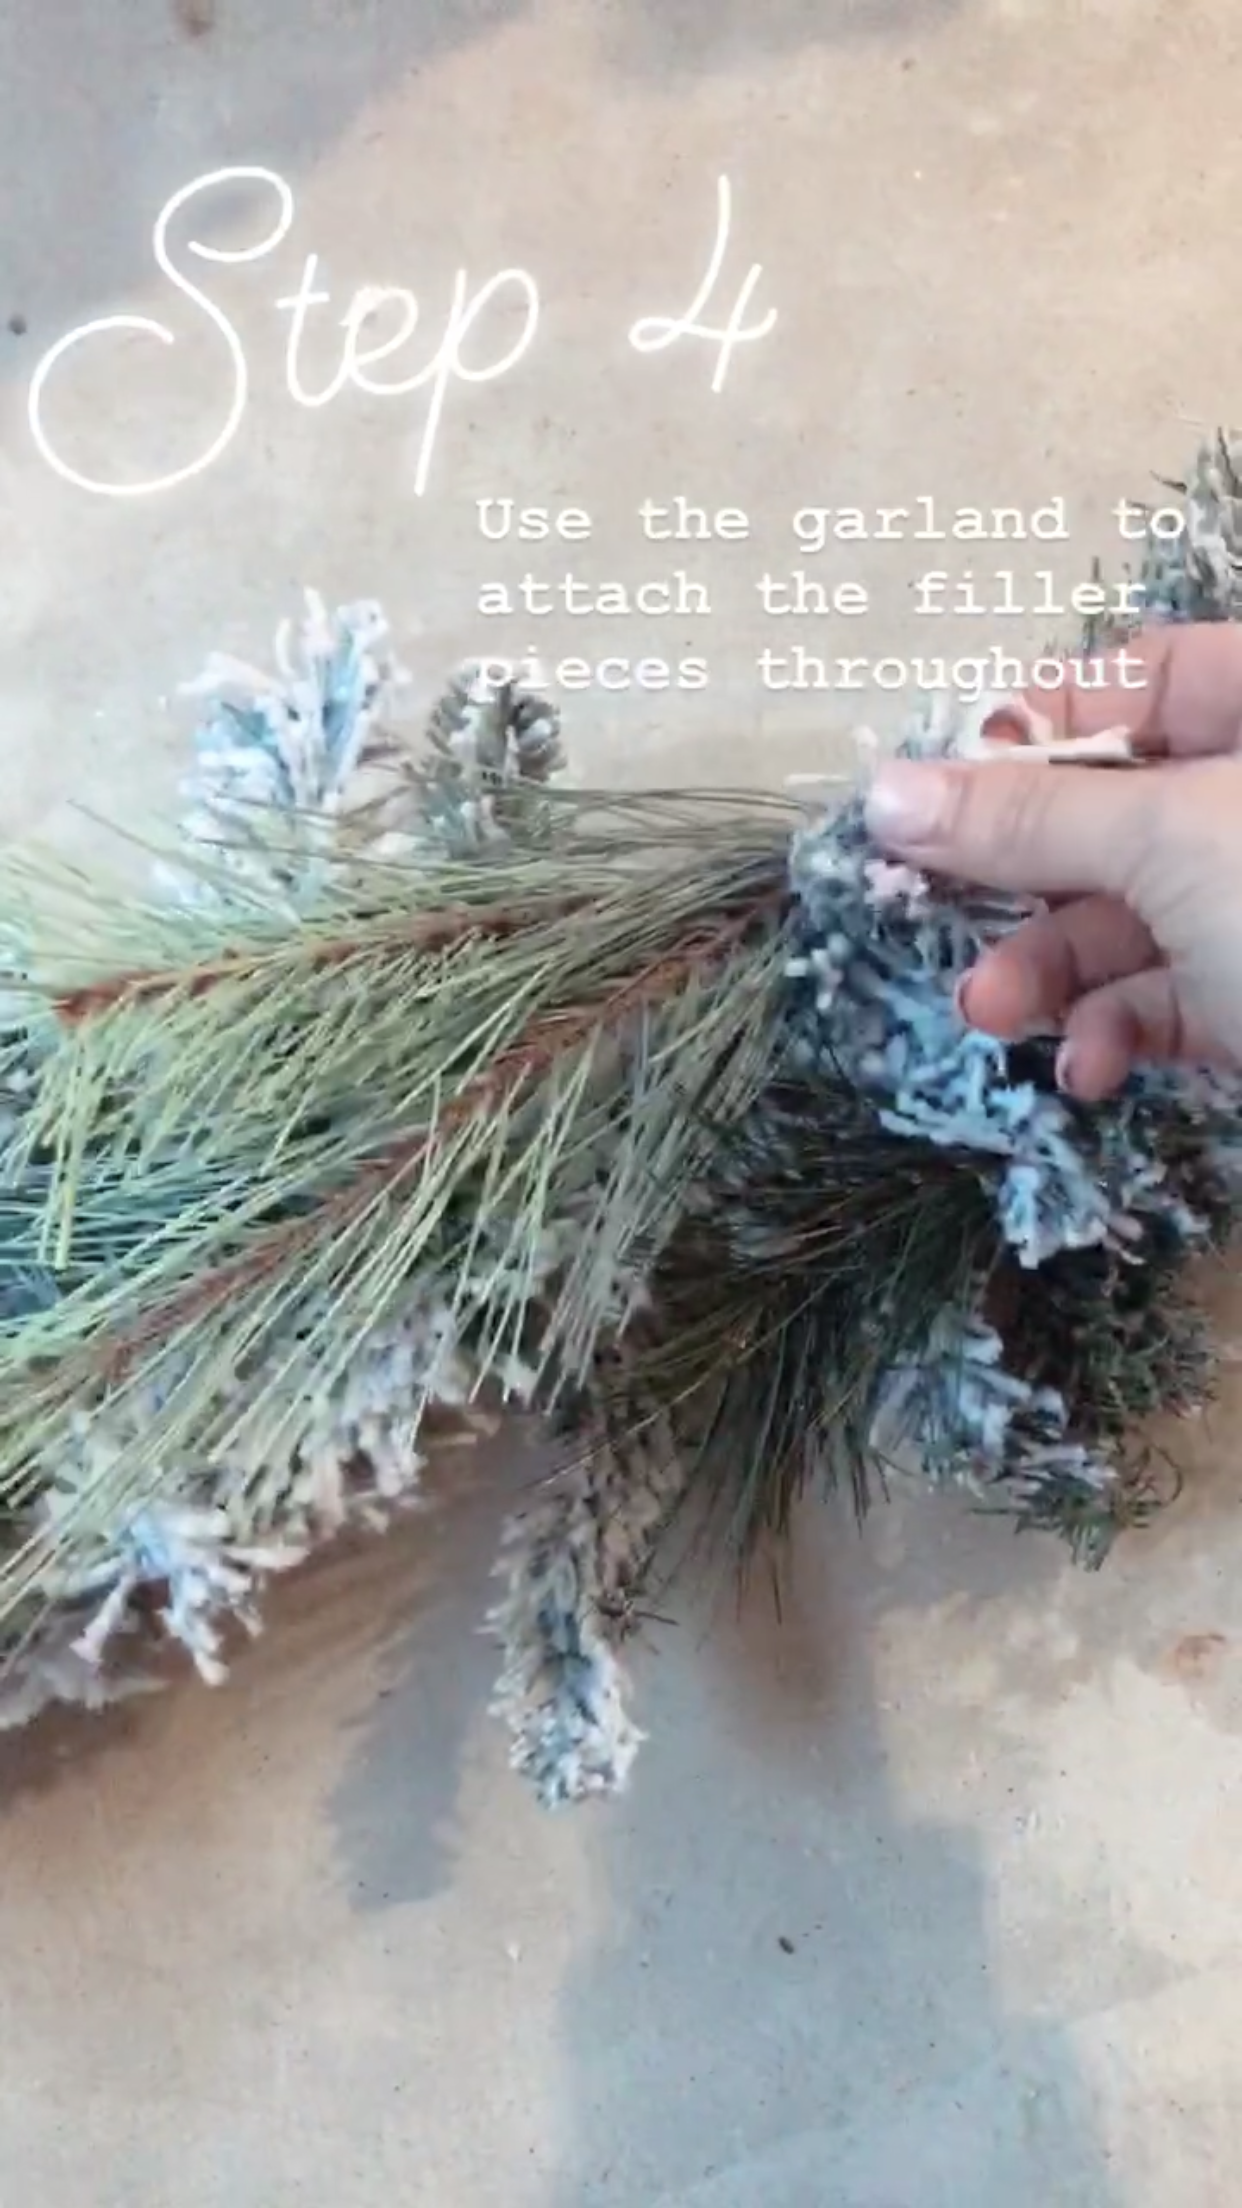
I continued to do this down the entire garland and paid attention to the flow of the filler pieces to go down on each side of my mantel. I added the video tutorial to my Instagram page in the highlights so feel free to refer to that as well.
That’s it though! Super simple and beautiful result!