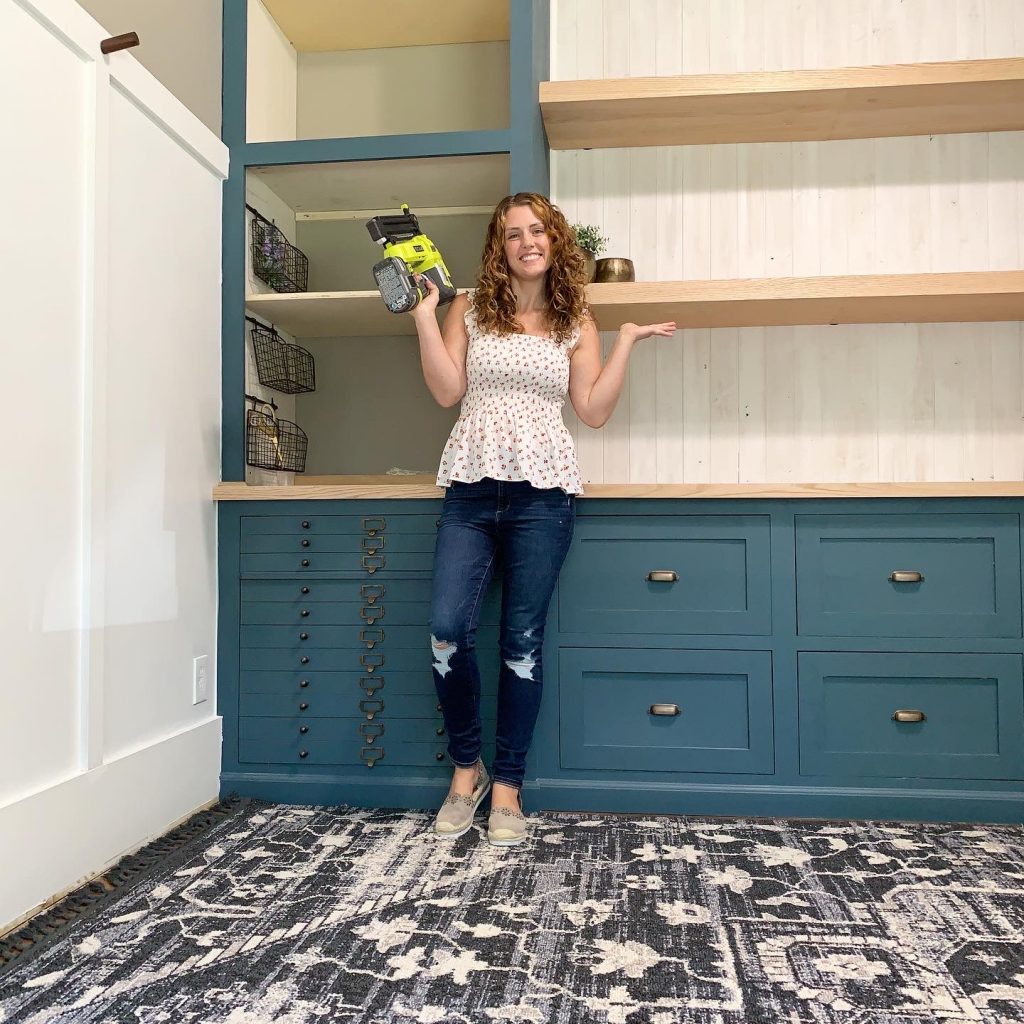
The Shop Girl
In a past life I built custom cabinets for clients. It started when my book keeping job for our family construction company didn’t keep me occupied. My dad asked me if I wanted to help him in the shop, and boom I fell in love. My dad is an expert carpenter, and for years was a hobby builder on the weekends. I remember hearing the sound of his tools coming from the basement, and loving how creative he could be. When I was in middle school, he retired from his corporate job to start his own venture. I didn’t understand how much of a risk this was for my parents financially at the time, but all of a sudden my Dad was around a lot more.
He taught me a million things about construction and design. I got to spend my high school and college years getting invaluable experience. I will forever value the time we got to spend together during my days as the shop girl. I got some weird looks during my many years in construction, but I never let being a girl in a mans field slow me down.
I enjoy filling a space with function and beauty. Custom cabinetry is an art form. Wood is such a wonderful medium to create with because it is strong and durable; yet, malleable with the right tools. Cabinets are a staple in most American homes. They can be extremely ornate, or in recent years a more traditional shaker style is popular.
I decided to build some cabinets for my home office that needed an organizational overhaul! They are going a shaker style with inlay cabinet doors. This essentially means my doors will go to the inside of my face frame, but you can also build overlay doors that sit on top. The face frame and doors would all be constructed the same just with different measurements and hinges. Other styles of cabinets can be built differently for example frameless is a box that doesn’t have a face frame.
Start with Design: What is the goal for the cabinet?
My goal list for our office is below:
- file storage for work paperwork
- file for personal paperwork
- file for each kid
- a hidden spot for the printer
- storage for art supplies
- a craft area for my non stop crafty kiddos
- space to hang things as people came into our home
- display area
I am writing the post backwards so I labeled how my cabinets turned out for my storage goals.
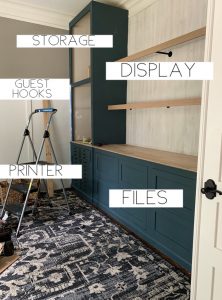
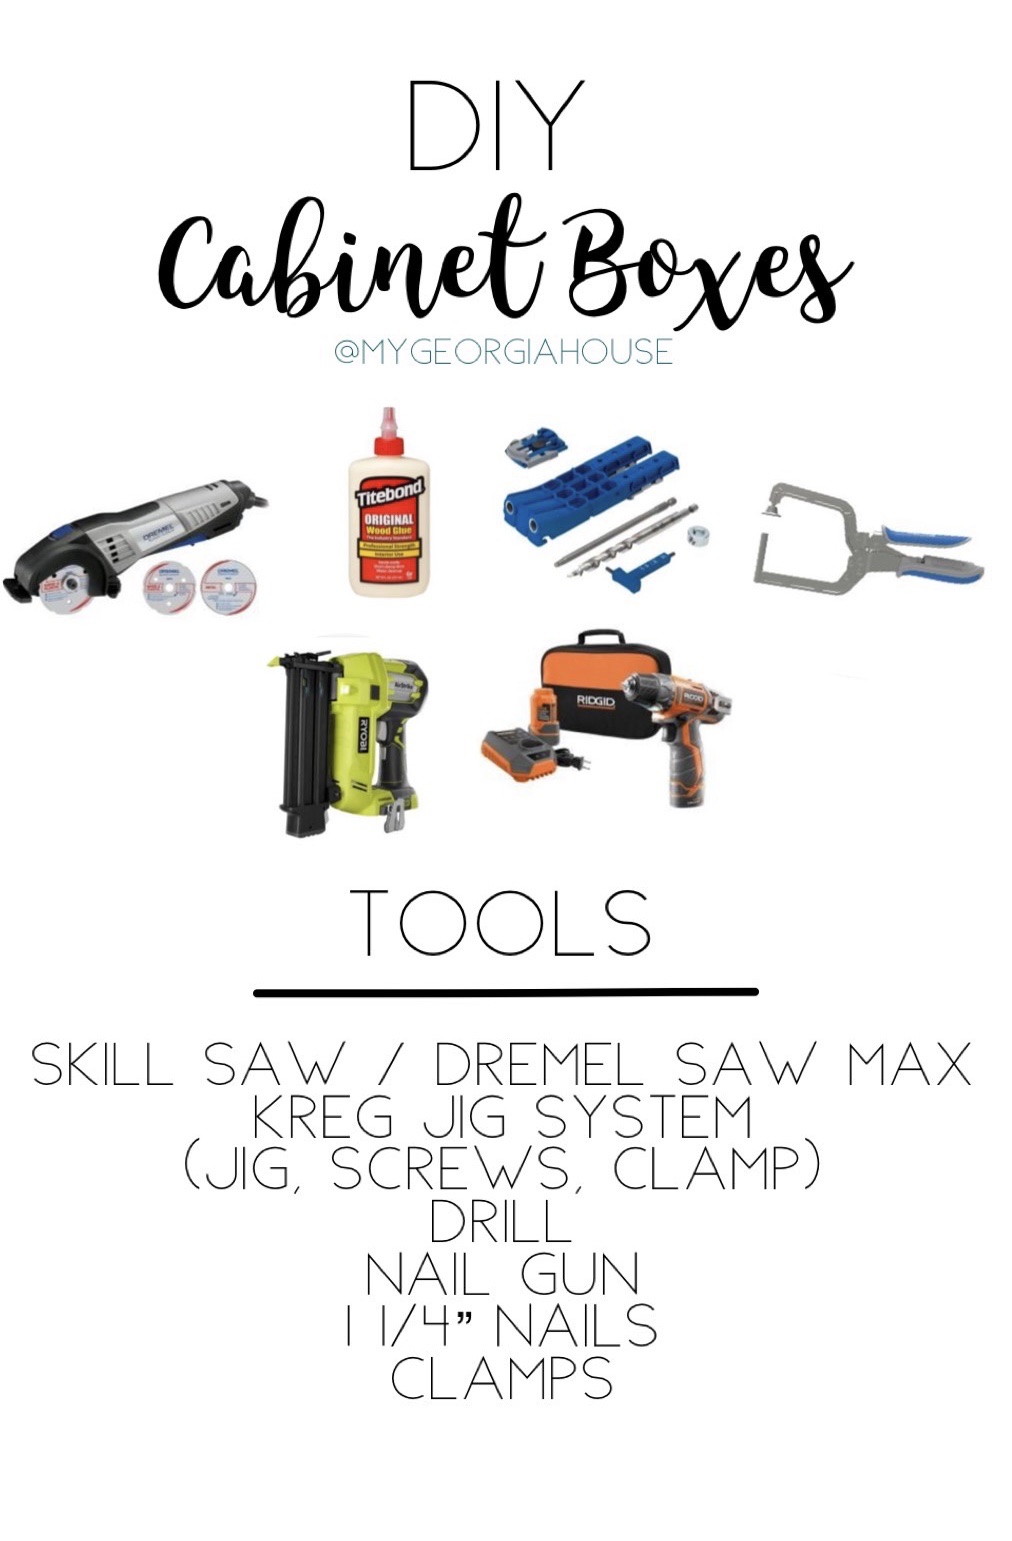
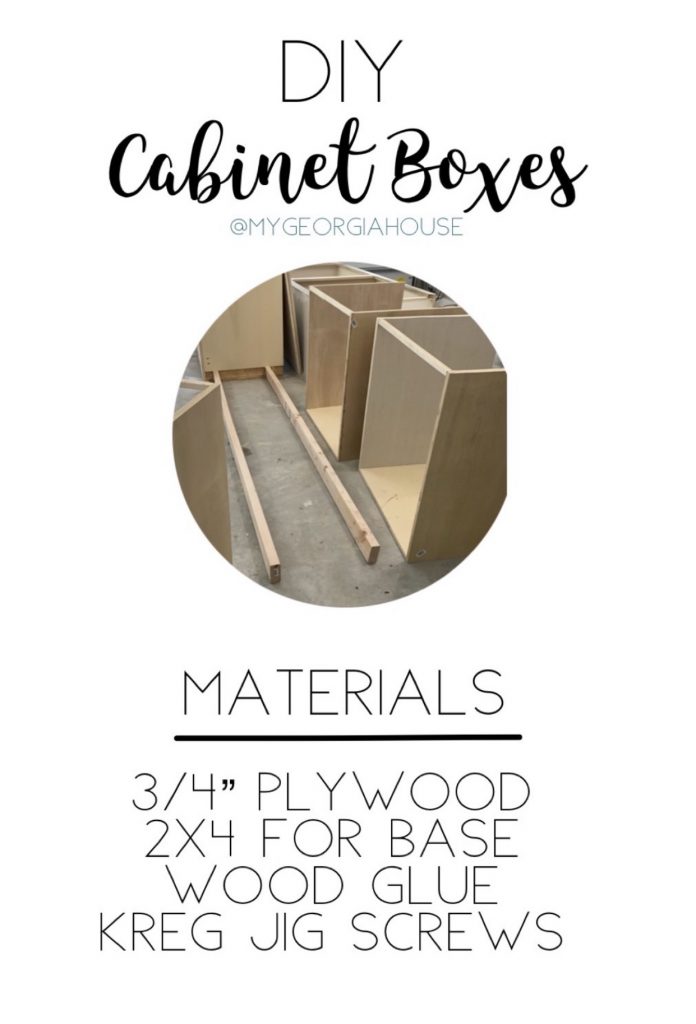
Cabinet Box Breakdown
A box is the base of the cabinet or carcass. I use 3/4″ plywood, and then attach a face frame made of solid wood to finish the front. The back is 1/4″ plywood. The final product will have doors and drawer fronts that I will explain in a later post. I use Kreg Jig holes to build the box. I’ll show you how step by step below.
When you go to the store to buy plywood it usually either comes in 4’x8′ large pieces, or it is available in precut pieces measuring 2’x4′. I did buy mine already cut into 2×4 pieces because its much easier for me to handle, lift, and cut. These pieces will allow for a full depth cabinet, the only limitation is the height of the cabinet that would require a bigger piece of plywood if it is over 4′.
You can easily Purchase plywood from Home Depot online and pick up in store.
Most hardware stores will cut plywood for you one way so you could have your depth cuts made like that. (Mine discontinued this service during the COVID-19 pandemic) I used my own tiny saw to make these initial cuts and it wasn’t the easiest thing. In the future I think I need a bigger saw to cut through plywood, but my Dremel sawmax did work. A skill saw or table saw would be ideal for this step.

Layout The Boxes
I drew marks on the wall and visualized how my boxes would look. Where possible whole measurements are easier to work with. I laid out two 36” wide boxes on the wall and measured the difference to get my middle cabinet. You could experiment with different sizes or you may be locked in with size.
Cabinet 1: 36” wide
Cabinet 2: 78 3/4″
Cabinet 3: 36” wide
The upper cabinets can be their own layout and design (above the counter top), but traditionally the cabinets are in sections floor to ceiling. I didn’t stray from this so my two upper cabinets are also 36” wide leaving the open middle section I layer addd the floating shelves at 78 3/4”.
I allowed for 1/4″ on either side of my cabinets next to the wall to make sure they slide in. You can cover this small gap with trim later.
Scale is an important question and something you must figure out before cutting anything. My ceilings are really high and the room is wide. If your room is smaller be sure to consider what measurements work for your space.
The depth of the cabinets will determine the initial cuts on your plywood. I want my boxes to finish at 24” deep so all my plywood will need to be the correct size. I will build a face frame in later steps to finish the front of the box. My wood for this is 3/4” so when I add that to my box it should be 24” together. My plywood will all need to be cut at 23 1/4”. Deciding the materials for steps ahead affect your measurements so you need to think about the front finish.
Uppers are usually more shallow, typically anywhere from 12”-16” in depth. I did the same depth all the way up in here because I wanted lots of storage. Any depth measurements just need to account for the face frame like I mentioned earlier. There are no rules to what size your cabinets can be aside from the limitations of plywood.
Our ceilings are 120” tall so my boxes can’t be any taller than 116” to ensure it can be tilted up into place. Crown molding can cover a gap between the ceiling and cabinet. Most base cabinets are 36″ with the countertop.
When I account for the 2×4 base (3.5”) + plywood box (31” )+ counter top (1.5”) = 36”
If you use the 2×4 base method you’ll need your plywood box to measure 31” tall.
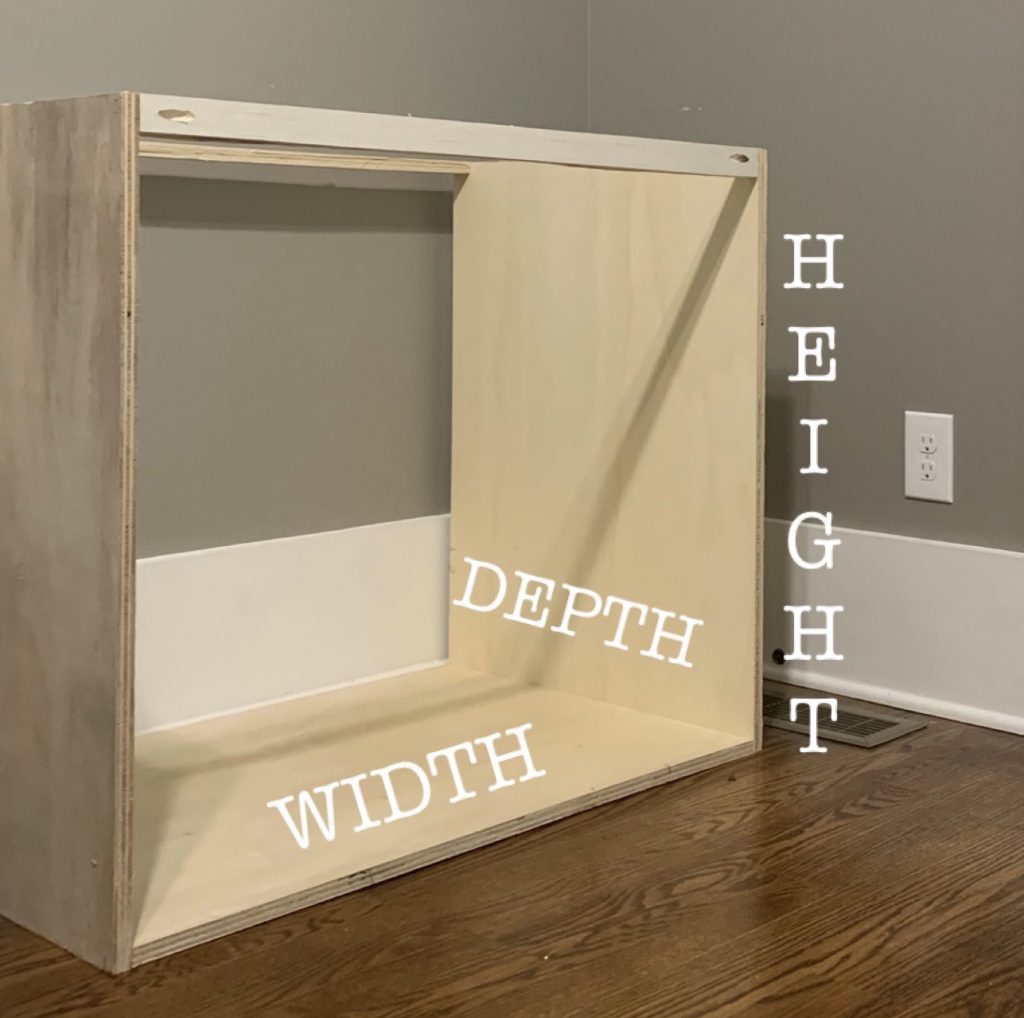
Let’s talk numbers!
My cabinet’s finished dimensions is going to be 36″ wide x 24″ deep x 36″ high. The plywood gets cut to the correct depth which is typically a finished measurement of 24″ on bases. For upper cabinets it is usually anywhere from 12″=16″. If you were to build a cabinet that finished at 24″ deep the plywood would all get cut to 23 1/4″ . The face frame added in later steps adds the 3/4″ back to the total measurement to finish at 24″
After the plywood is cut to the correct depth you can begin to make your next cuts. I want my cabinets to finish at 36″ tall with its countertop. The two pieces on the left and right of the box will need to be cut to the correct height. I use a method where I put my completed plywood box on top of a 2×4 base during installation to make leveling easy. To account for this base I deduct 3.5″ (2×4 measurement) + countertop (usually 1 1/2′) to get my measurement of 31″ My boxes will all be 31″ tall before they get a 2×4 base or countertops.

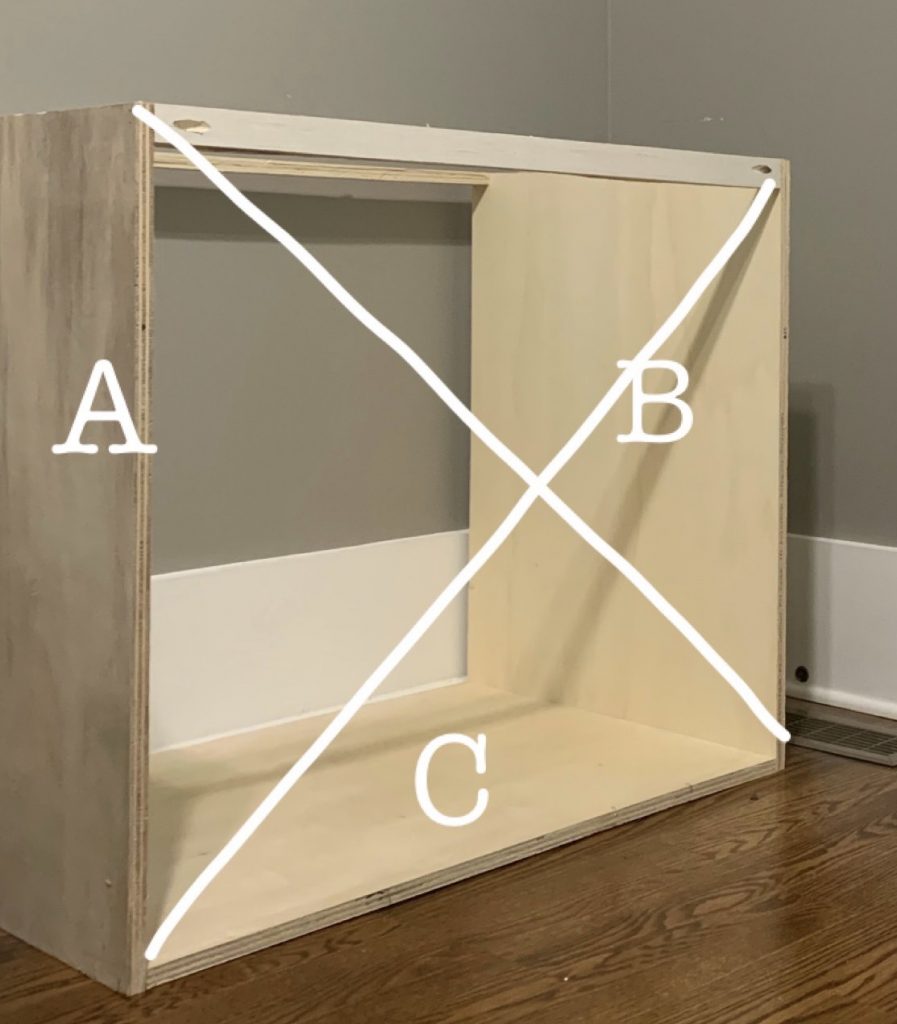
The cabinet width is determined adding three pieces together: A + B + C.
So therefore the method to get the cut measurement for piece C would be the formula (A+B)-Total= C
My measurements fill in the formula as follows (3/4″ + 3/4″ ) – 36″ = 34 1/2″
Cabinet making is lots of repetitive math. Once you understand the formulas they repeat box after box. For my home office project I built a total of 5 boxes for the bases and two for the uppers.
My middle cabinet looks like one large box, but I decided because it was quite wide (almost 80″) it would be so heavy and bulky in one box and less stable with less plywood. I usually wouldn’t make a single box larger than 48″. This isn’t a strict rule, but the larger the span the more chance for sagging and weight issues in a cabinet later in its life.
Below are my three middle boxes next to each other. The face frace is the wood in front of the plywood boxes. I lay out the boxes like this to ensure everything is working math wise. My three boxes should add to my total measurement of 80″ here.


Assembly
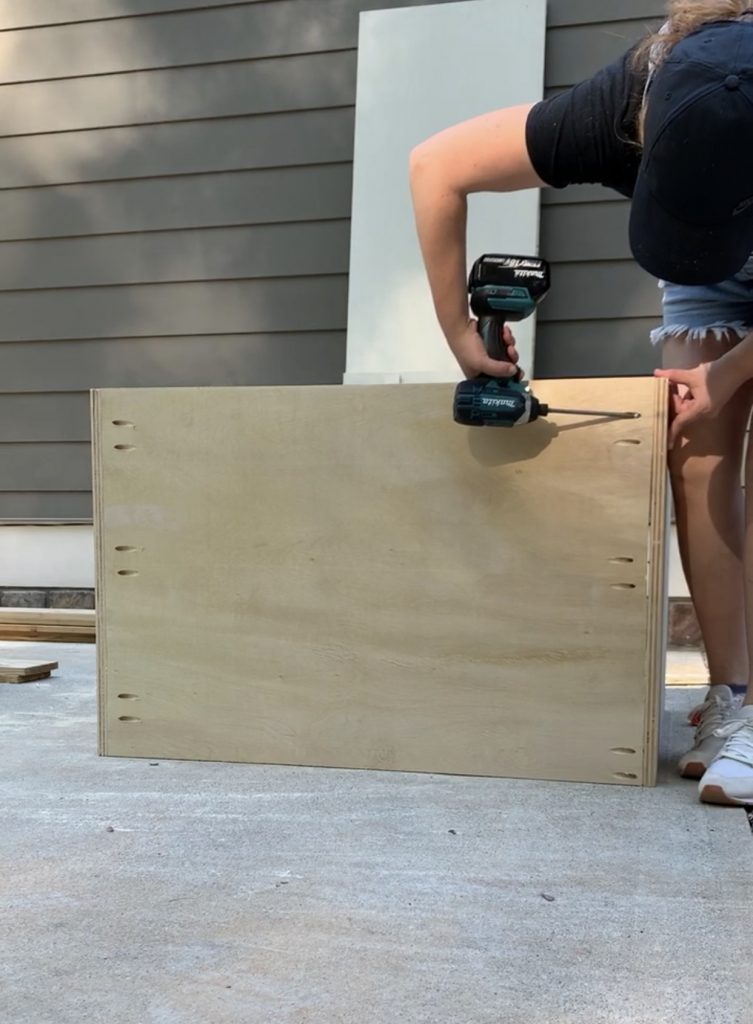
Assembly is the quick and easy part. You grab piece C and if you use the Kreg jig method, drill holes on the bottom right and left where it will connect to piece A and B. The holes make the screws grab hold and are hidden on the side. I added them every 12″ or so.
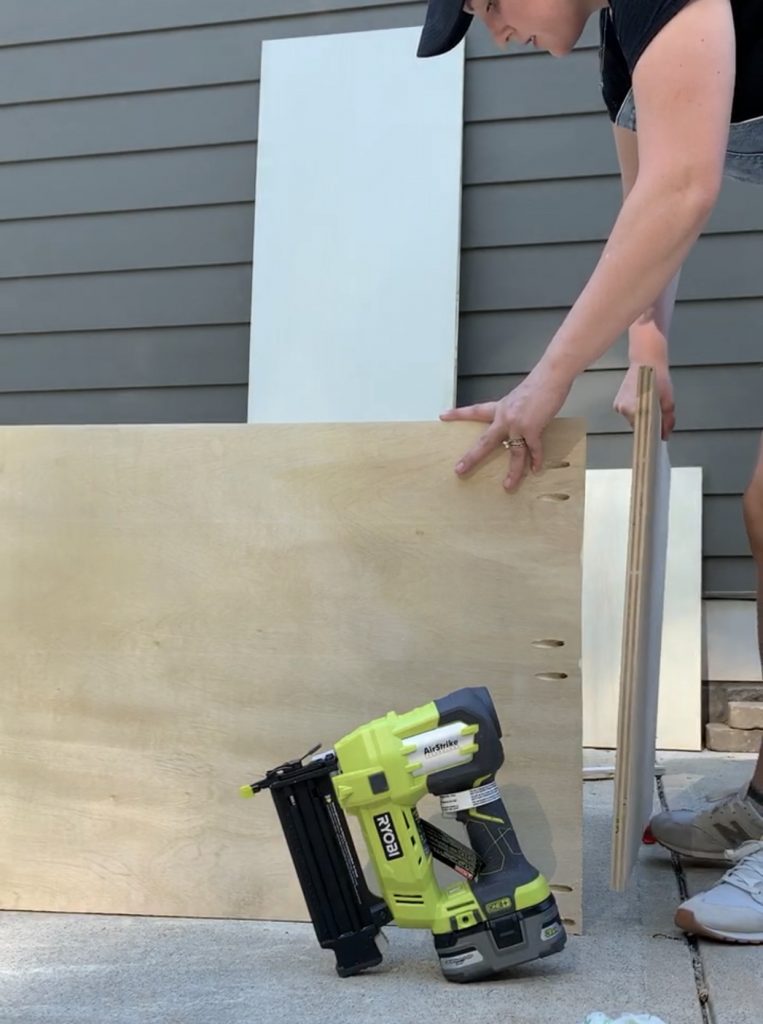
I add glue to the edge of piece C and use my nail gun to nail into the sides to stabilize it. The nails wouldn’t be strong enough to hold things together so the Kreg Jig Screws are drilled in to lock it all. The box needs to measure square where the corner of one box is exactly the same on the other side like an X.
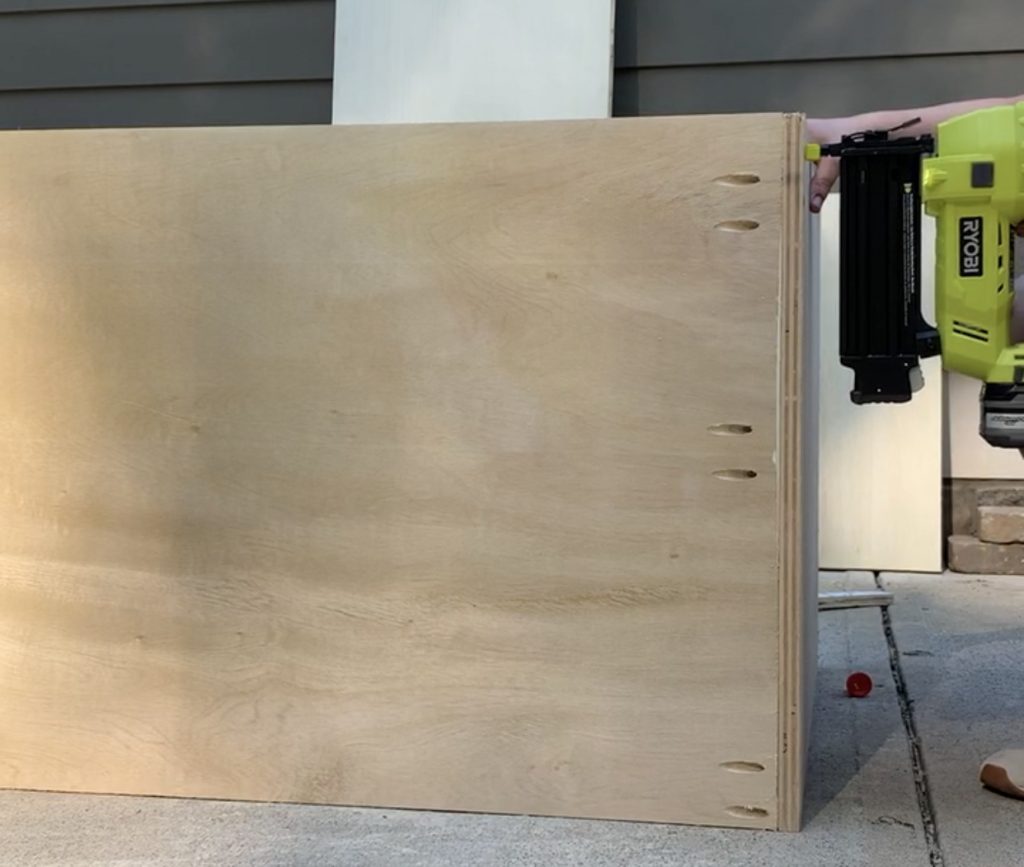
I add all my screws making sure everything stays nice and lined up.
I don’t put a whole piece of wood across the top section of my box because it isn’t necessary but a small piece of operative to keep it all square. The countertop has more support as well from this piece.

If you add a cabinet back, it is optional but most have a back, you can cut a piece of 1/4″ to be the same size as your cabinet back. The best way to attach is with staples, but a nail gun and glue will hold it tight too.
Let the glue dry and that’s it. Repeat the steps until all your boxes are assembled! The box part of your cabinets are done and you can move on to the face frame. Stay tuned for part two of the cabinet series, Faceframes!
XOXO,
Kellye

Do you have a toe kick on the base cabinet?
I do not. After I construct the plywood part of the box I build it up with a 2×4 base and then add a piece of base molding at the end.