From day one, I wanted to add wood to the back of the built-in, in the dining room. It wasn’t a priority by any means, and I went through some different game plans in my mind.
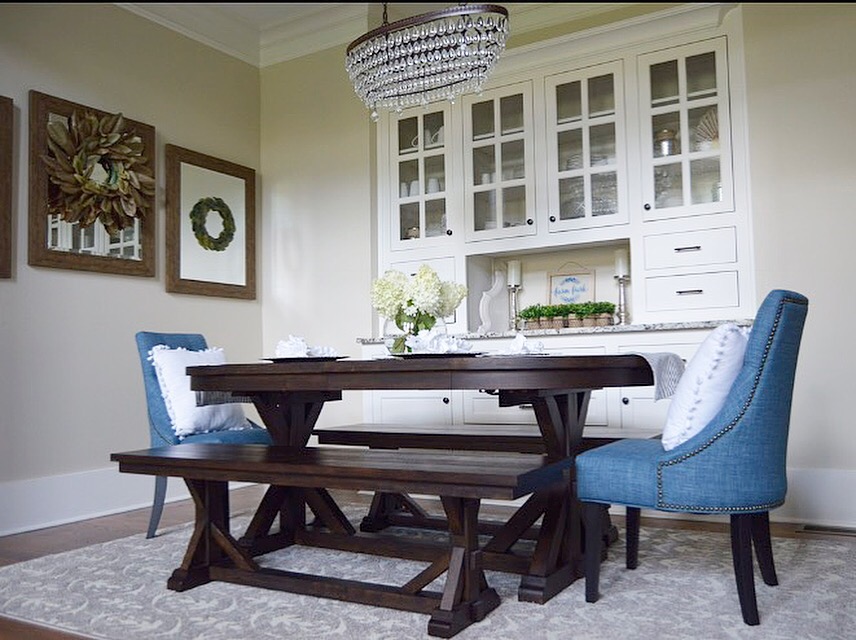
The room began like this. Not bad, but always missing something.
This post contains affiliate links. Thank you to the sponsors Boutique Rugs and Weaber Lumber.
Building cabinets in my past life, I originally planned to use a legit material in this cabinet: pine v-groove board laid vertically. (This is what our kitchen ceiling is made of). However, I decided because you couldn’t really touch the area and it didn’t need to actually be durable, I would just use wallpaper.
I got some suggestions to add color into the room and while I still haven’t painted the awesome nickel gap shiplap on the walls, sponsored by Weaber lumber, I only have the heart to go the alabaster route. I like the lighter color in here. Sorry for all those that voted darker on my Insta poll.

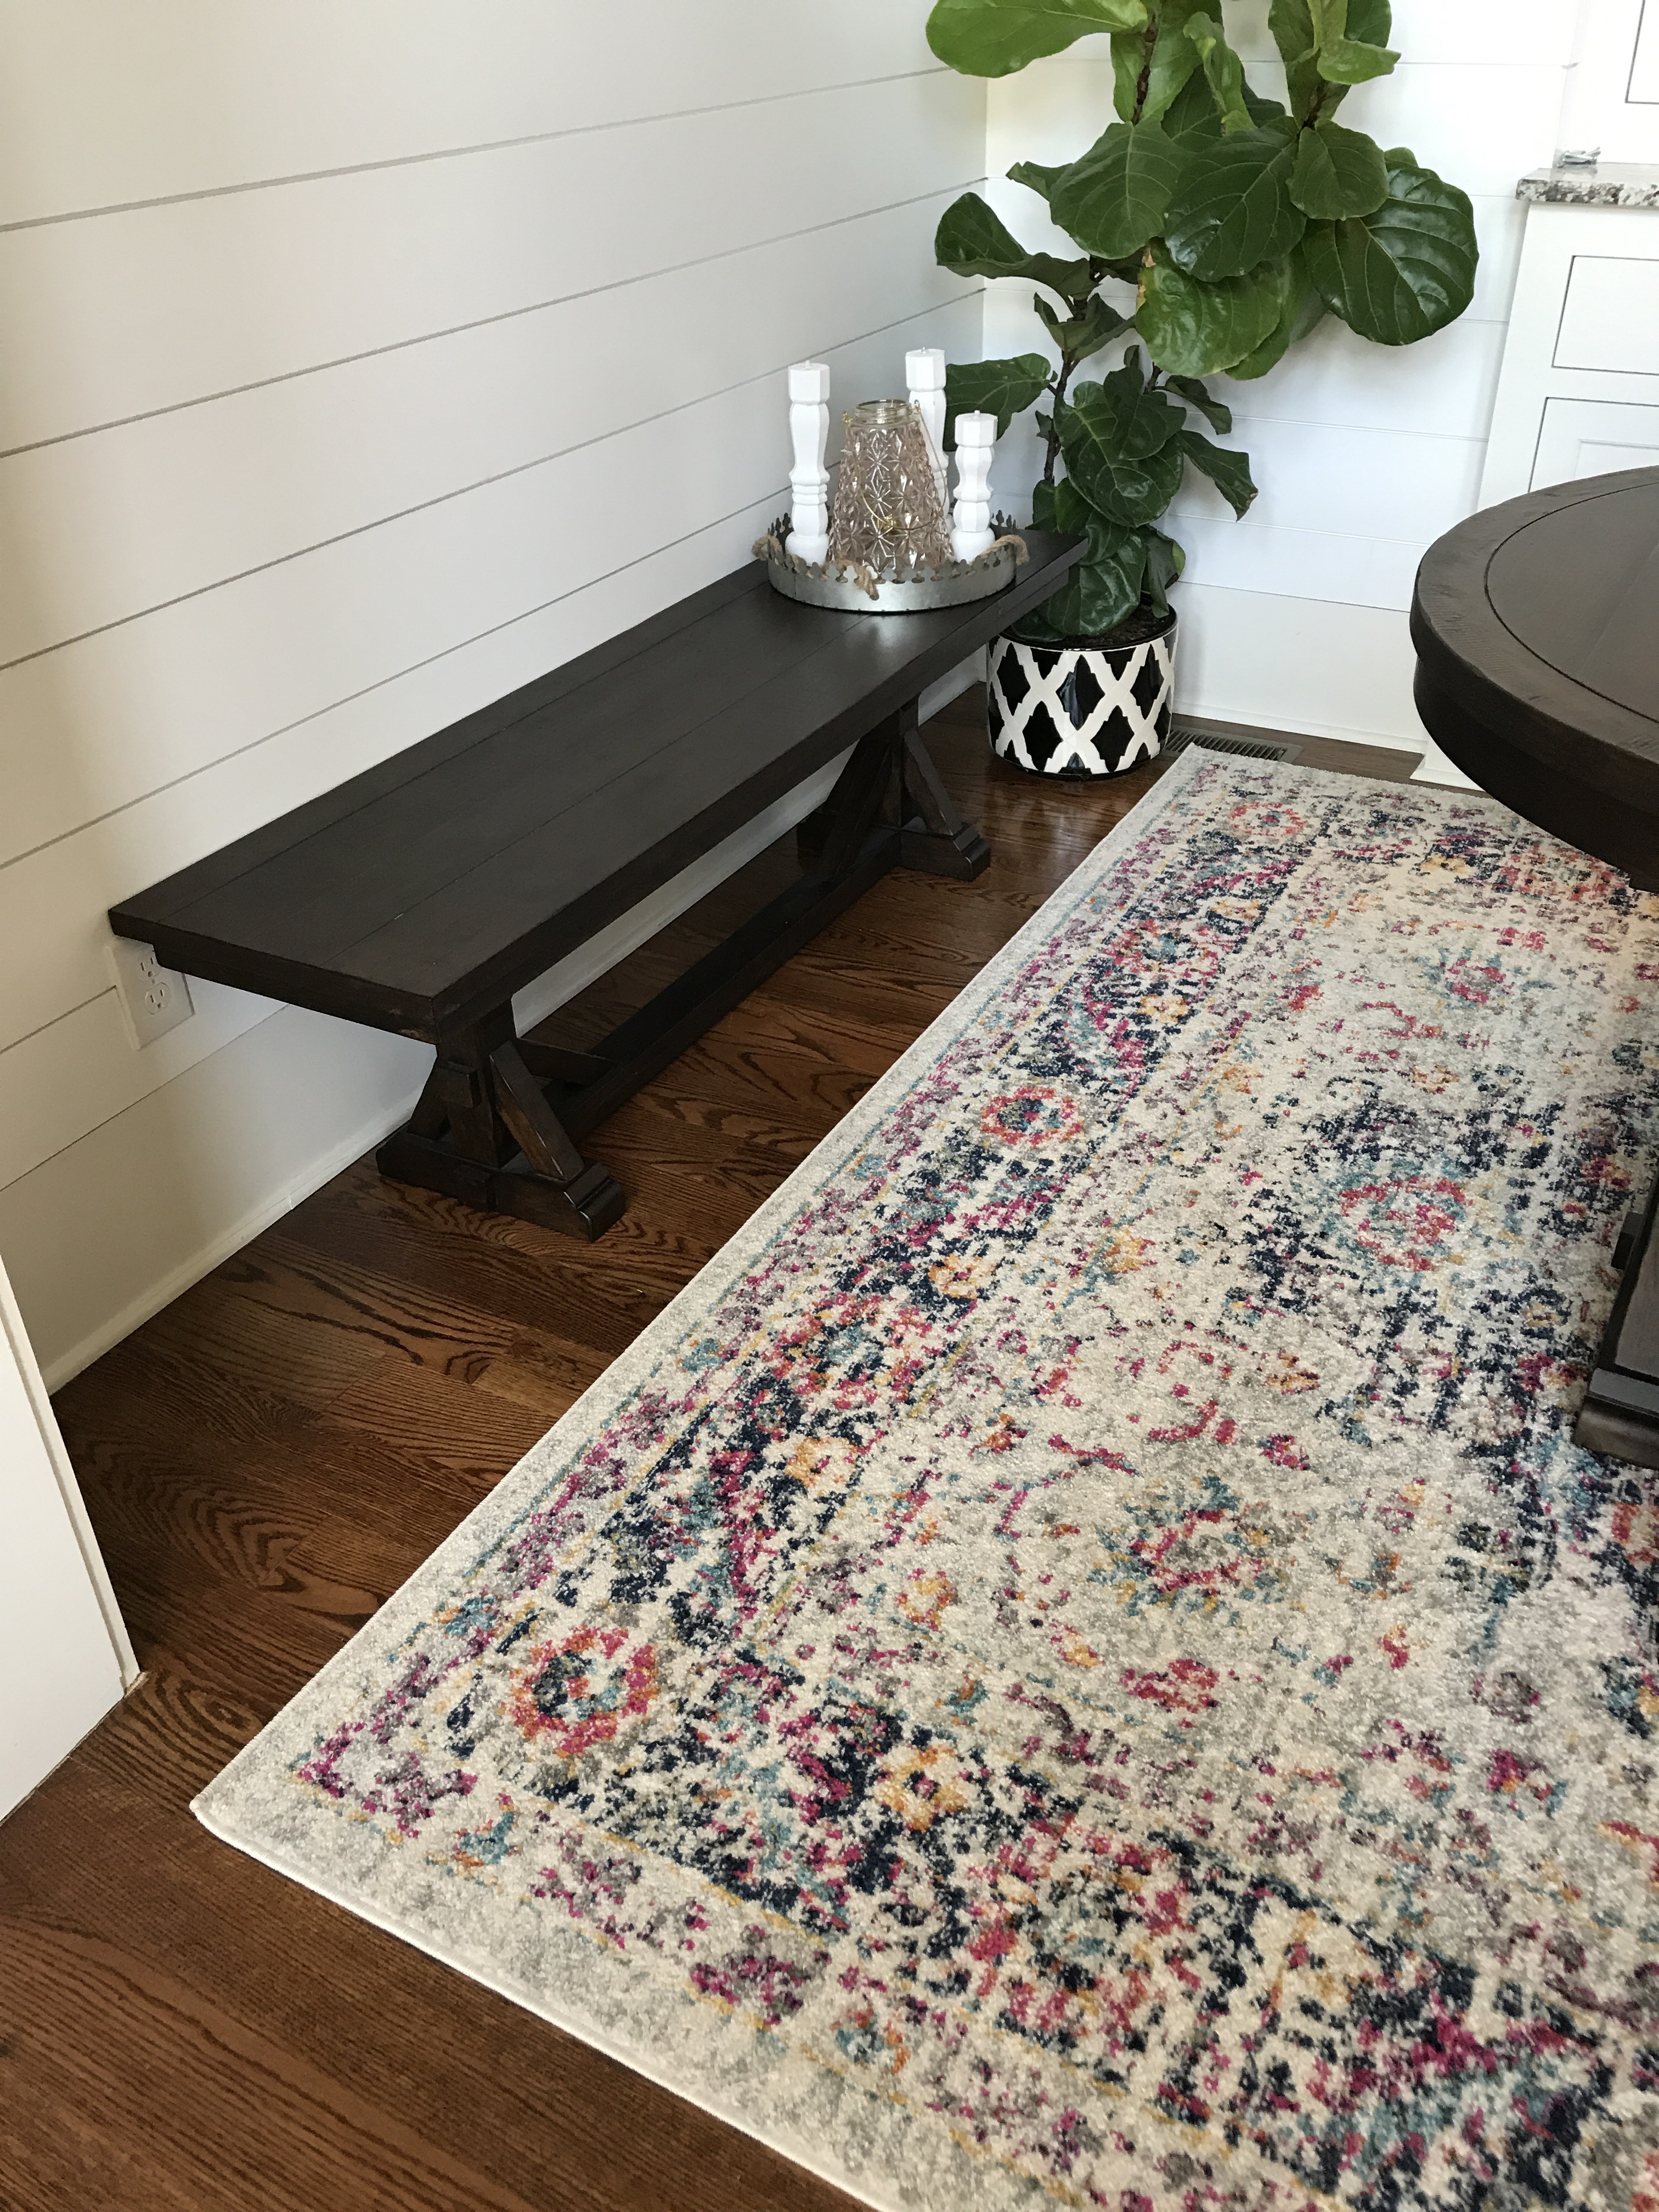
When I also had the opportunity to partner with Boutique Rugs, I was so excited! They offer a ton of really beautiful rugs in all different sizes. I knew this was the way to get the color I craved. I found this gorgeous rug, The Elaziz (7’6”x 10’3”). It can be found on their website, or by clicking here, and is so pretty! The colors are bright and vibrant without being overbearing. Boutique Rugs has great prices and I’m very happy with the quality of this rug.
One small problem though, after receiving this beautiful rug, I decided the color I painted the built in, inside was clashing.
I had tried to stencil it and it looked terrible.
Scouts honor, I had no intention of tackling this wood wallpaper project yesterday, but I had to share my gorgeous rug and I couldn’t kill the vibes with an ugly cabinet back.
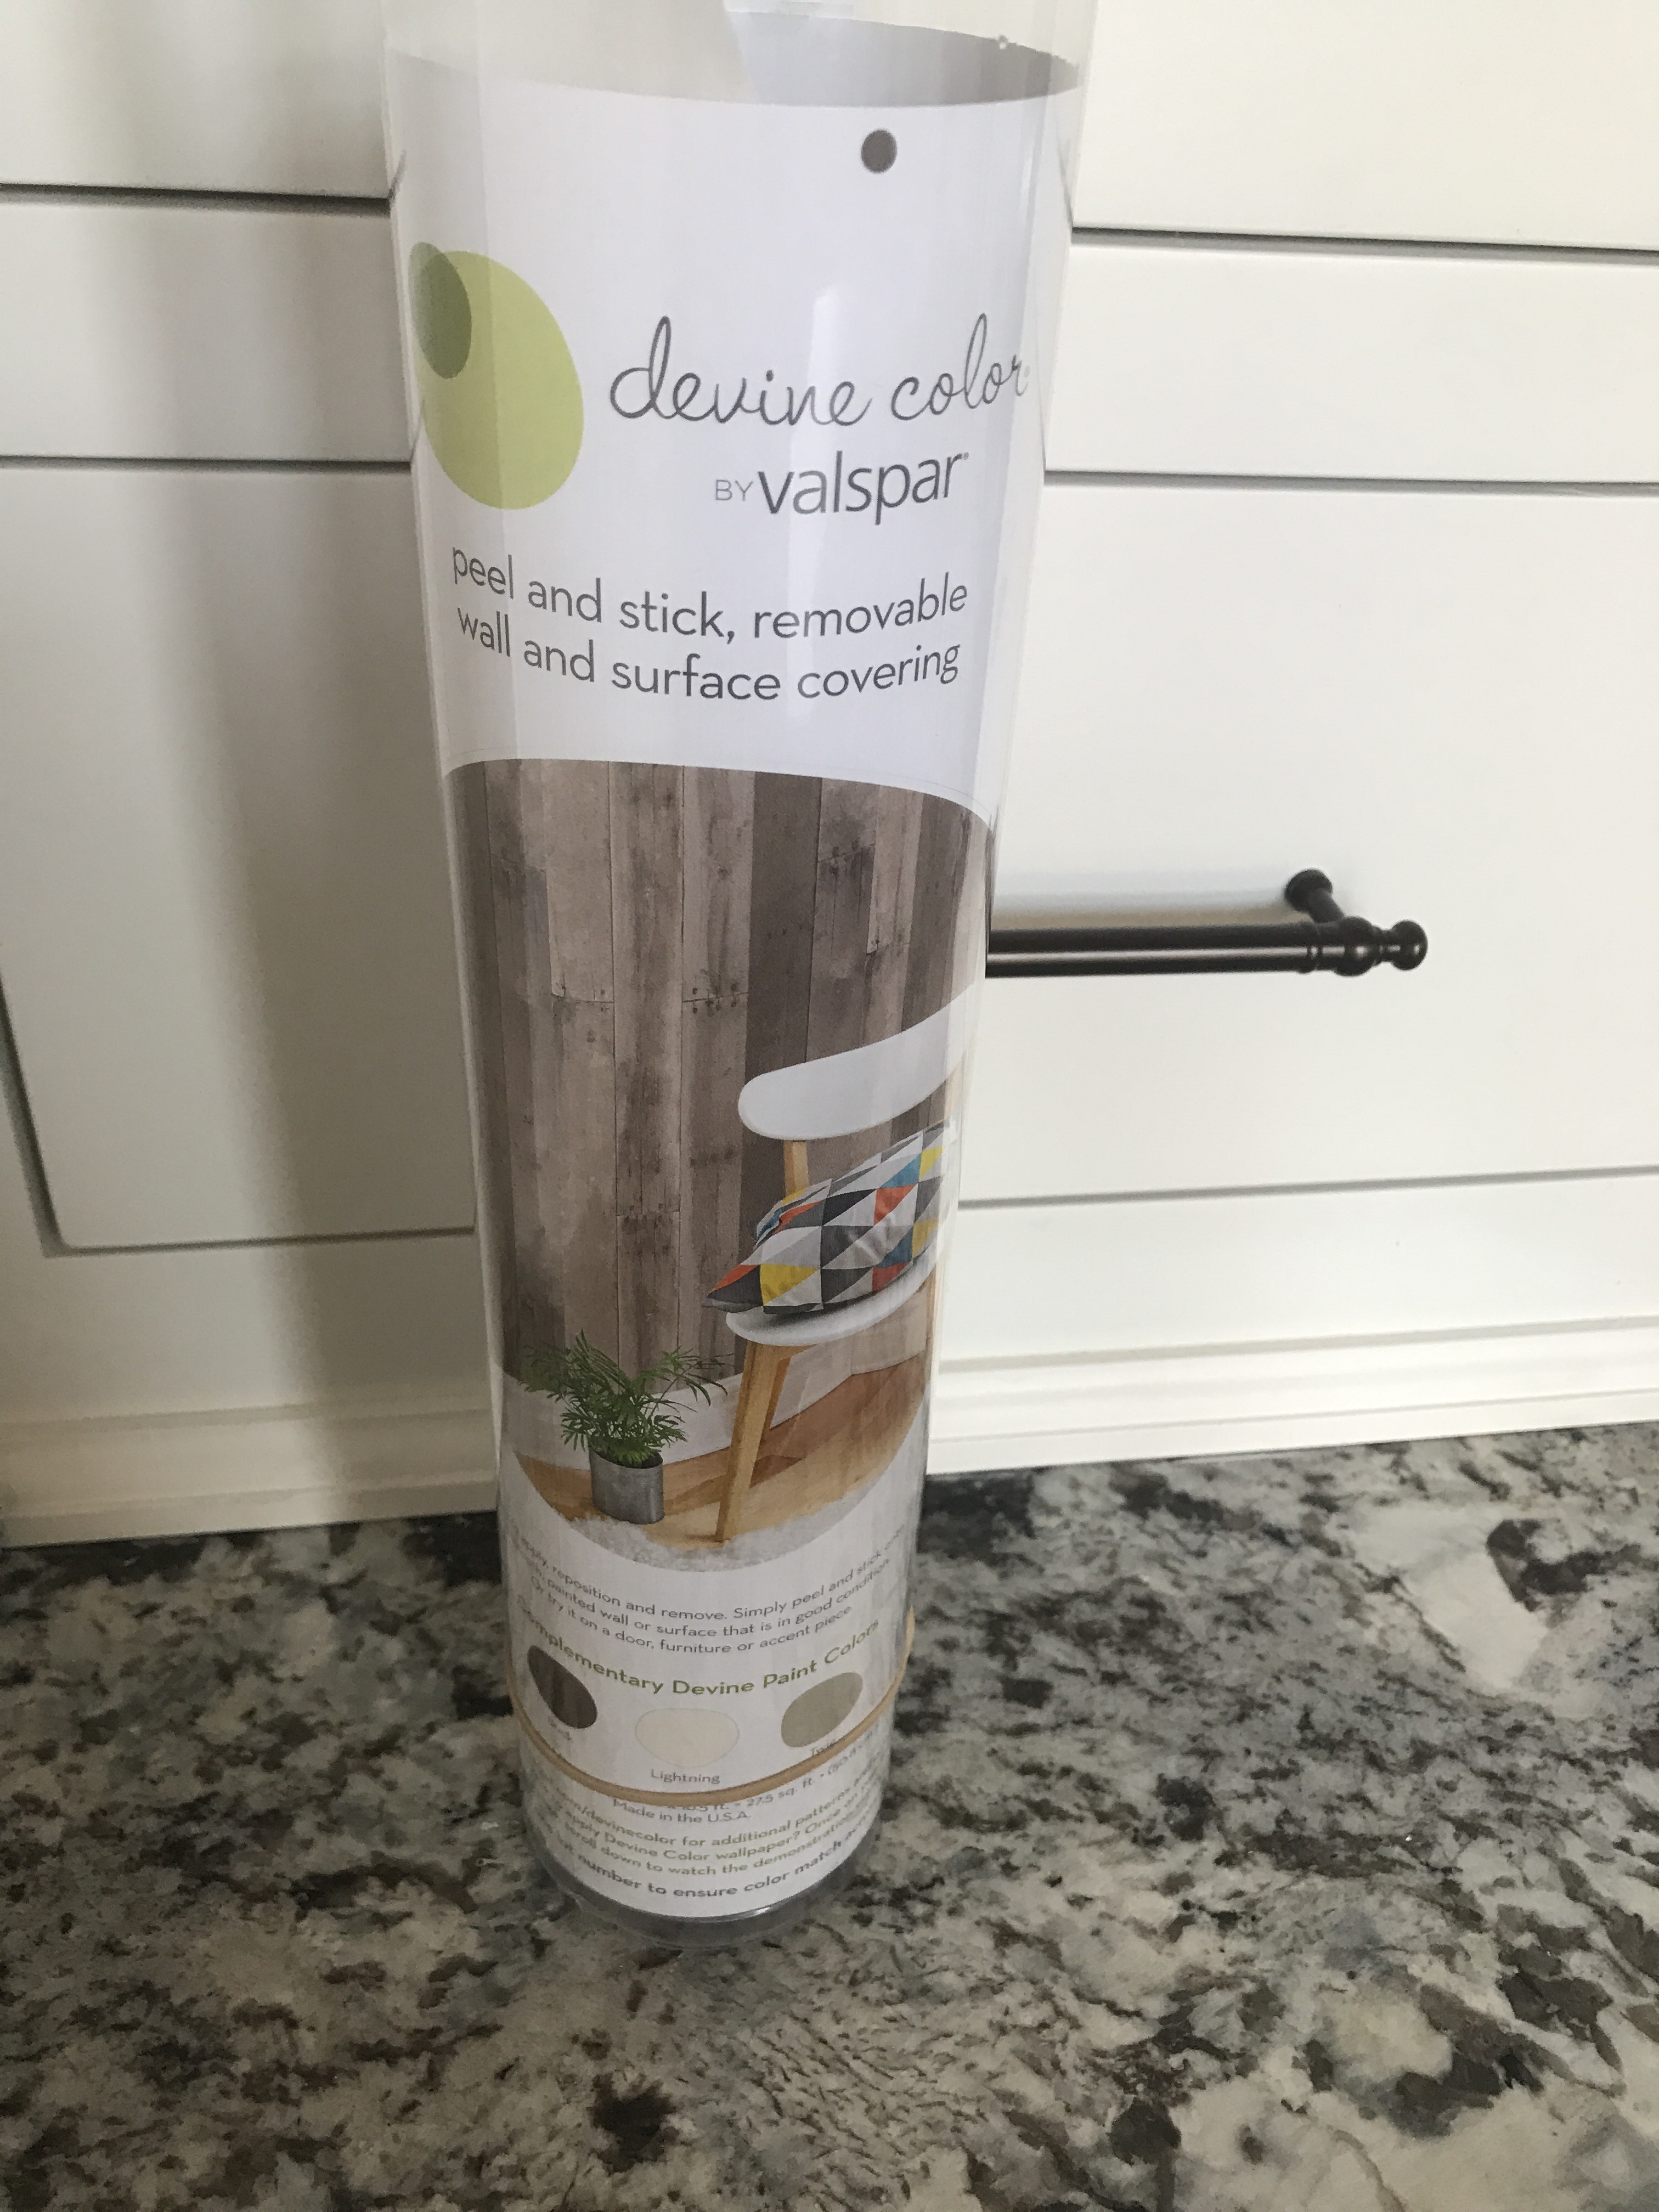
I found this wood wallpaper by Valspar at Target. I liked the color, but didn’t like the pattern of the wood. I haven’t been able to find a herringbone wallpaper I like, so I decide to make one.

I’ll share my steps and the materials needed below.

For this project you’ll need:
-
-
-
-
- Scissors
- Razor (not necessary if your scissors are sharp enough)
- Wallpaper rolls (1 roll covers 27.5 sqft.)
- Measuring tape
- Square

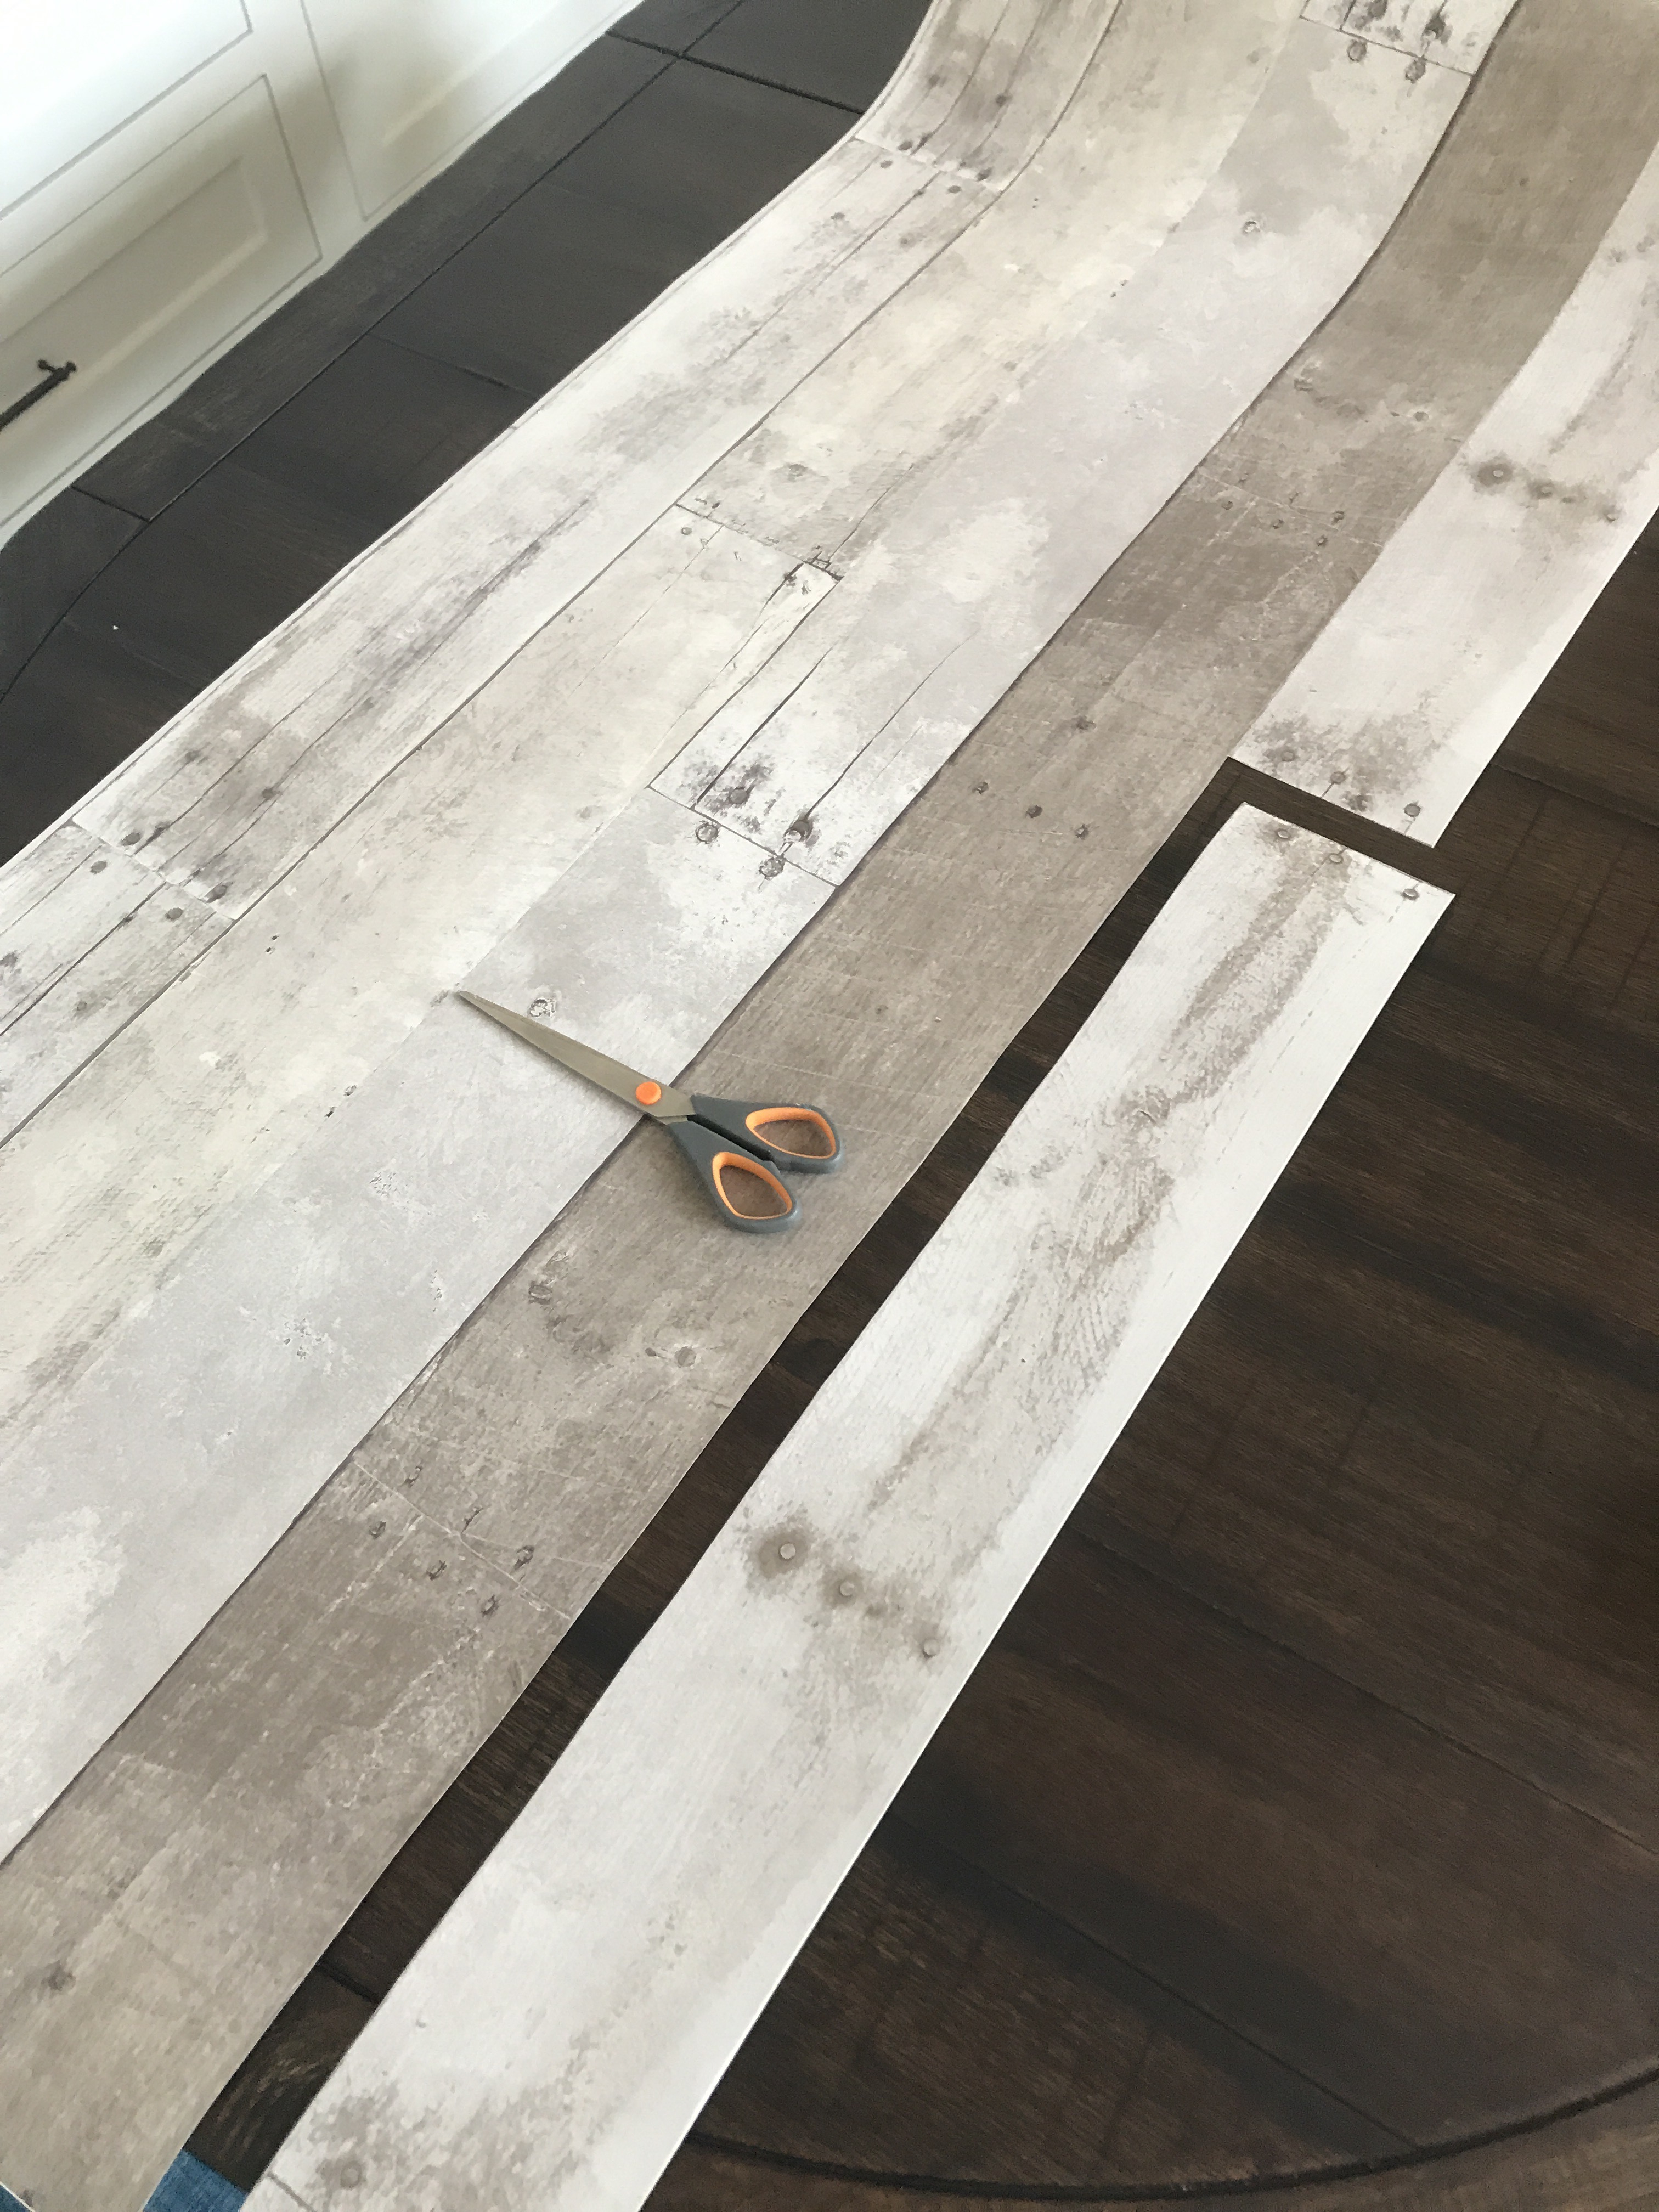
xI started by cutting the “wood” into pieces.
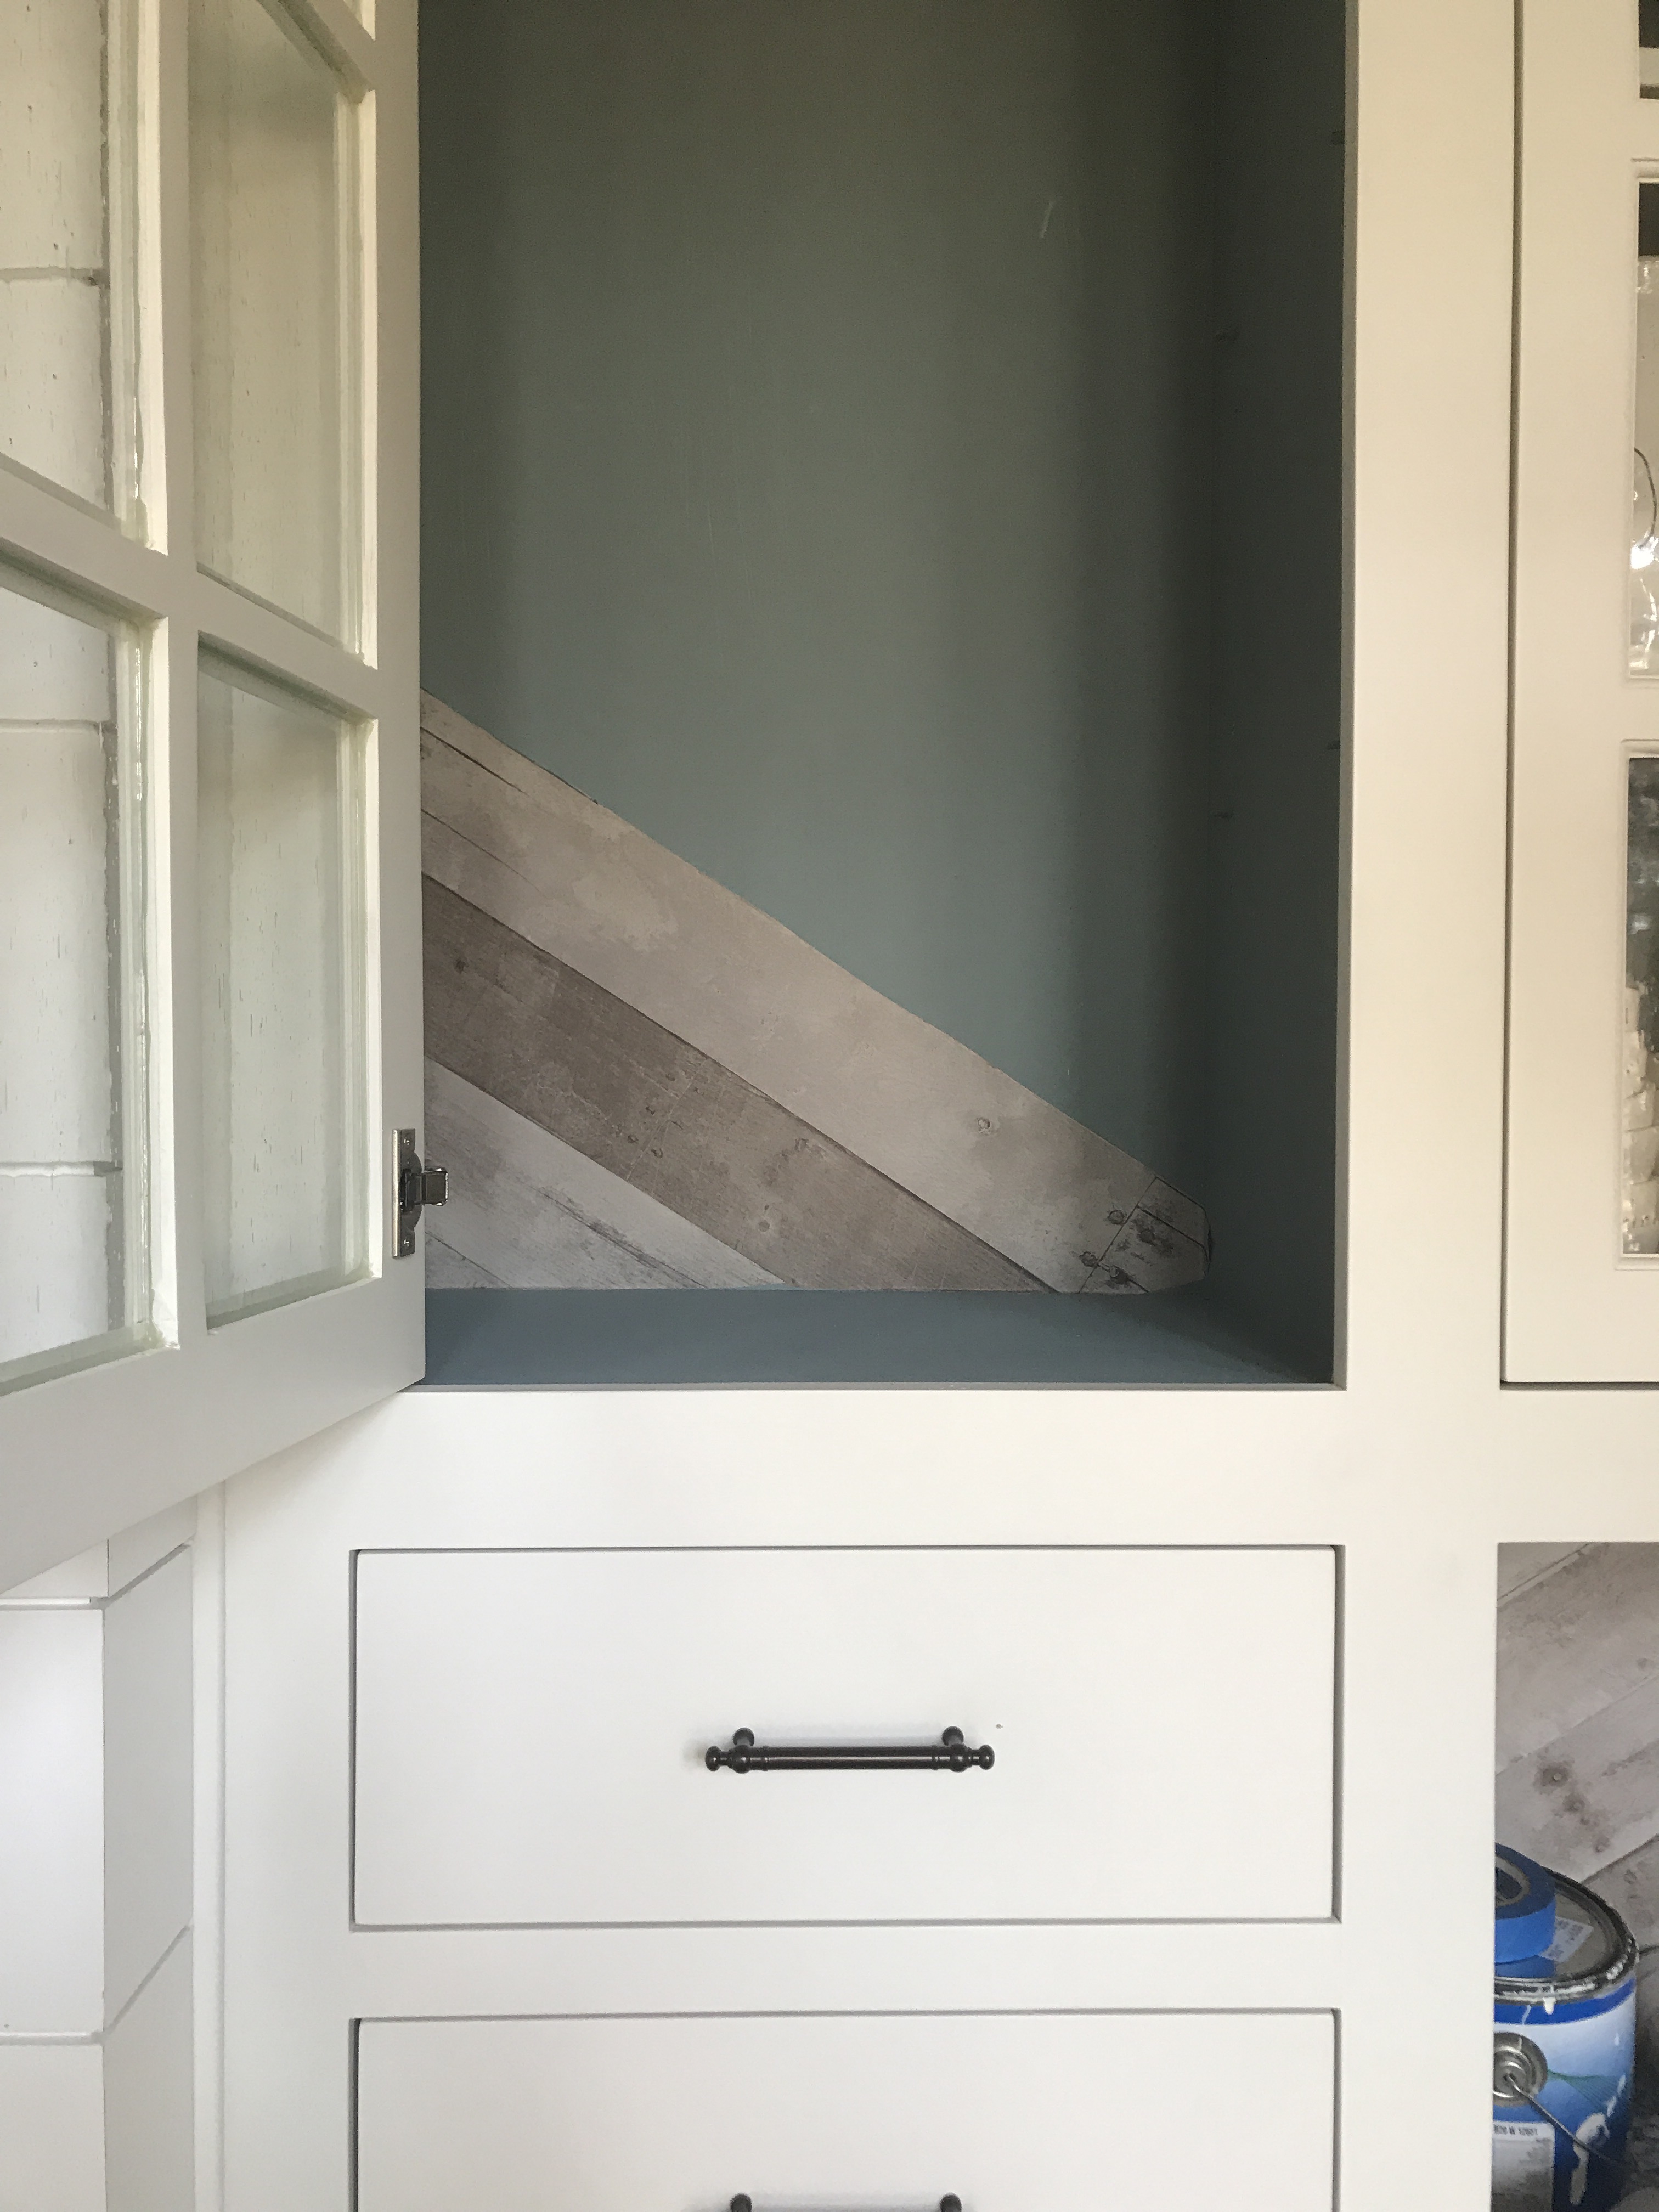
I marked the center of my space with blue tape.I proceeded to start in one corner of my cabinet and angled it approximately. You can be very technical and measure and calculate the angles but if you’re lazy like me you can do the “ish” method. This isn’t real wood. You will use the razor later to clean it up so be slightly sloppy, always following the rule of having extra and not less.
Continue all the way up.
For the center chevron where the two sides meet: the top angle of the piece must be longer than the center line to have enough to trim. You will go back and trim the center line all the way down.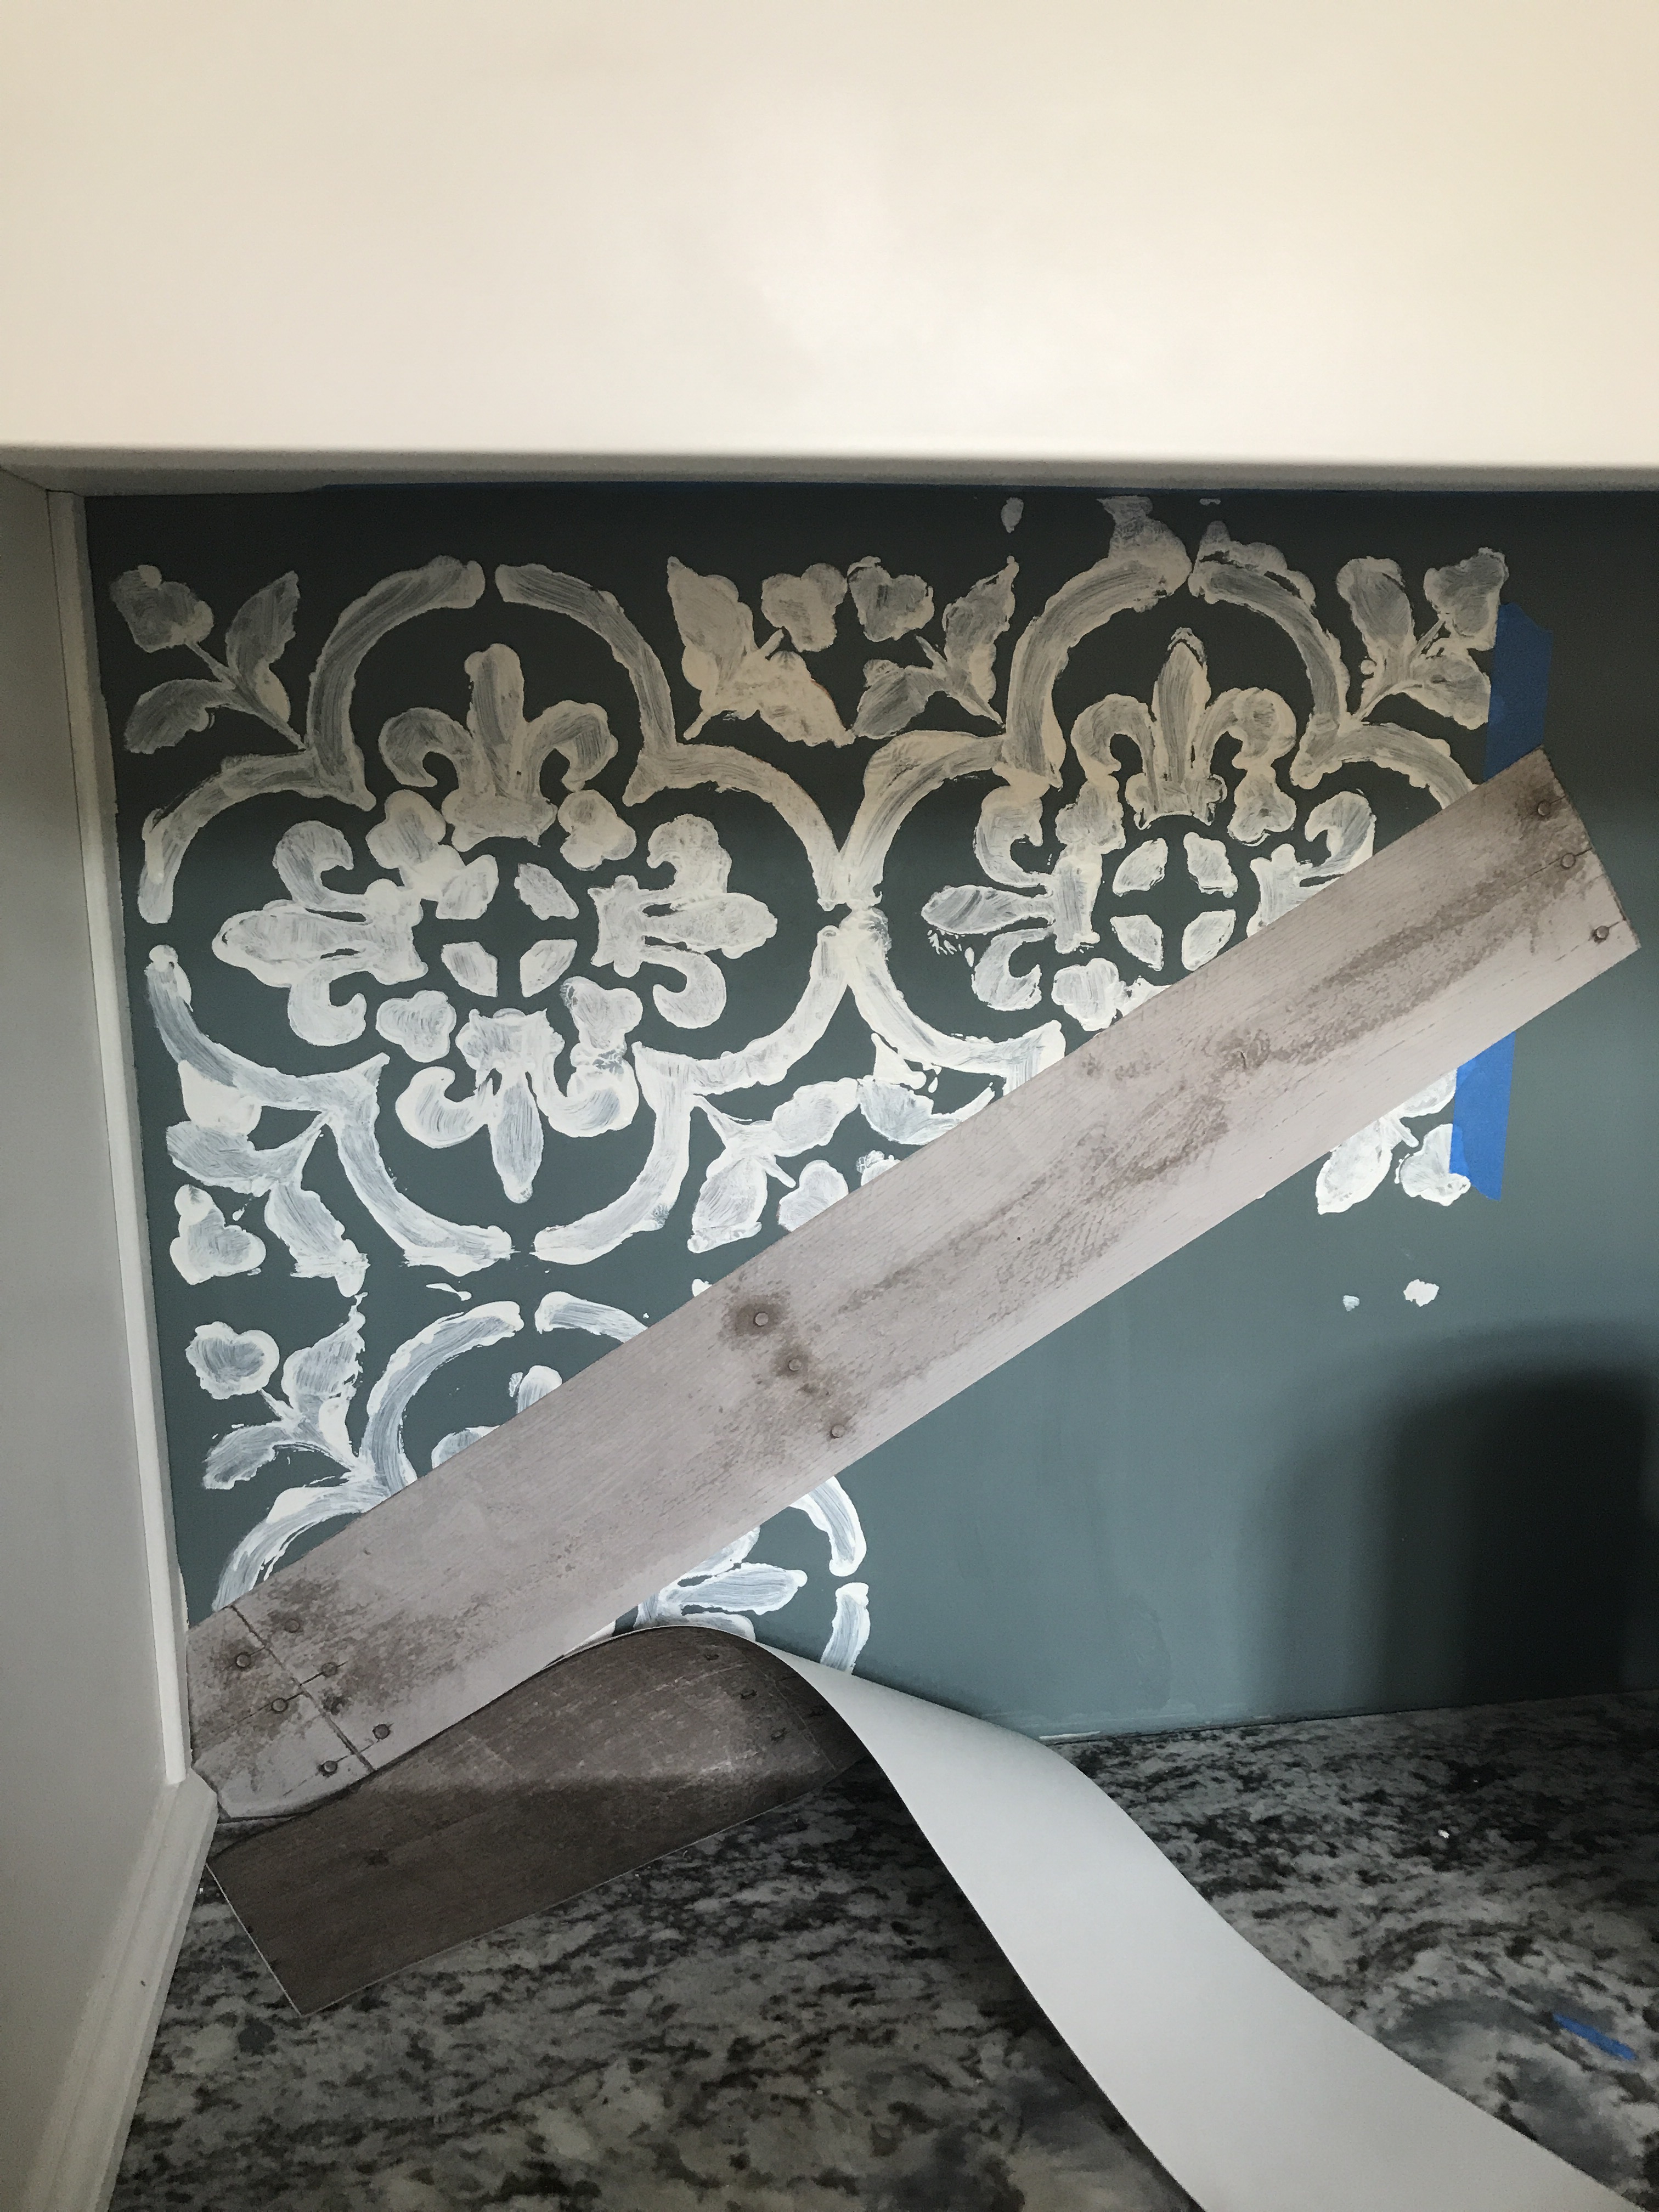
See stencil fail above. Here is my starting point sort of pushed into the corner at an approximate angle that looked good. I made sure the piece went further than the center line.
This product was easy to cut and use so I would leave it slightly long and trim it with my scissors or razor.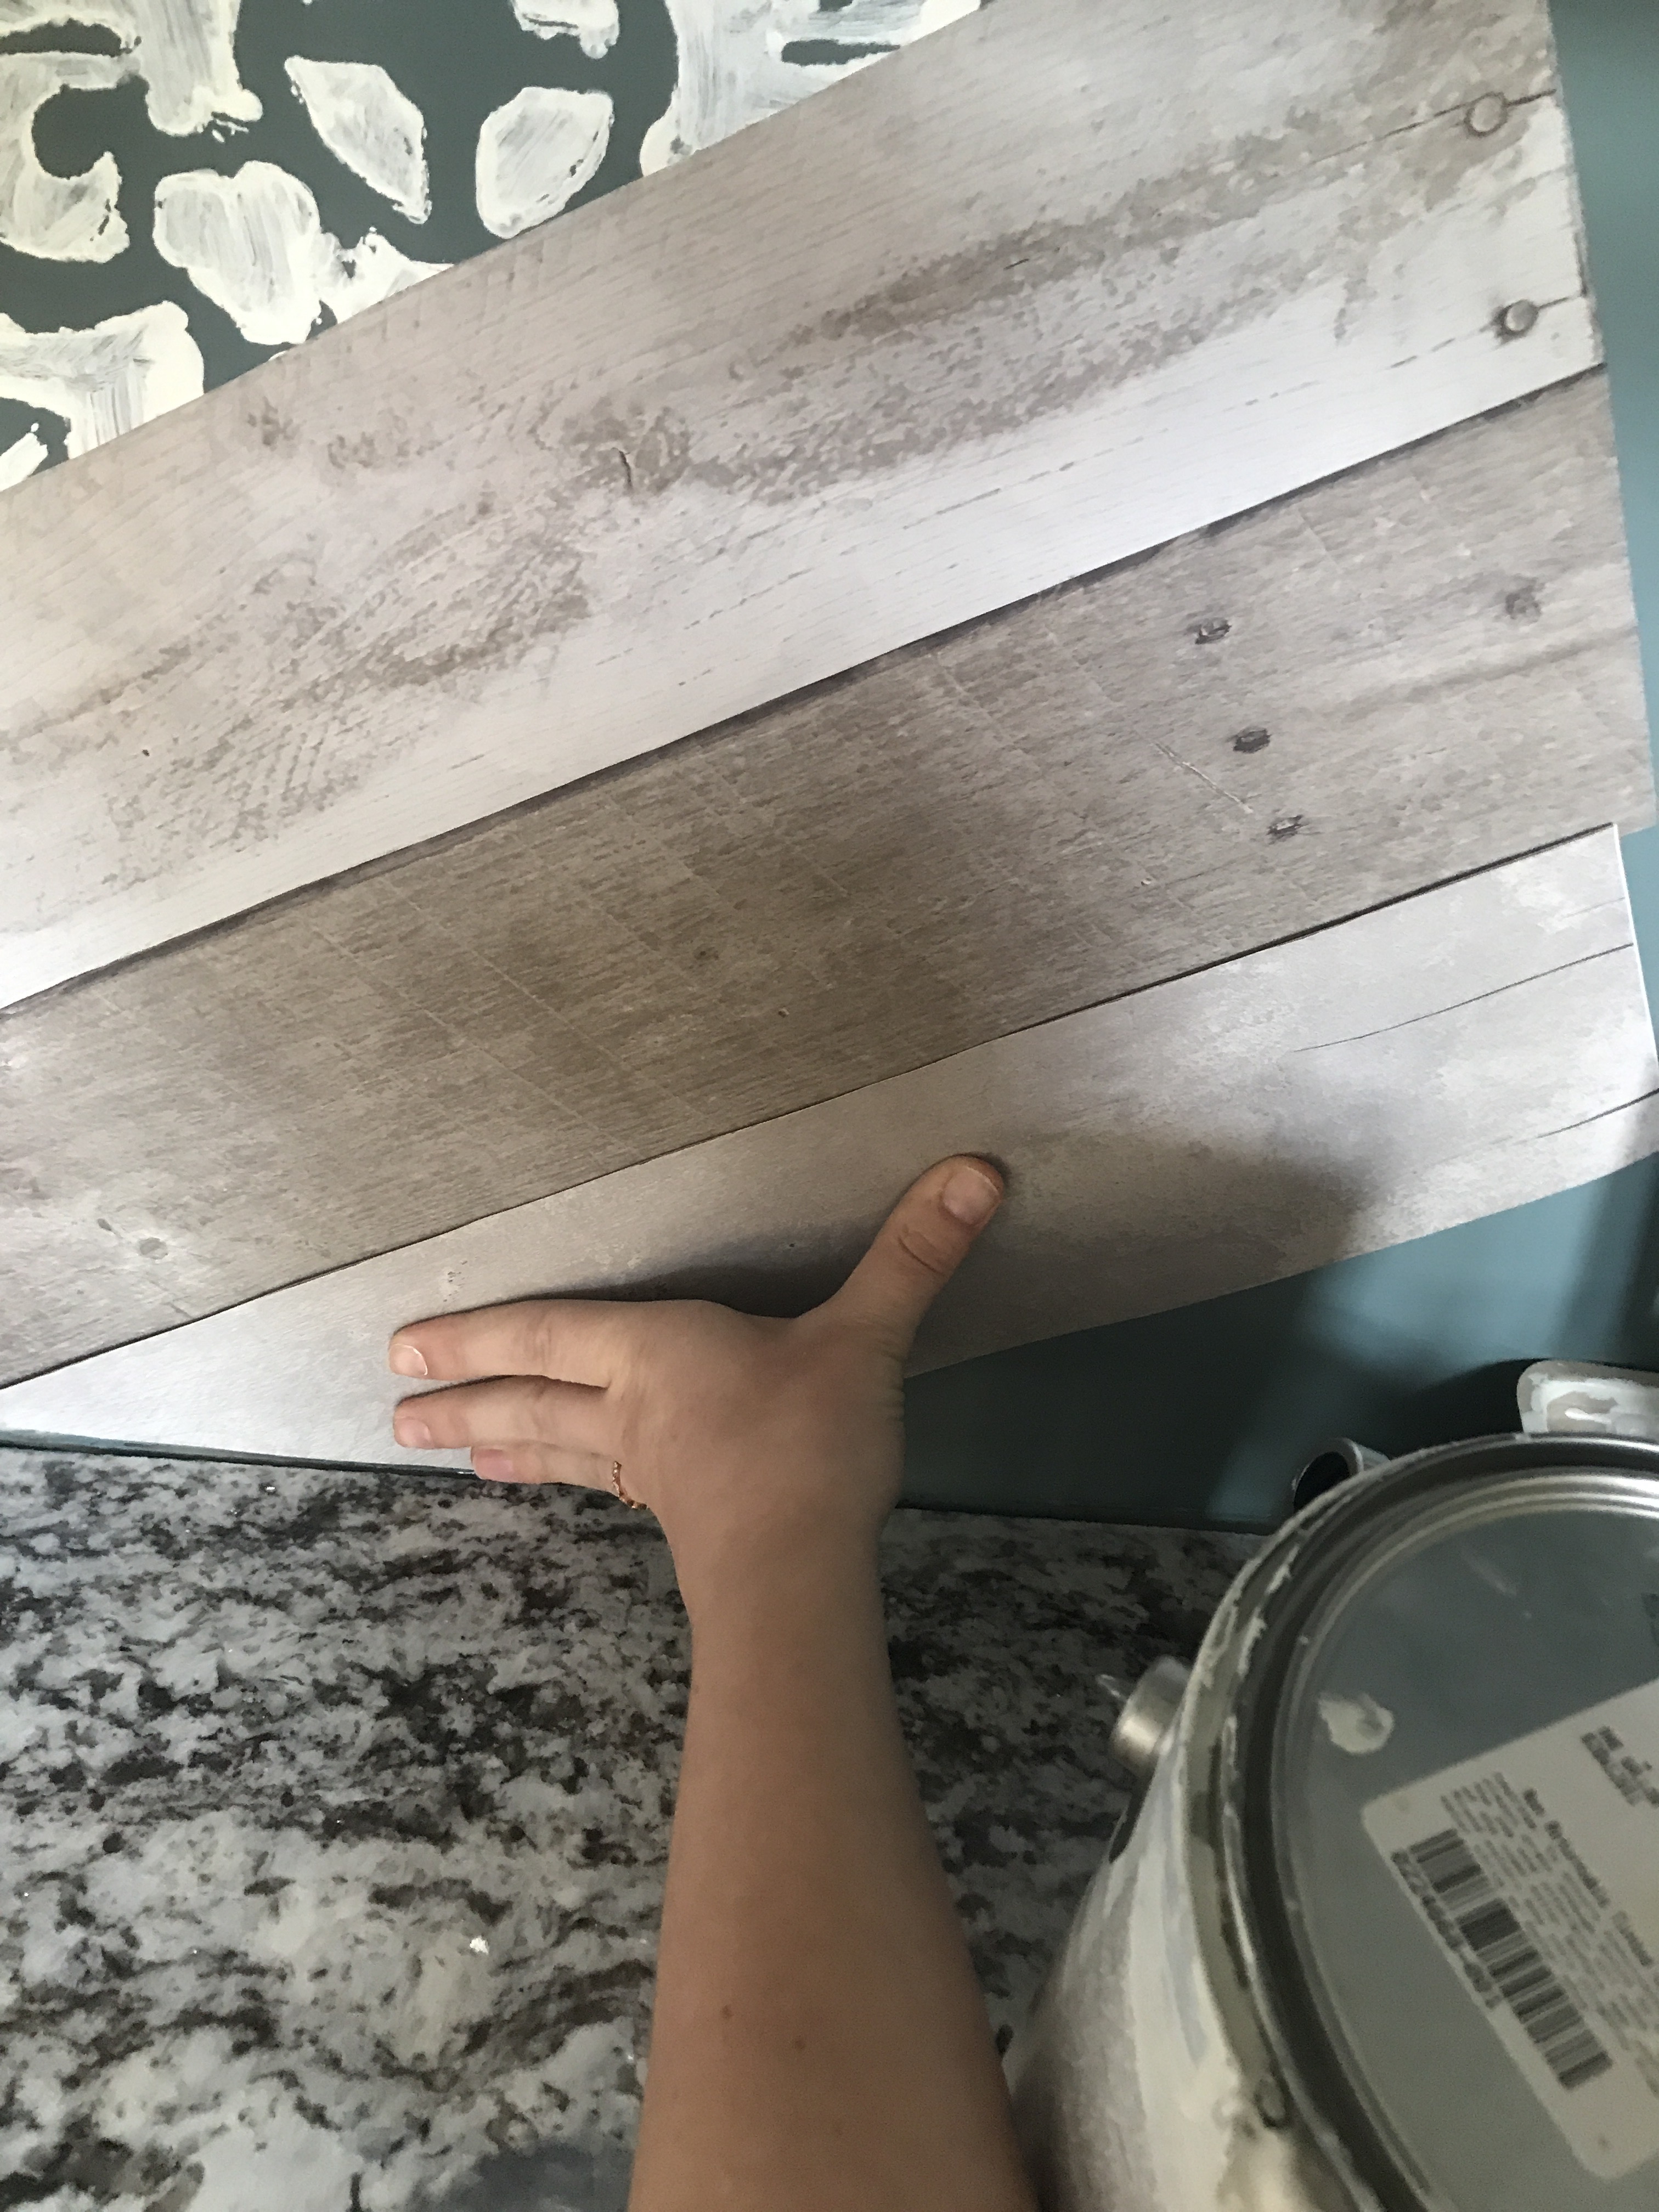
You can also cut first and then go back and hold it up before removing the back and remeaaure the other side and cut. You risk making a mistake more this way.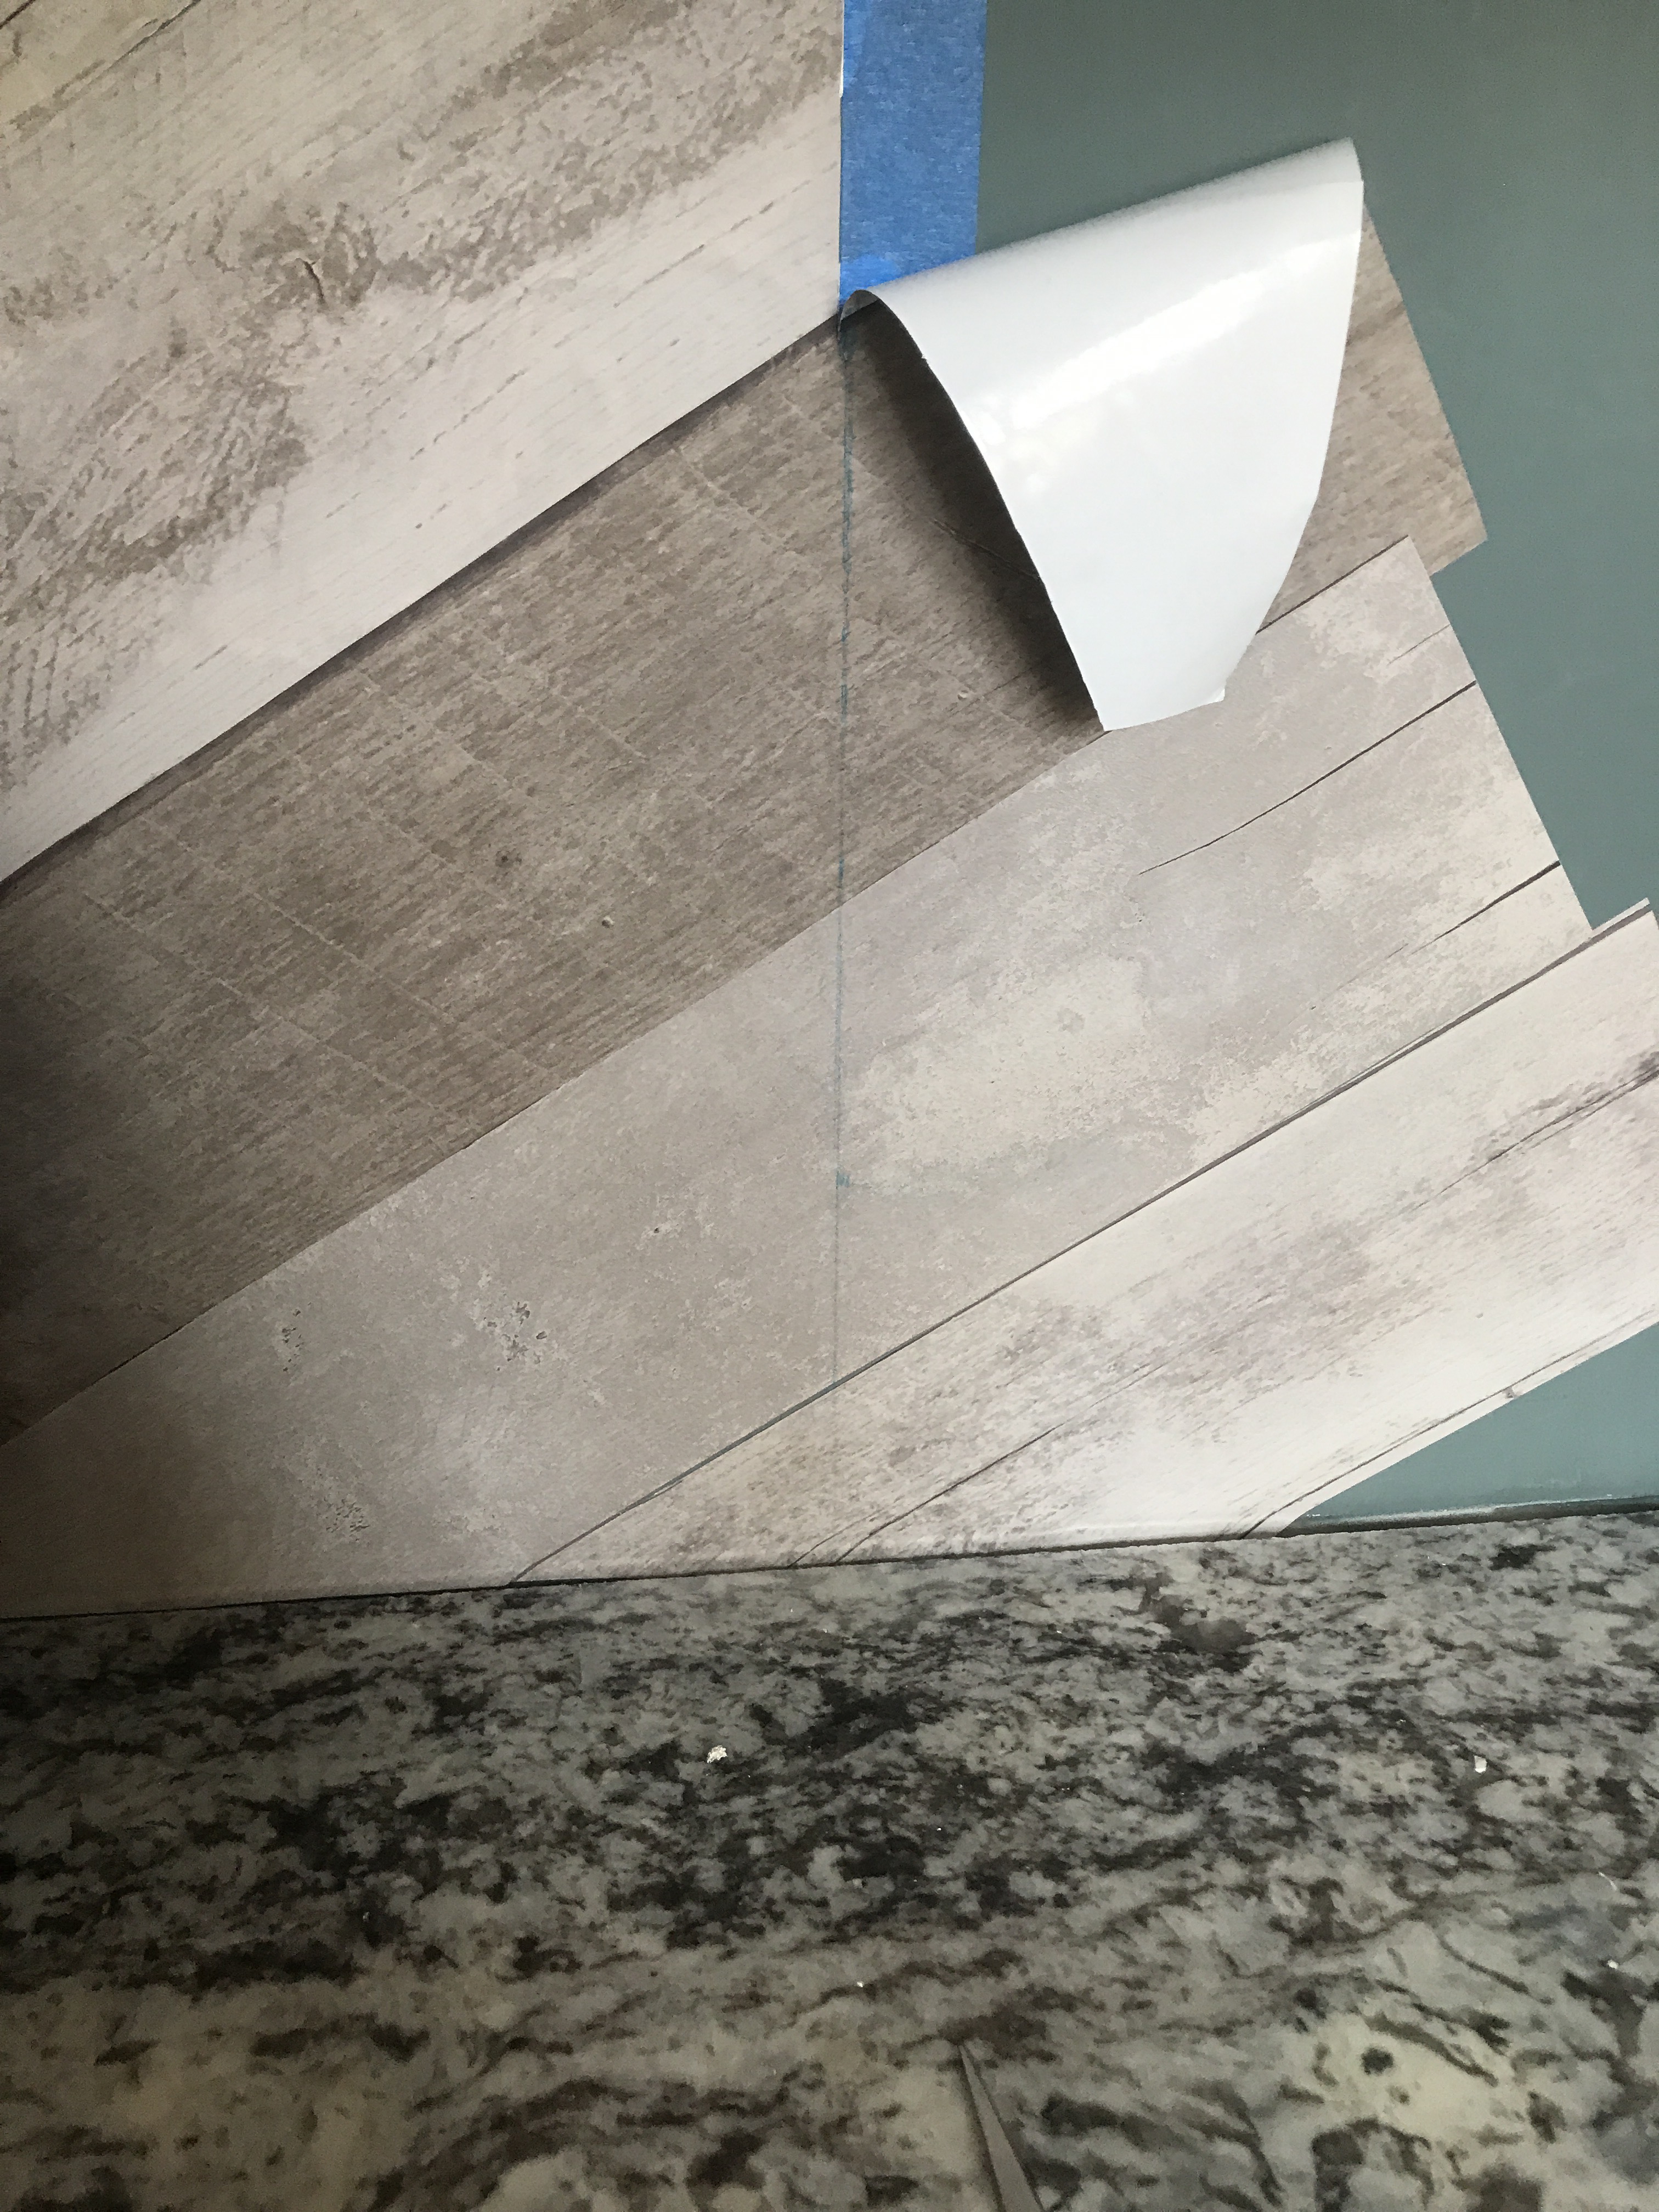
Continue this the whole way. When you fill the space go back and mark the center again. Carefully cut the center line all the way down and remove extra on the outside of the center line.
Repeat the whole process on the opposite side, trimming the center line at the end.You could do a tighter pattern but I wanted the full chevron looking straight on at the cabinet. To do this you would measure to the center the same way but would then divide those two spaces and do one more pattern. More cutting for sure though.

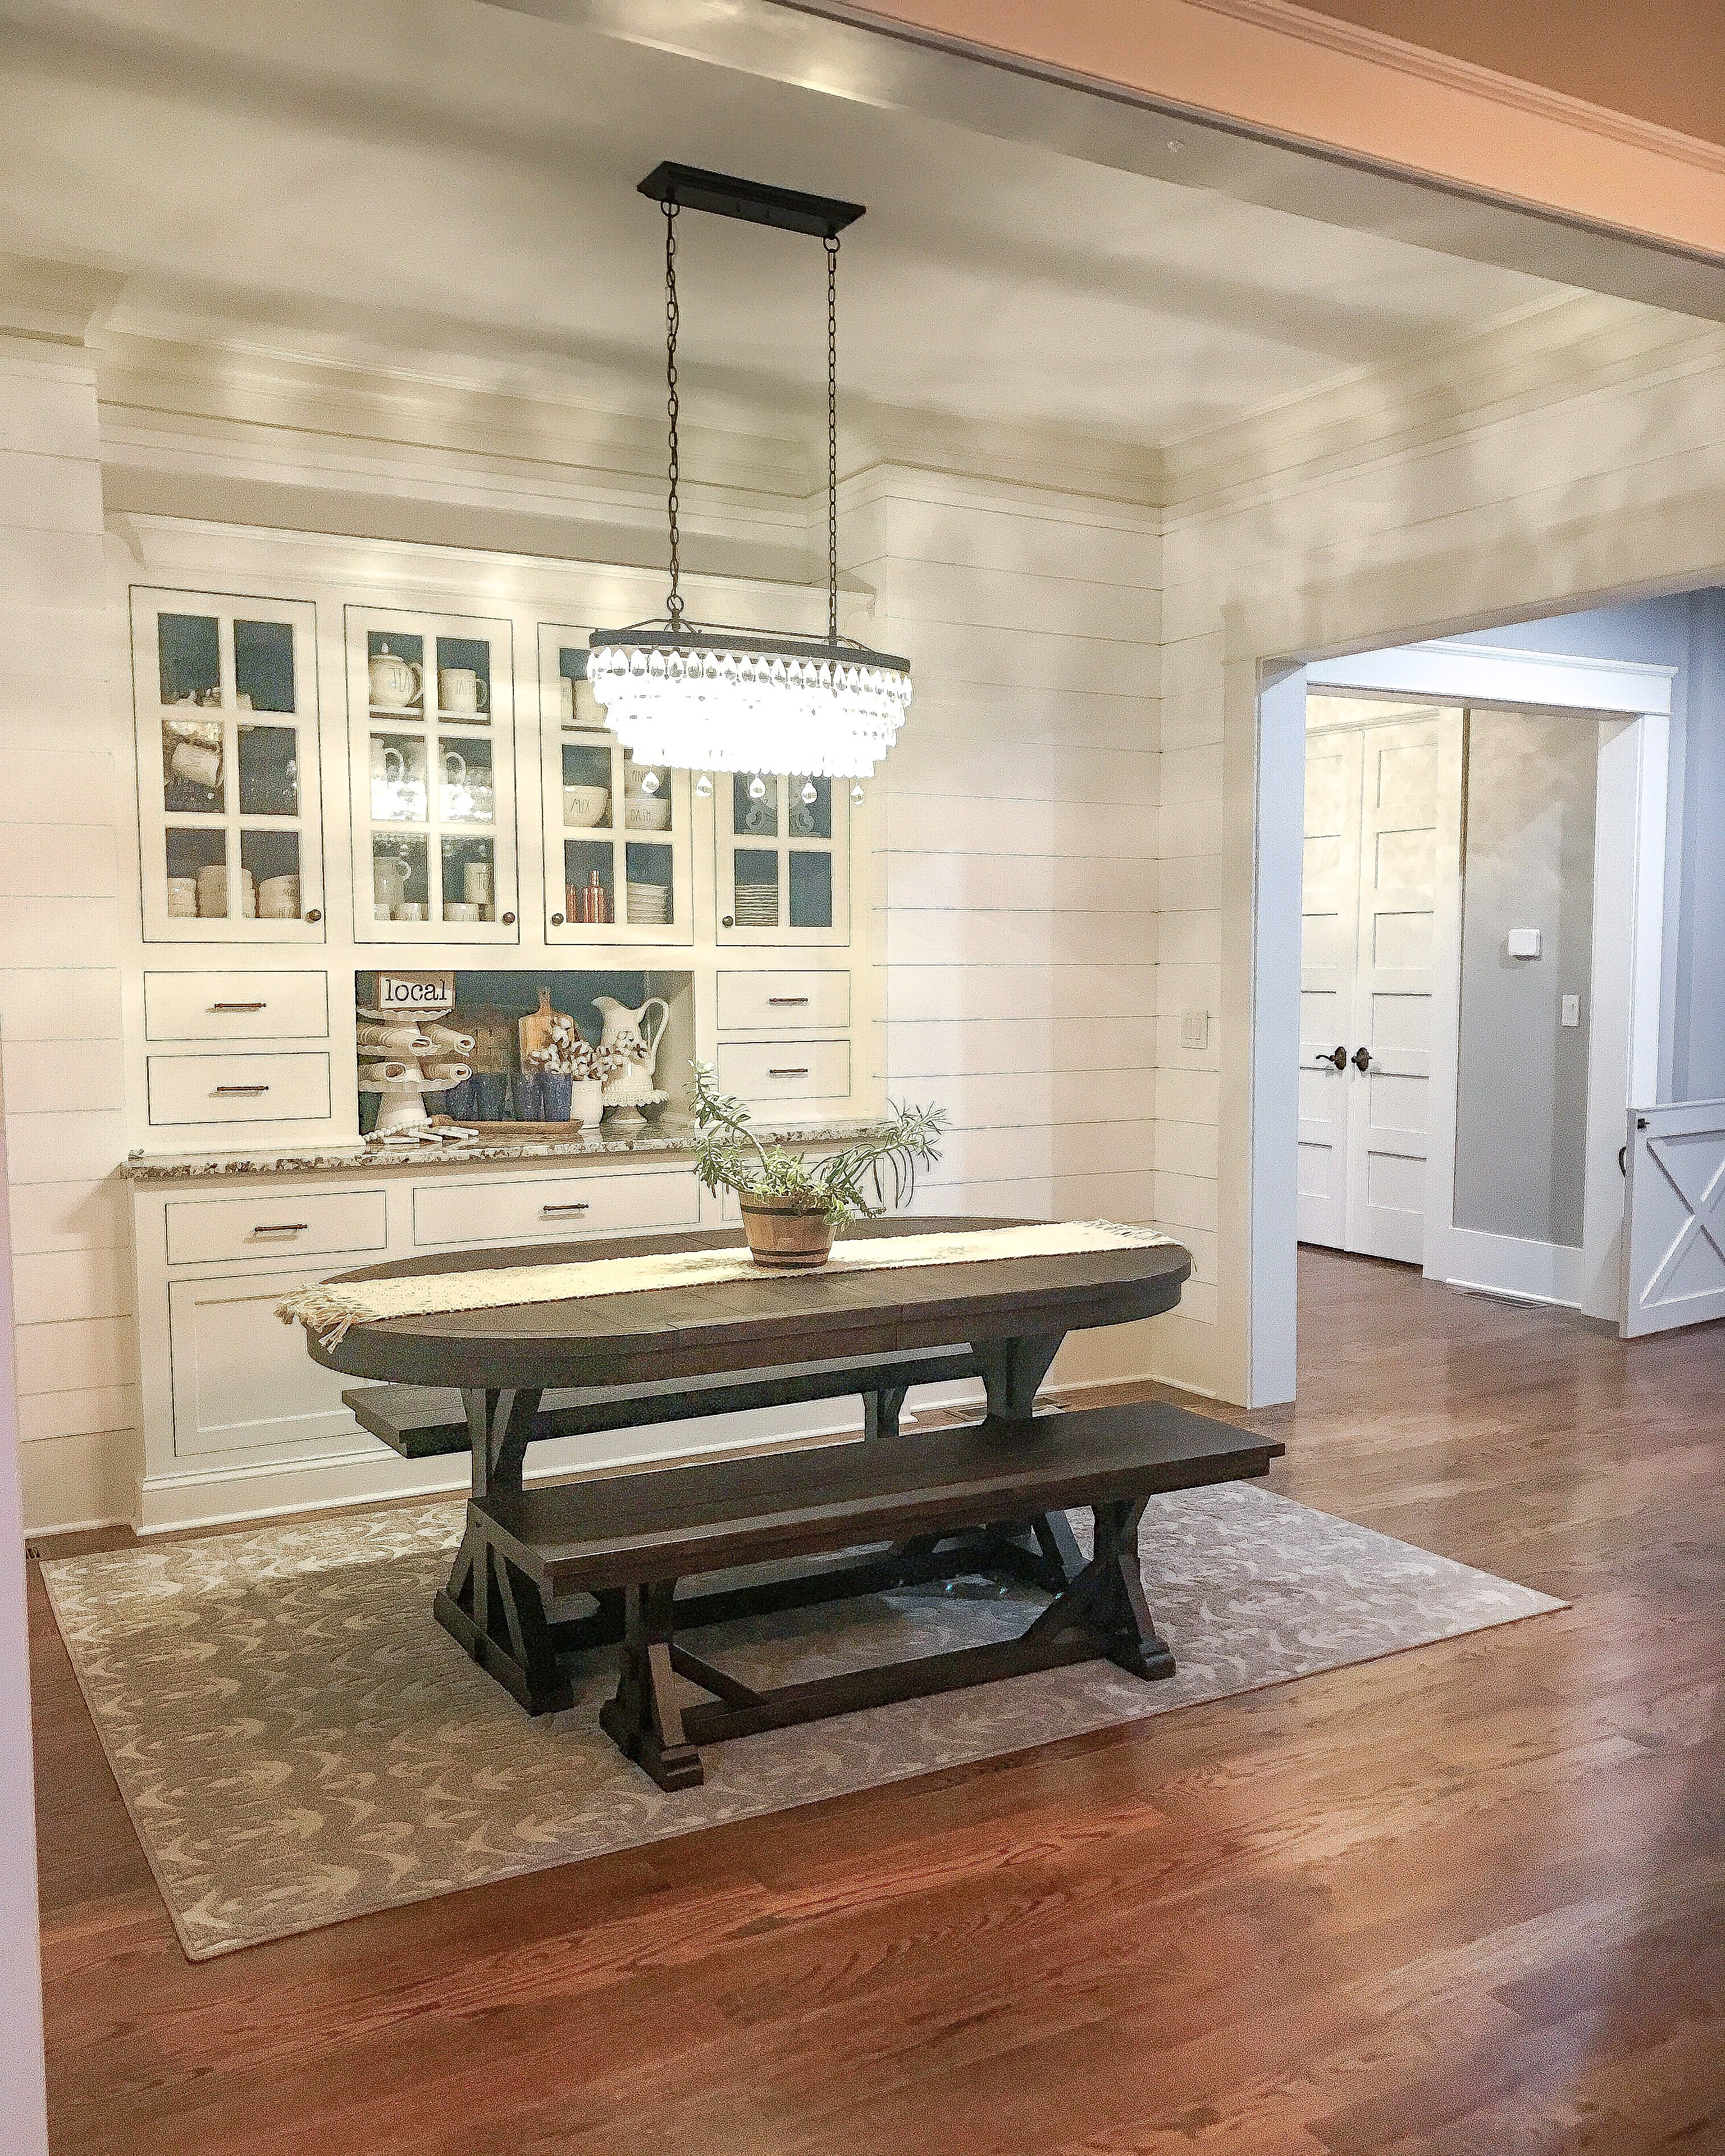
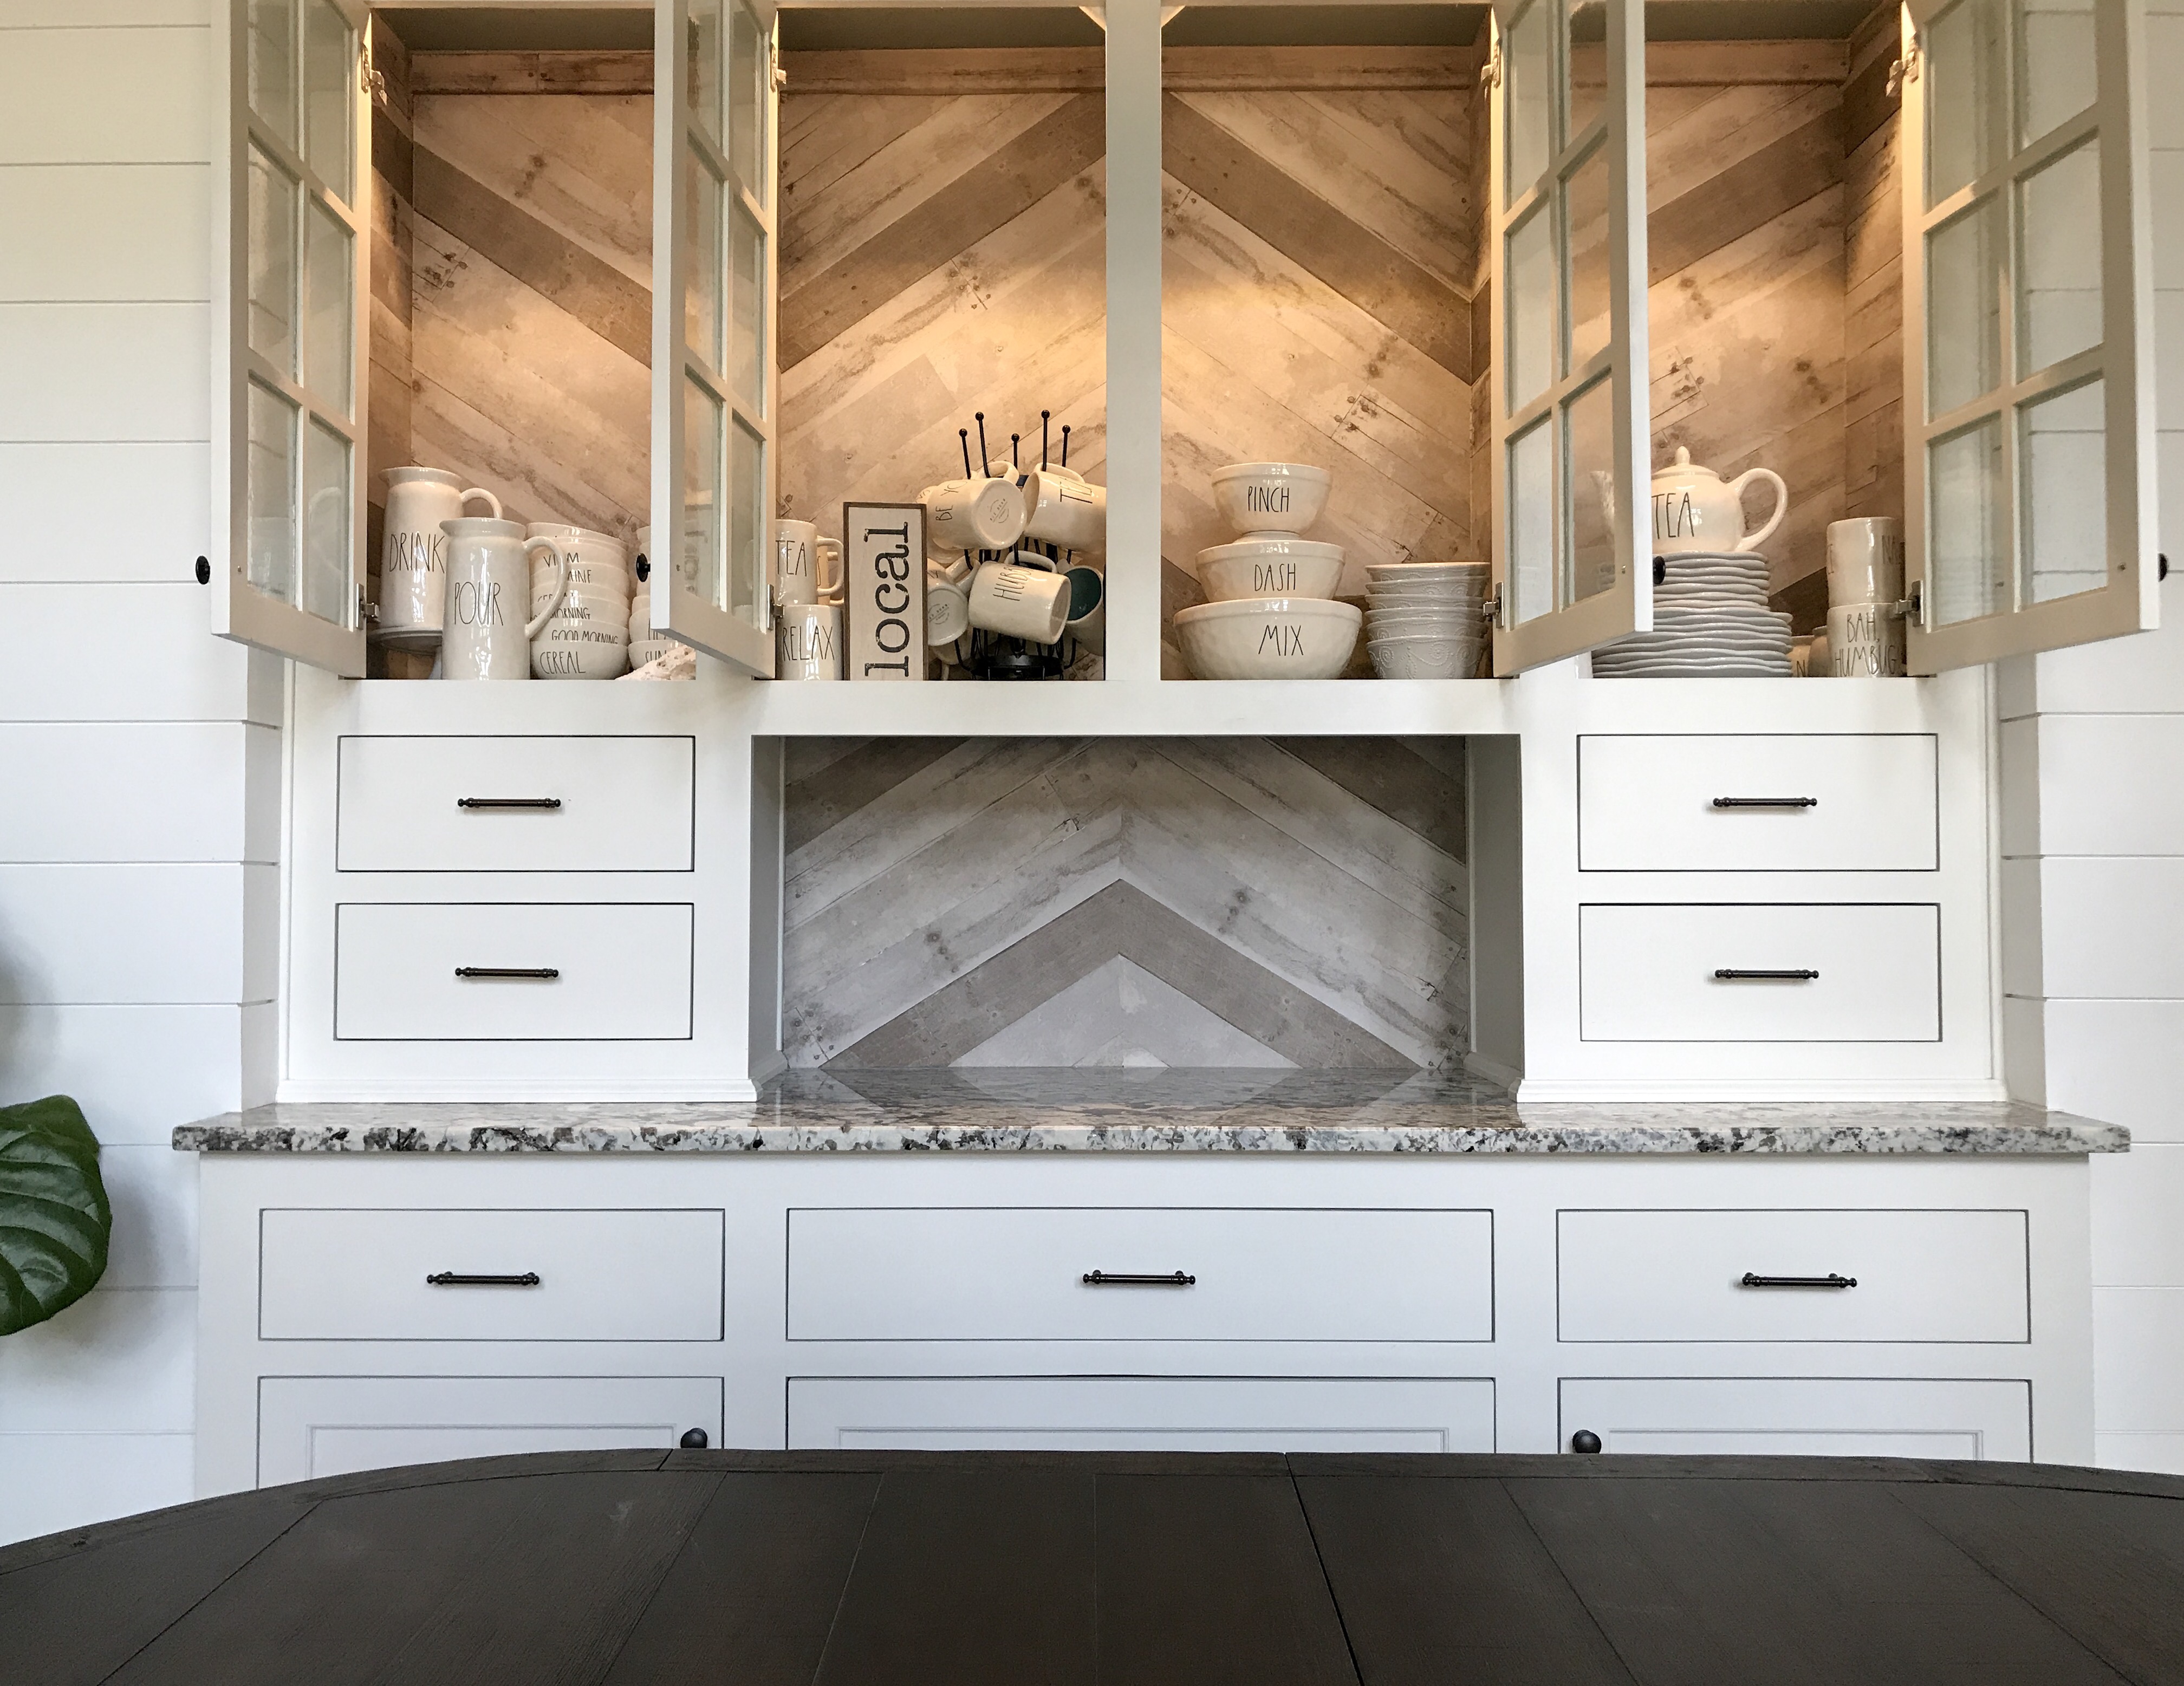
As you do the top area that connects try to connect the pattern. Mine is not perfect but the darker piece is in a chevron pattern all the way across.

This rug is so beautiful with the denim chairs. The colors are great!
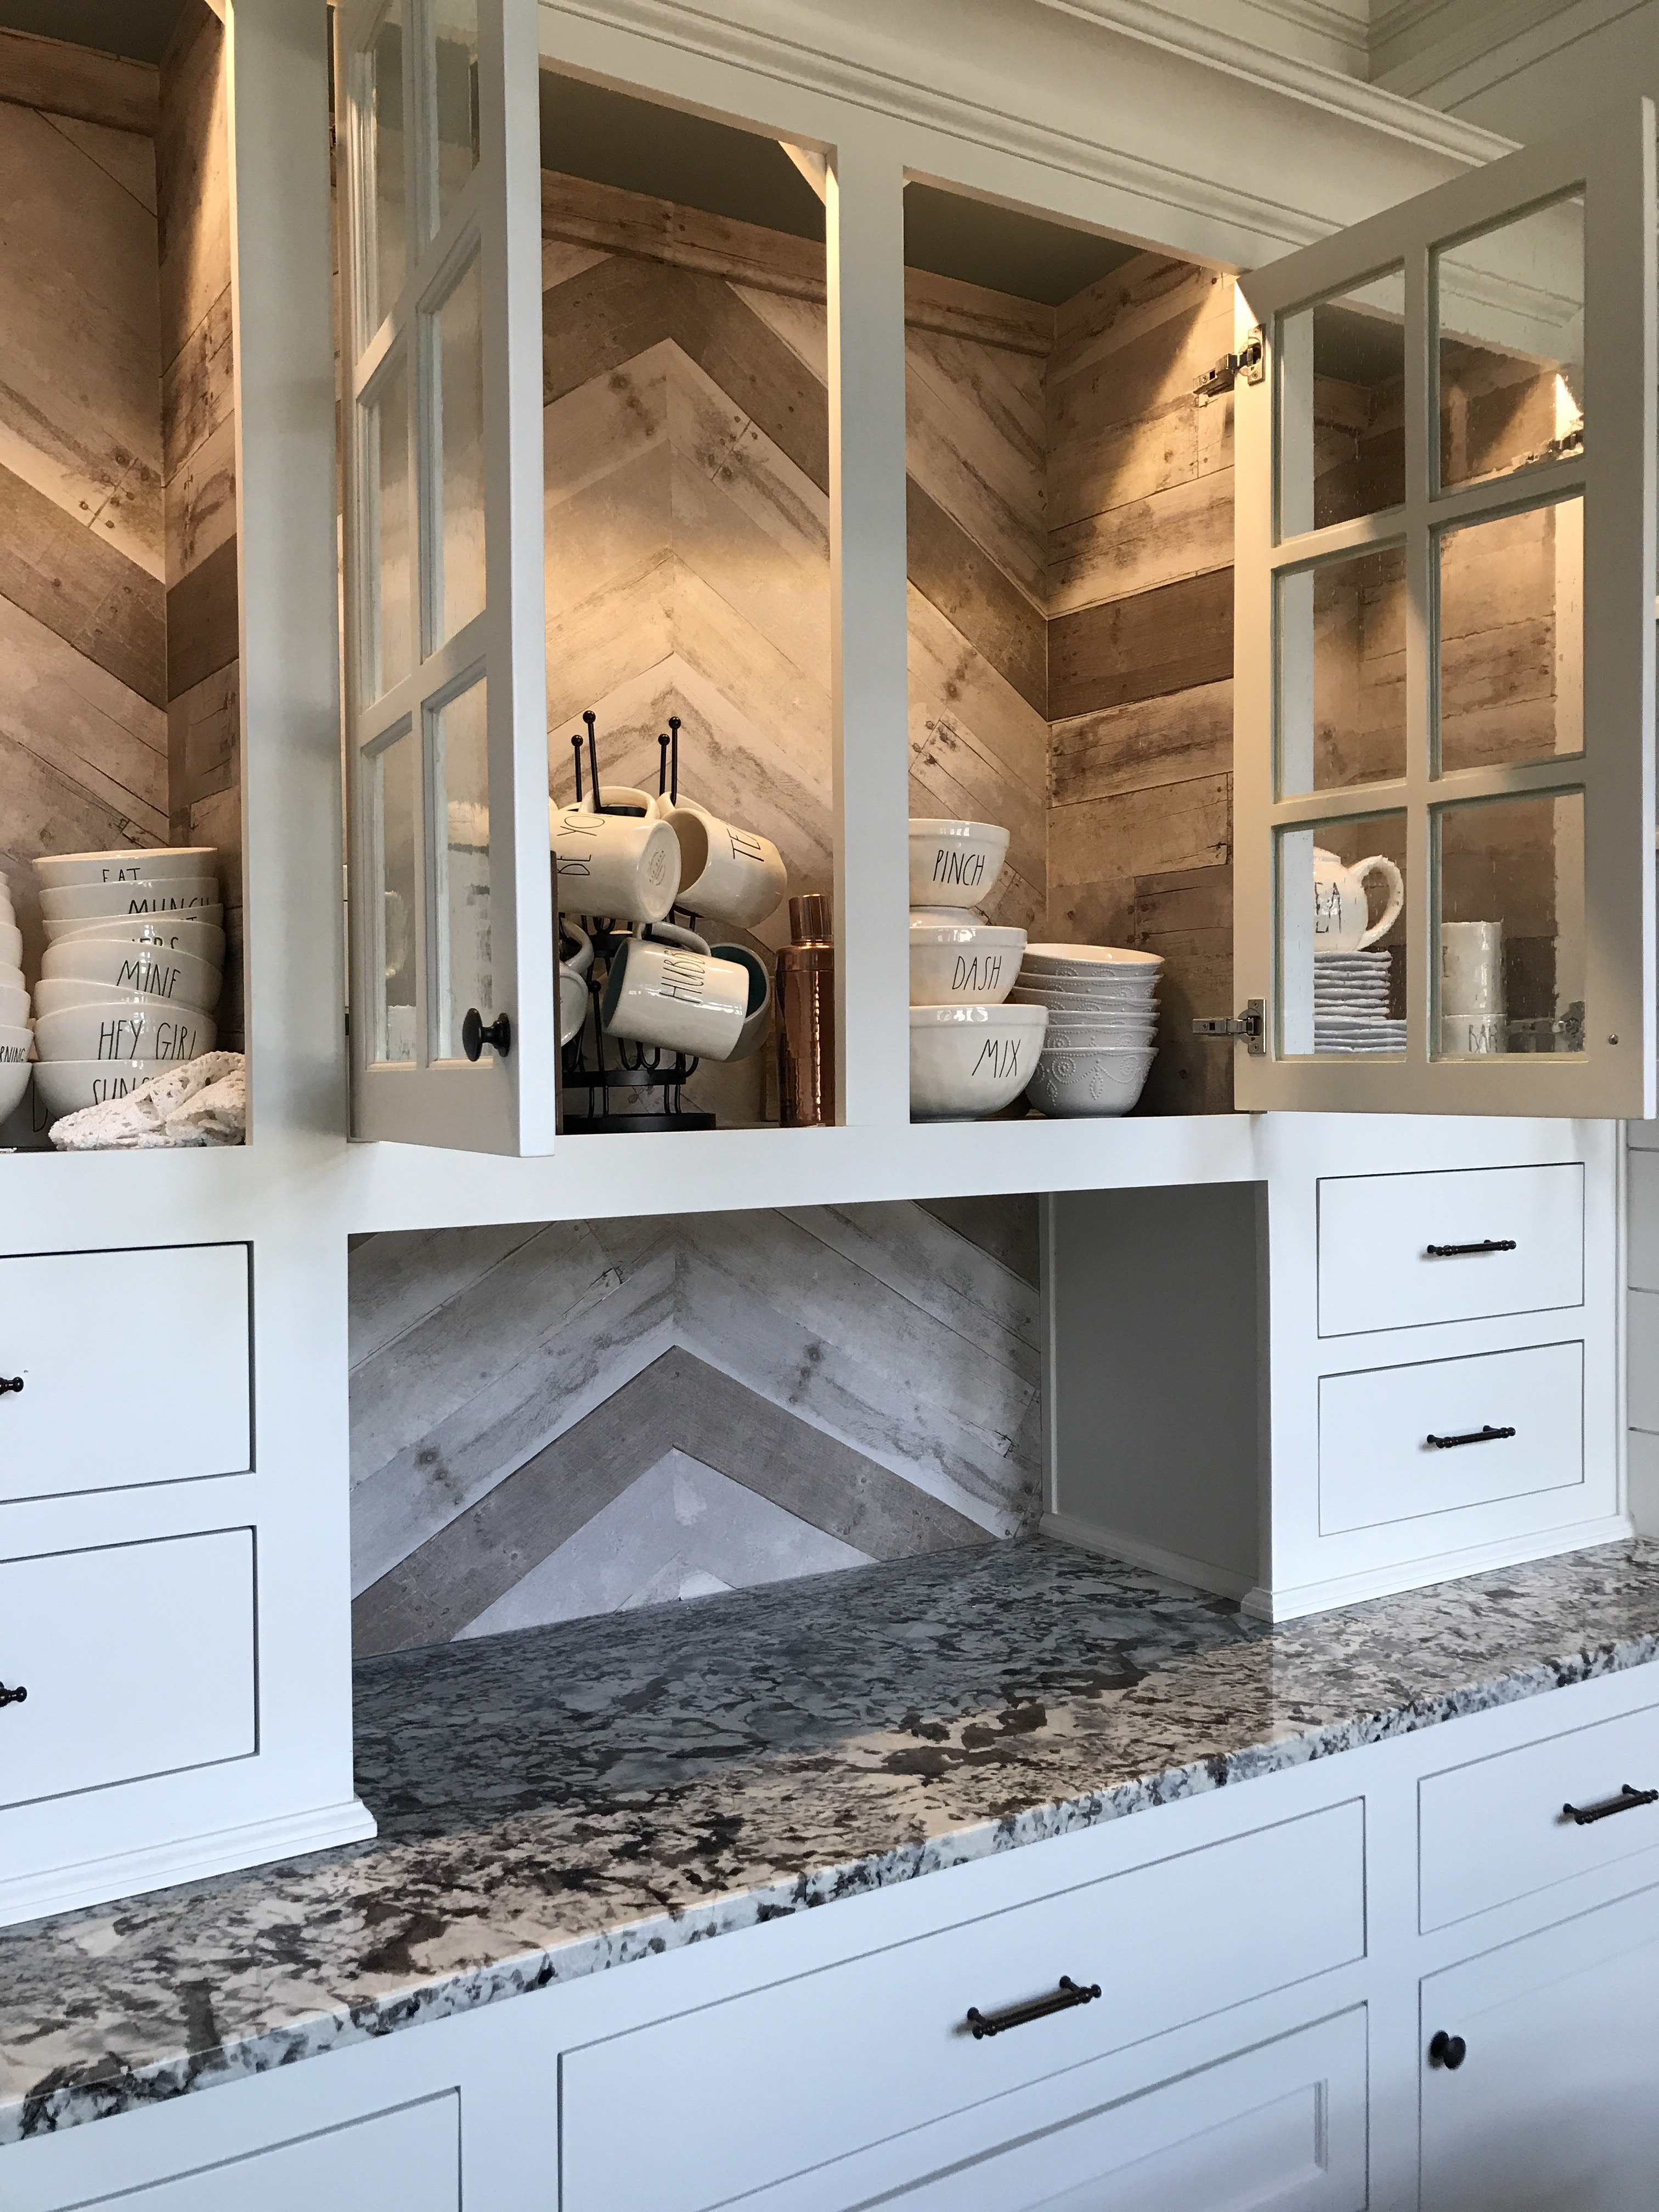
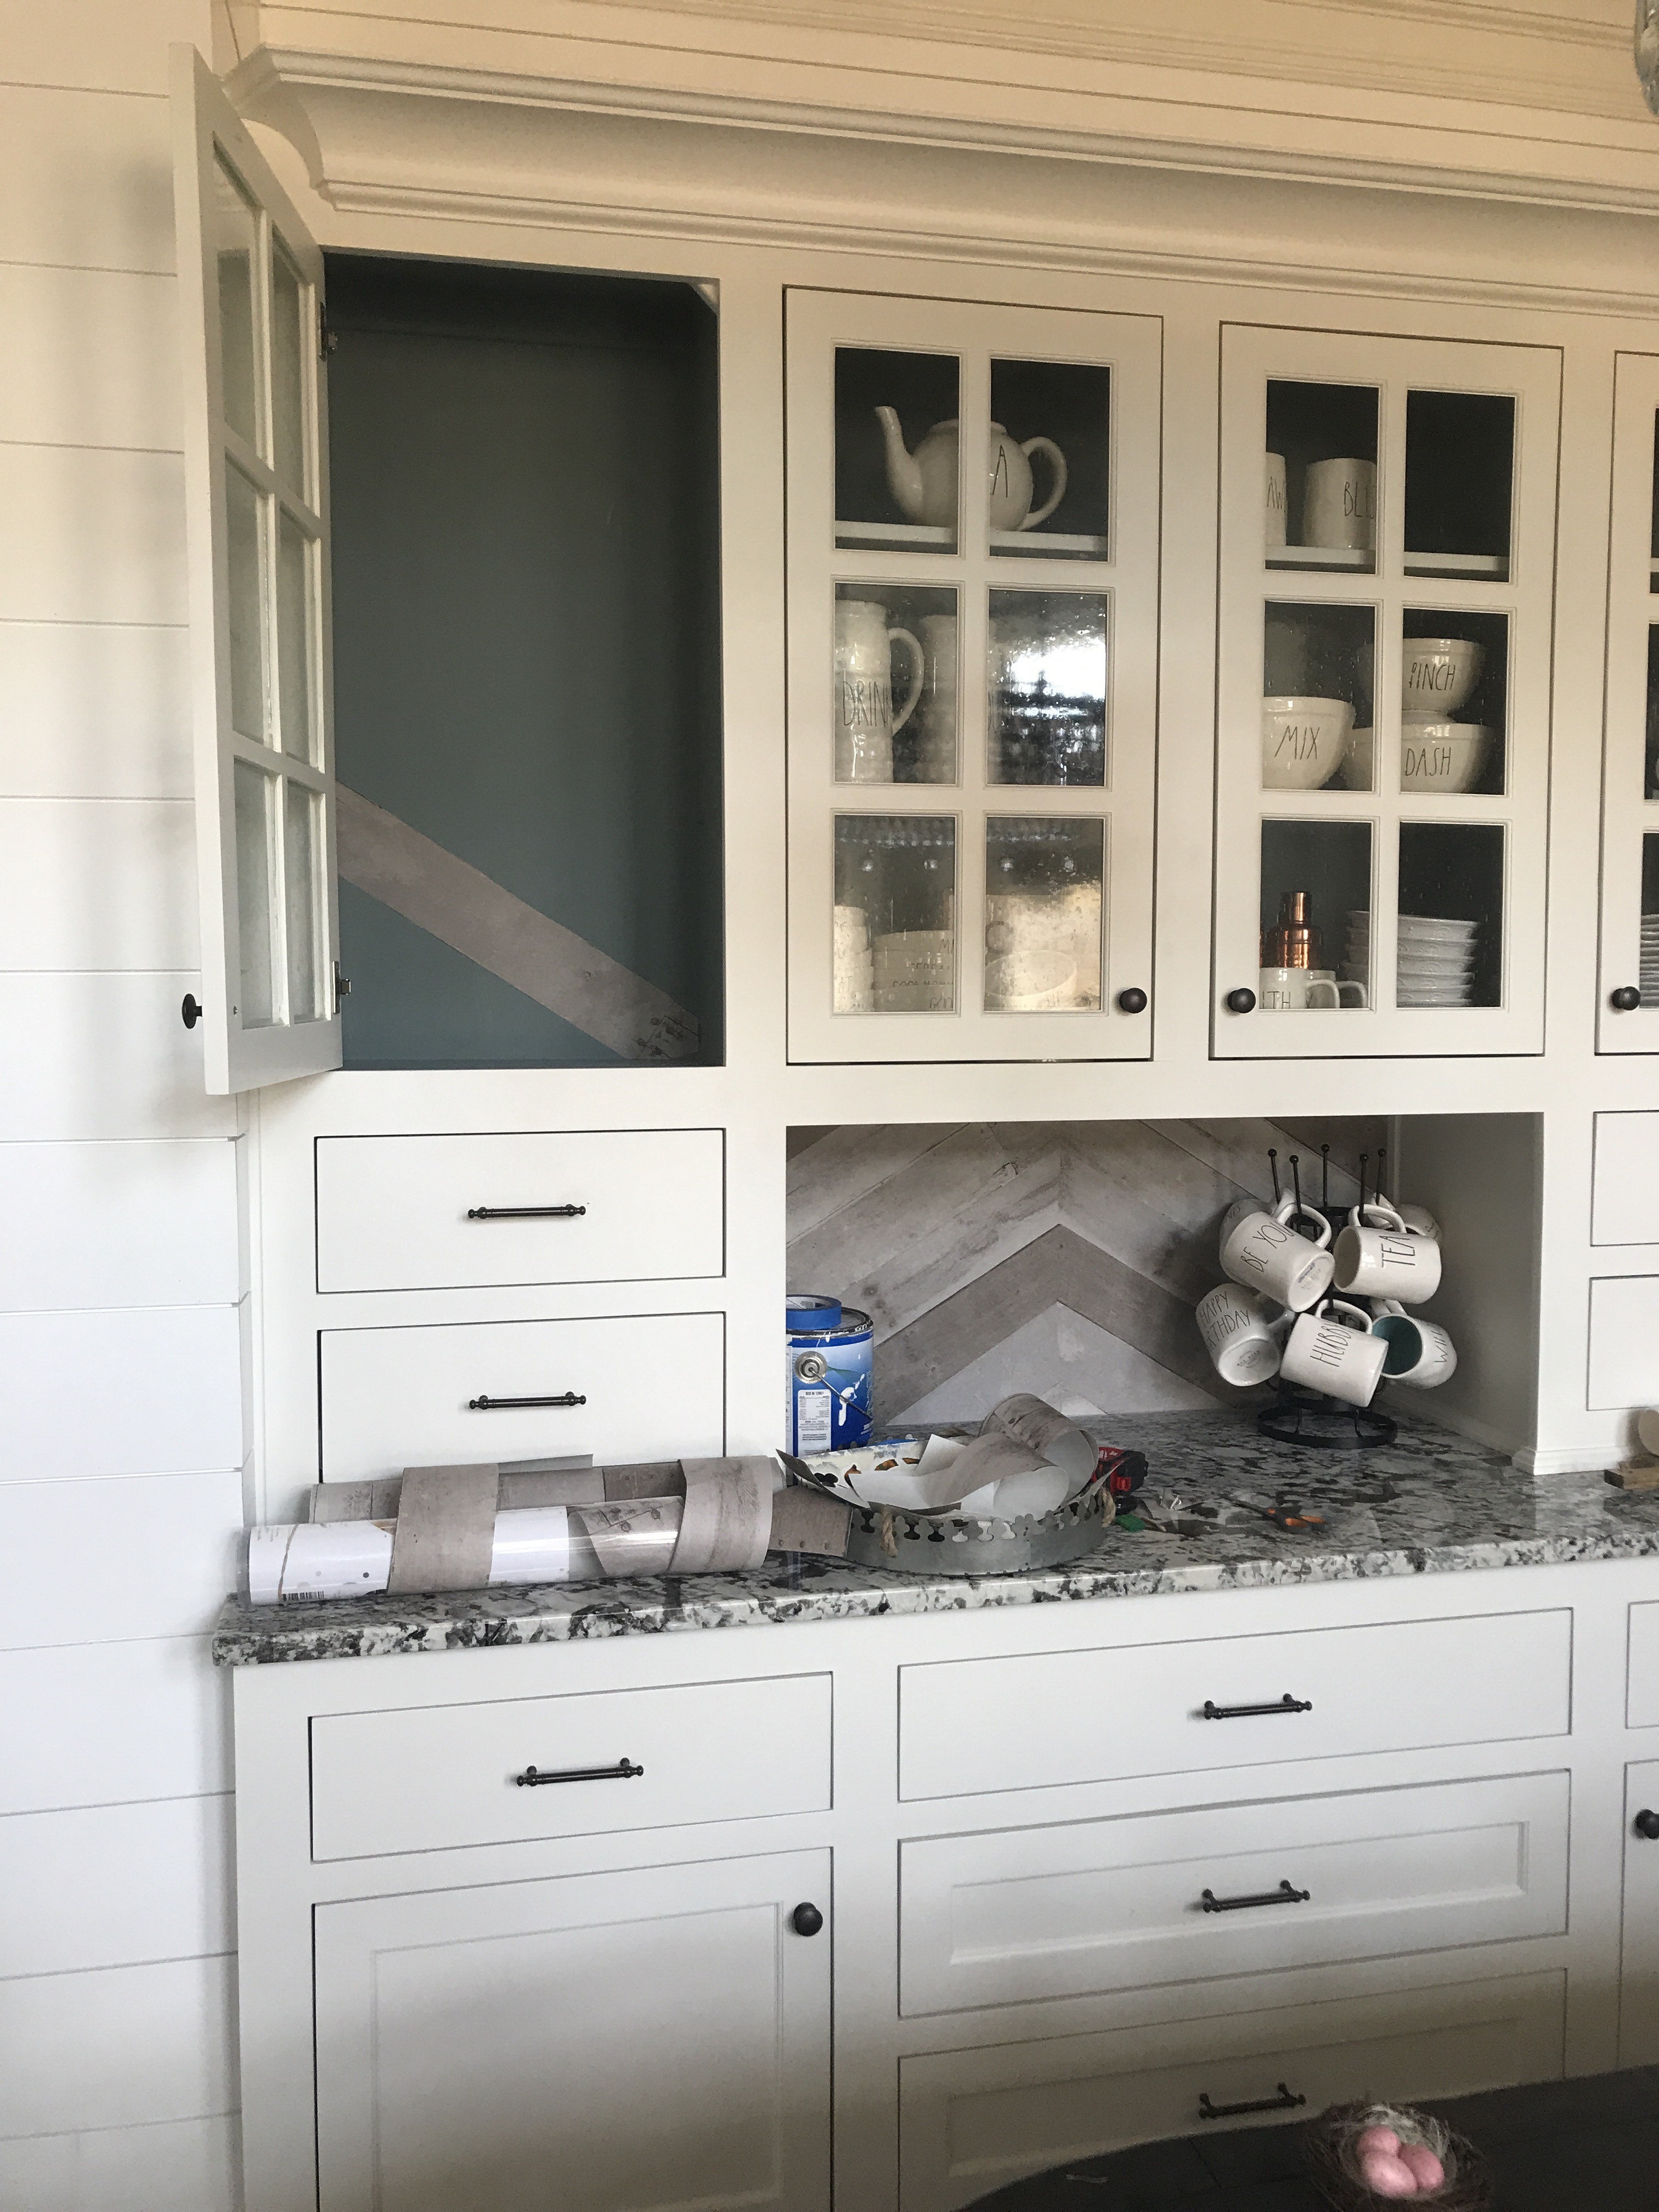
After I finished the chevron pattern, I added the wallpaper to the sides but going in the correct pattern. It went fast because I just cut the correct sizes and laid it out rather than using the planks method.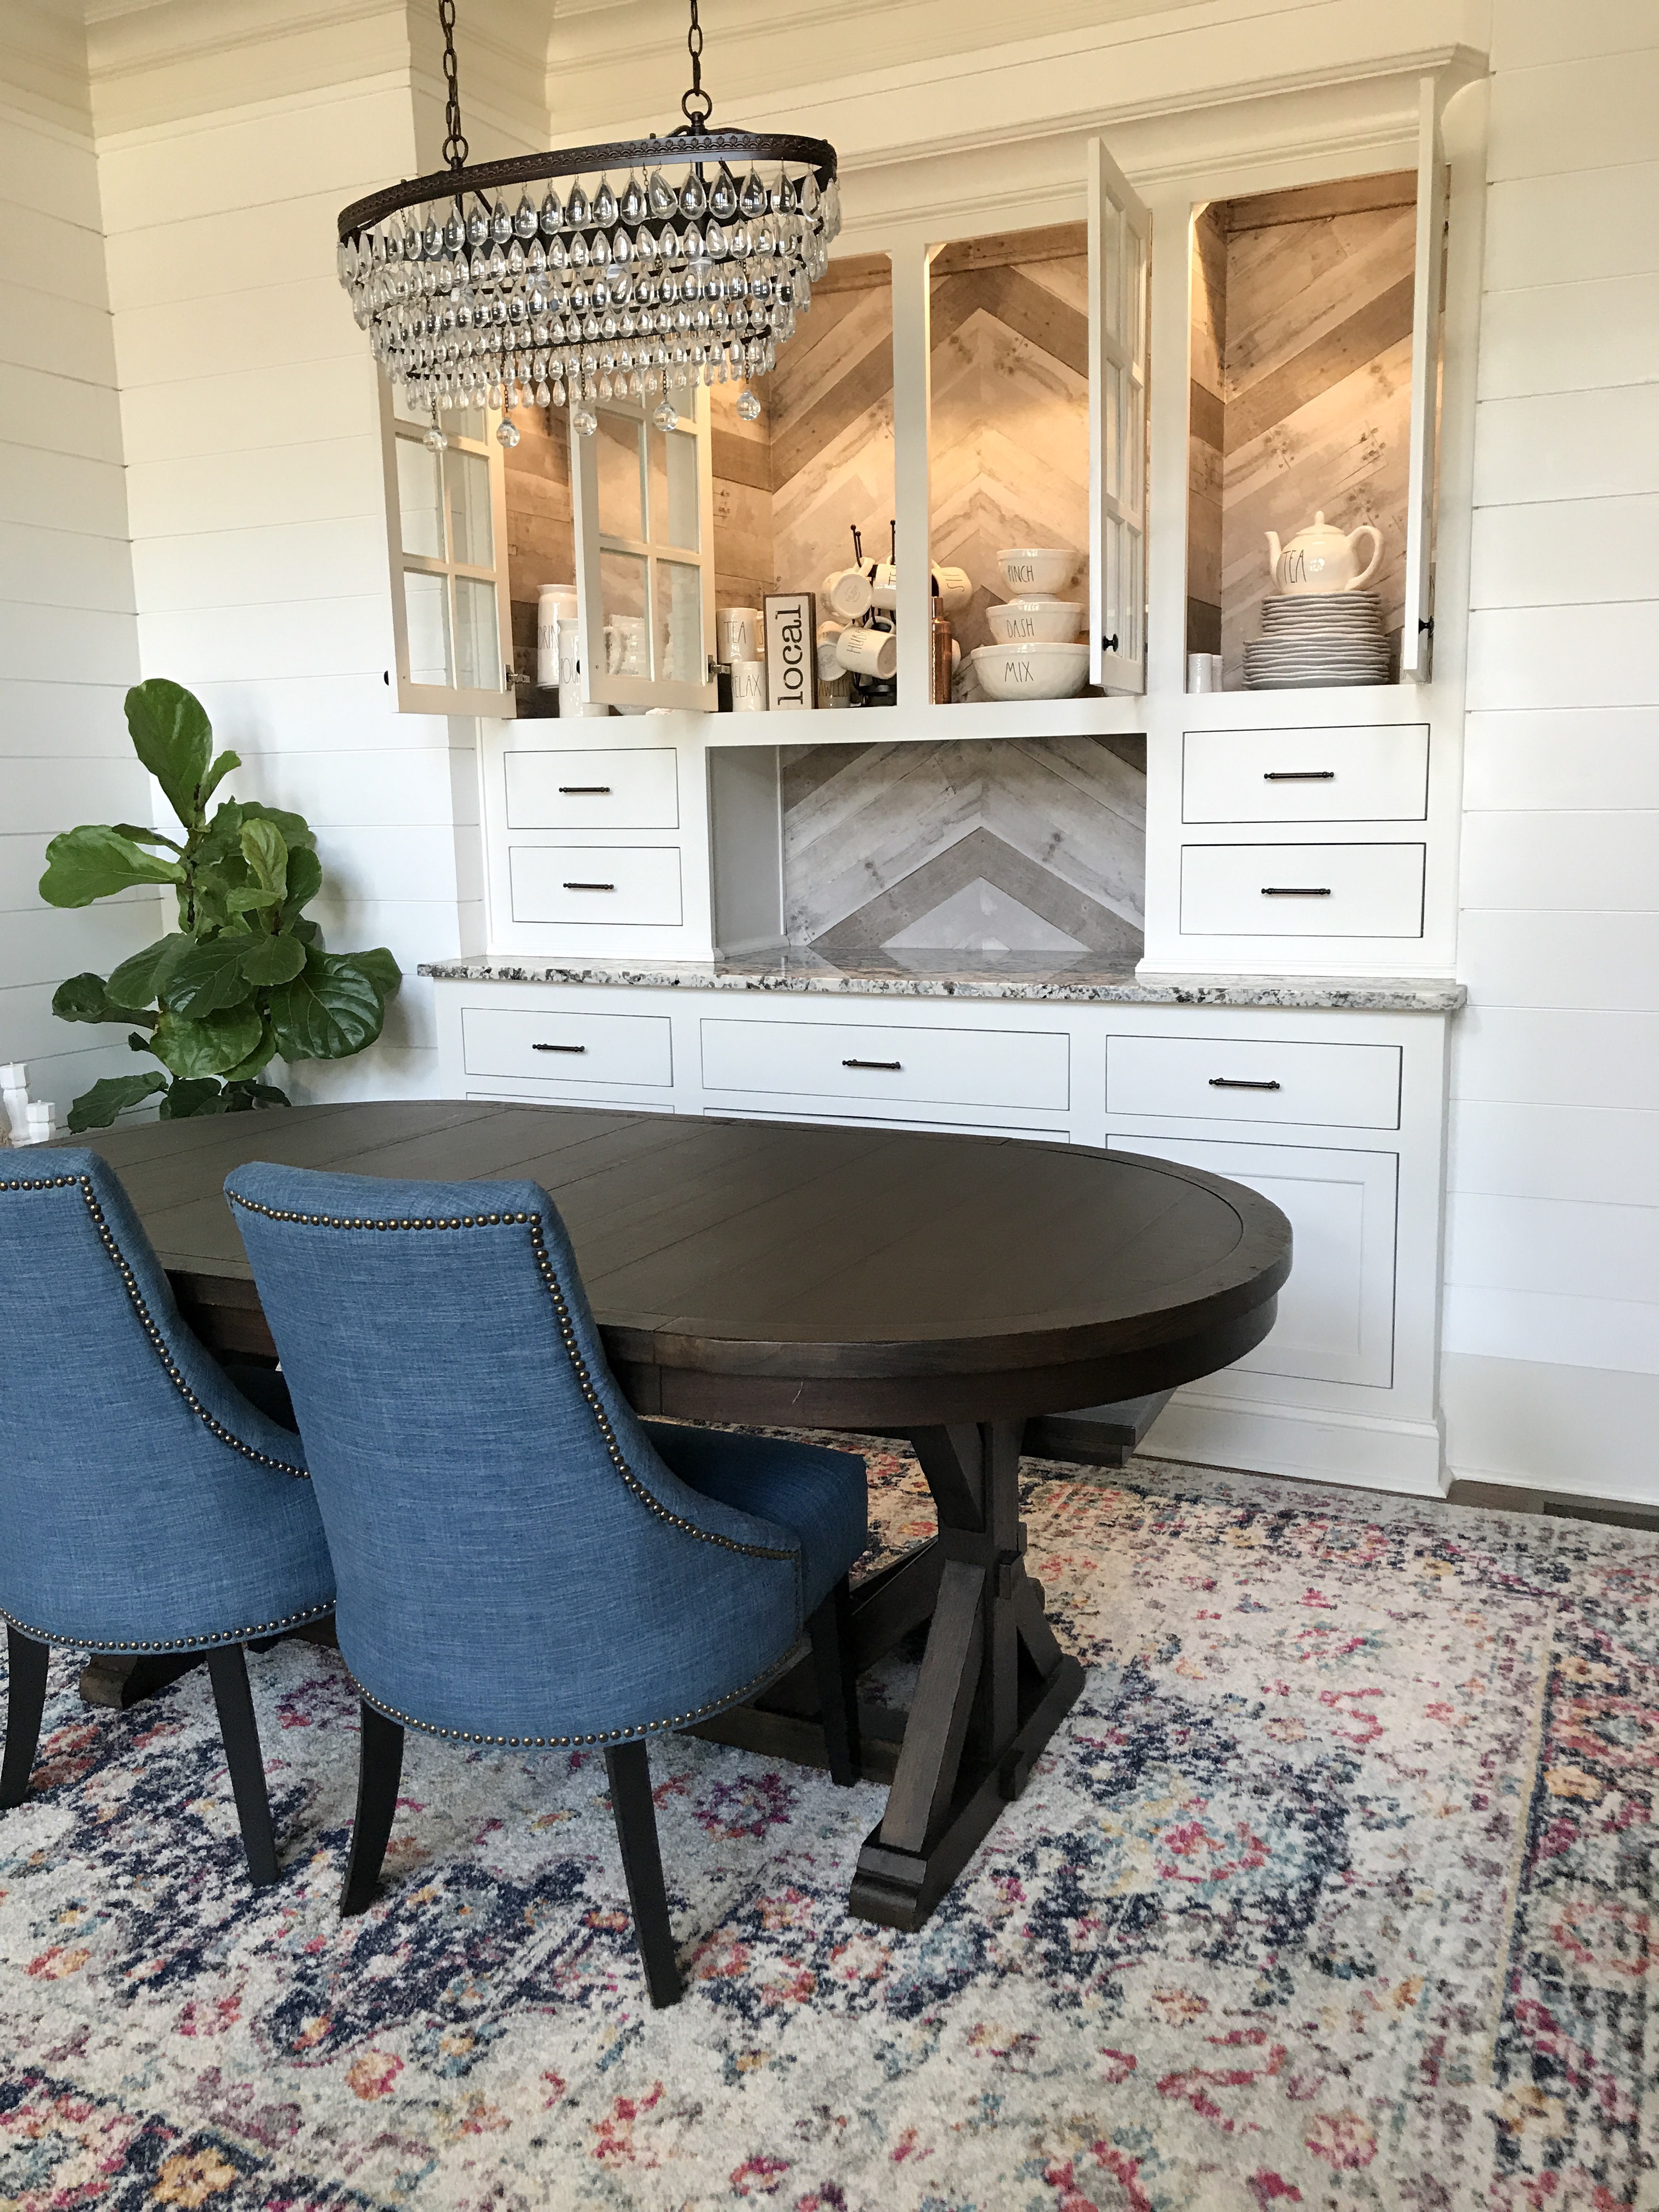
I am loving how this whole space turned out. It’s a little more boho than I usually go but it still vibes well with the rest of the downstairs.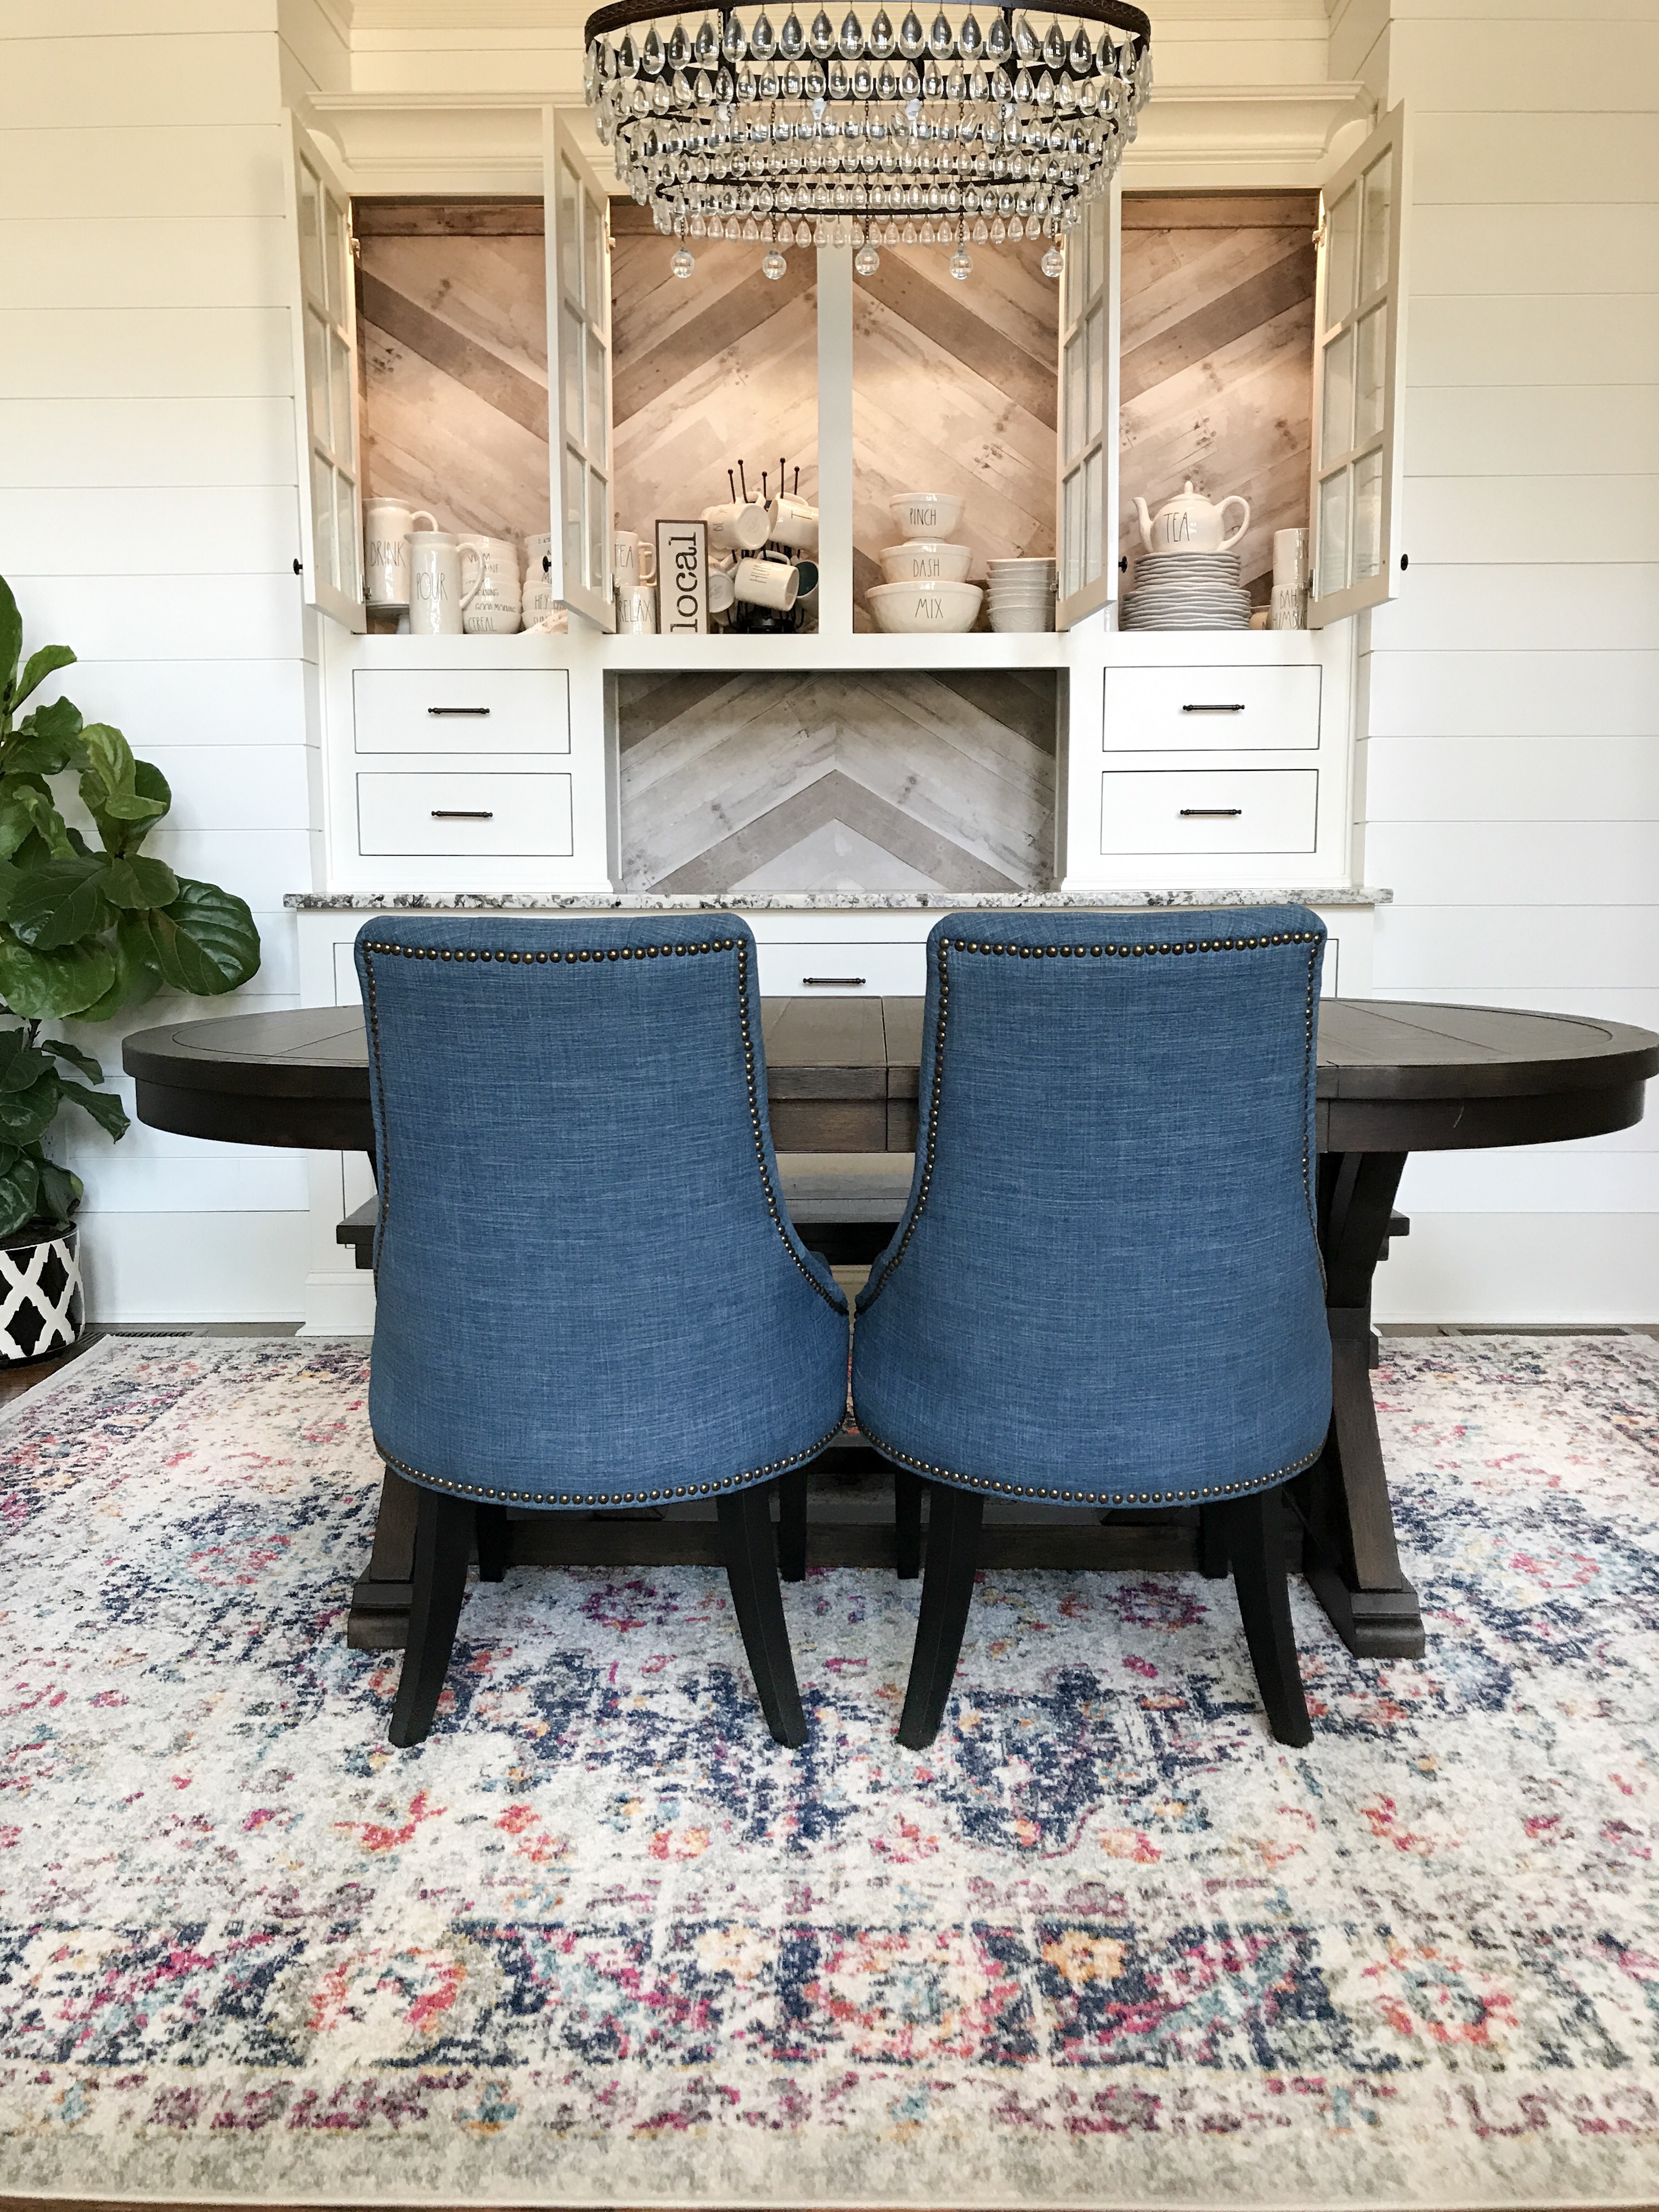
-
-
-
