The main reason I haven’t done a post on this bathroom is because it isn’t finished. It isn’t entirely my fault, but I am now approaching a year of an unfinished project. Palm to face.
My first excuse is I didn’t have a ladder that worked in our super high ceiling, super weird shaped, small bathroom. Safety first people. I need to either buy a ladder that works, ladder suggestions welcome, or an assistant to hold our current ladder at the right angle while I climb to finish.
My second excuse is I’m pregnant, and shouldn’t be around paint. I’m gonna go ahead and call this project won’t get finished until after this little baby boy graces us with his presence.
In the meantime, I have had a ton of questions on how I did it so I’ll tell you how I shiplapped and stenciled 95% of my bathroom.
This is the stencil I used. You can buy it here.

My methods in here were actually experimental. I have used this exterior double sided tape before to hang light objects, but wasn’t sure how it would work to hang shiplap. My reasoning to use tape was because I didn’t have a nail gun, and if it worked it saves a step of filling nail holes anyway.
Materials
- Shiplap- 1/4” underlayment plywood (cut into 8” planks- Home Depot cuts it for you!)
- Scotch mounting tape 5lb
- Chop saw or some saw to cut wood to length
- Tape measure
- Caulk
- Paint
- Stencil
- Paint Roller
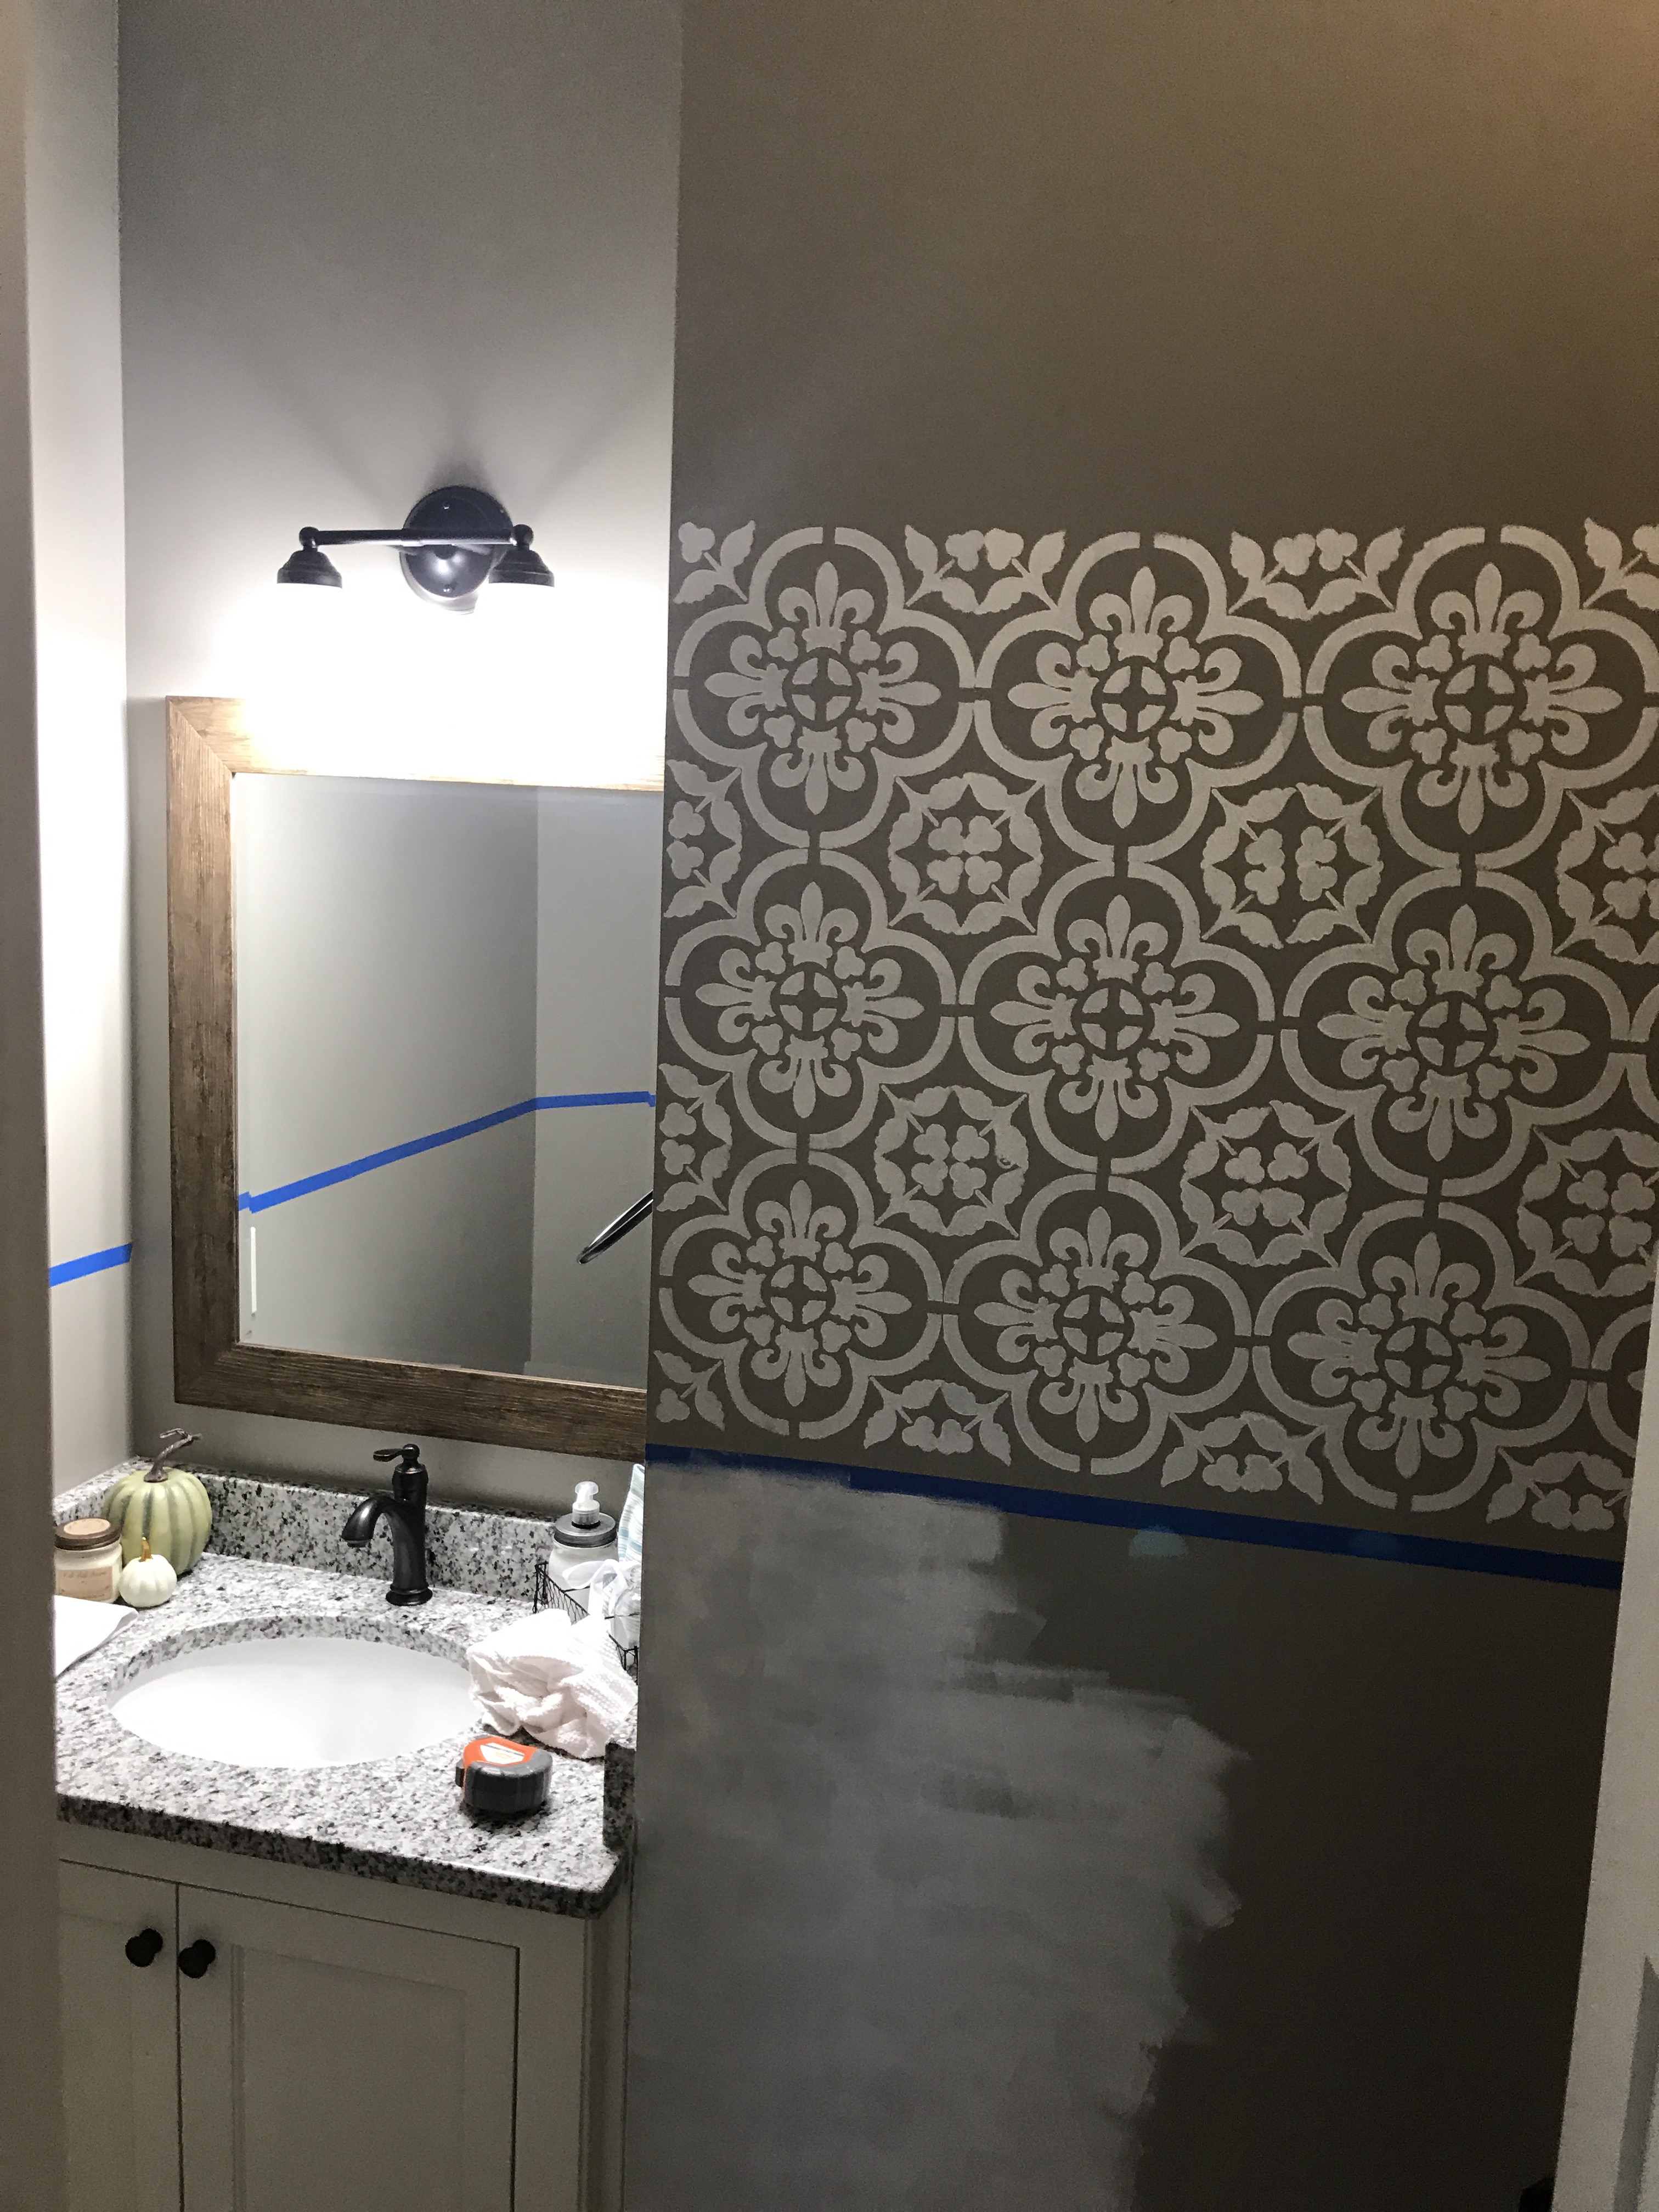
I started with the stencil after marking where I wanted my shiplap to run to. I wanted a wainscoting so I marked it at 48”.
I used Sherwin Williams Alabaster for the stencil and the wall color is Sherwin Williams Intellectual Gray.
The stencil took me a minute to figure out. I trimmed it down a little from how it arrived. I would line up the middle areas and sides to where it was almost touching the shape below or beside. It took time because if the stencil below wasn’t dry enough it could smudge. I also should have been better at removing paint from the stencil. At the end I had a build up of paint, so I would suggest wiping it along the way to prevent that.
I can’t explain the random paint below the stencils.
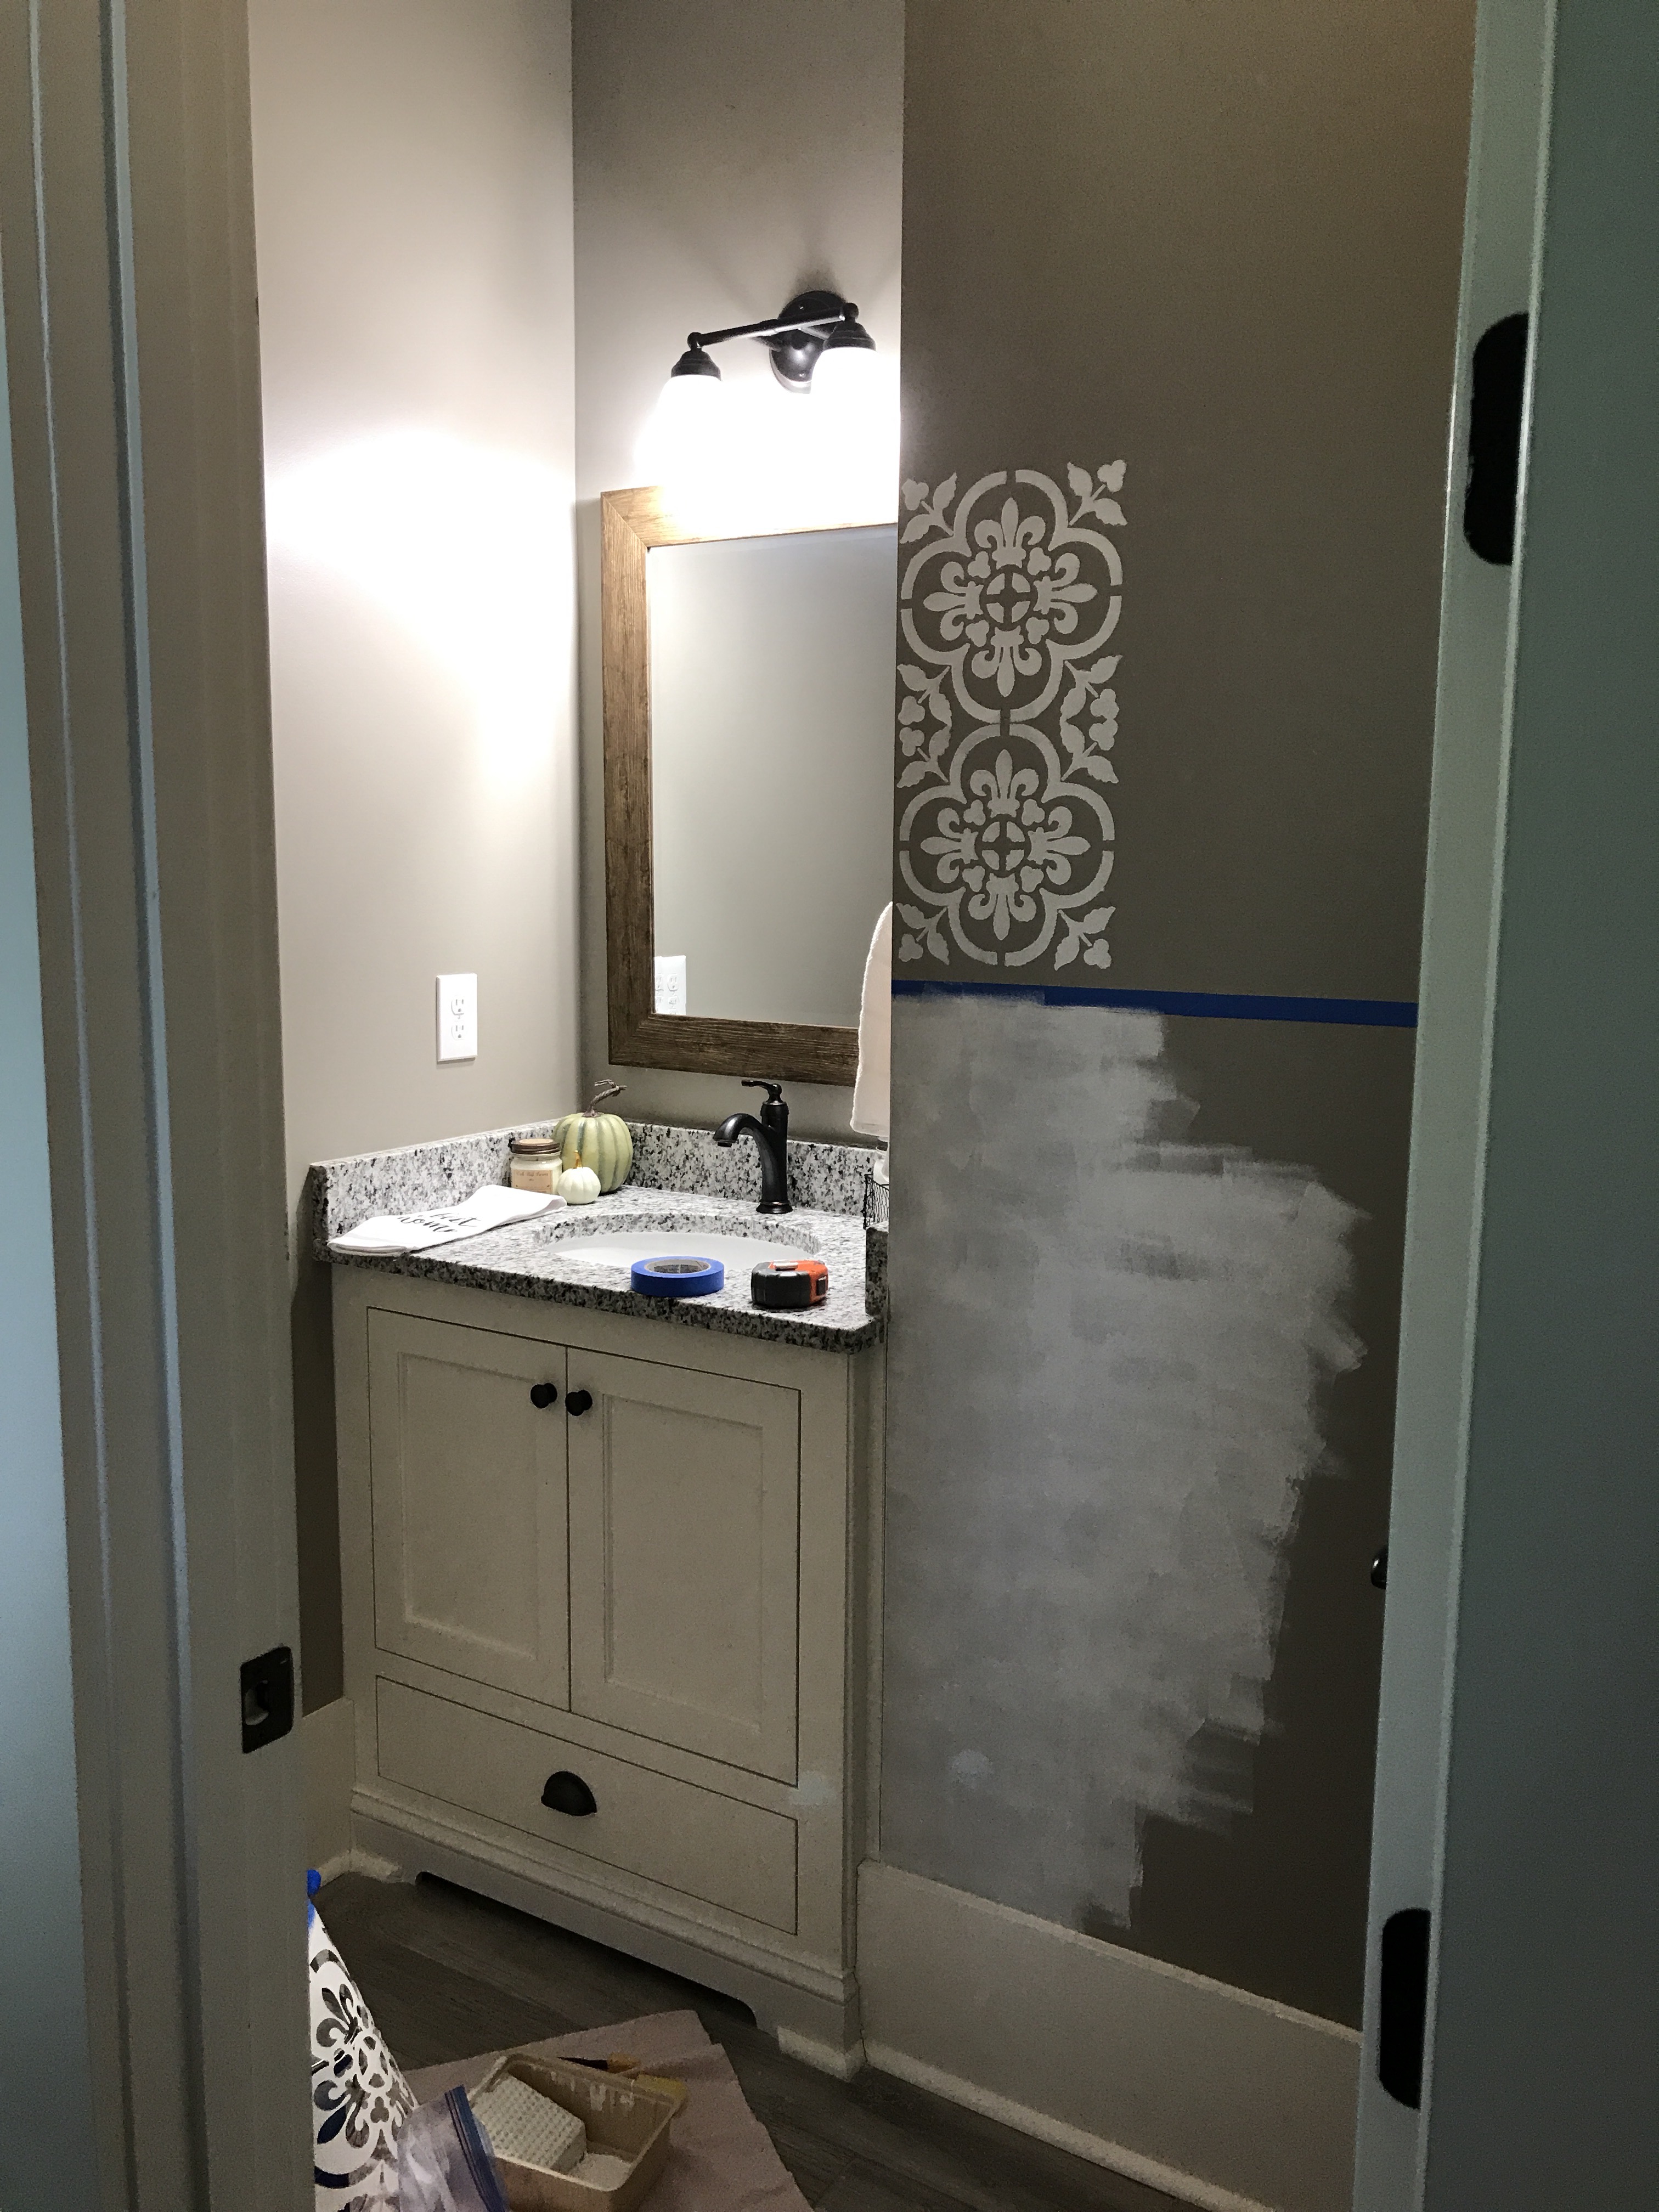

I stenciled and stenciled.

I simultaneously decided to start adding this shiplap at this point. Maybe because I was tired of looking at that paint blob.
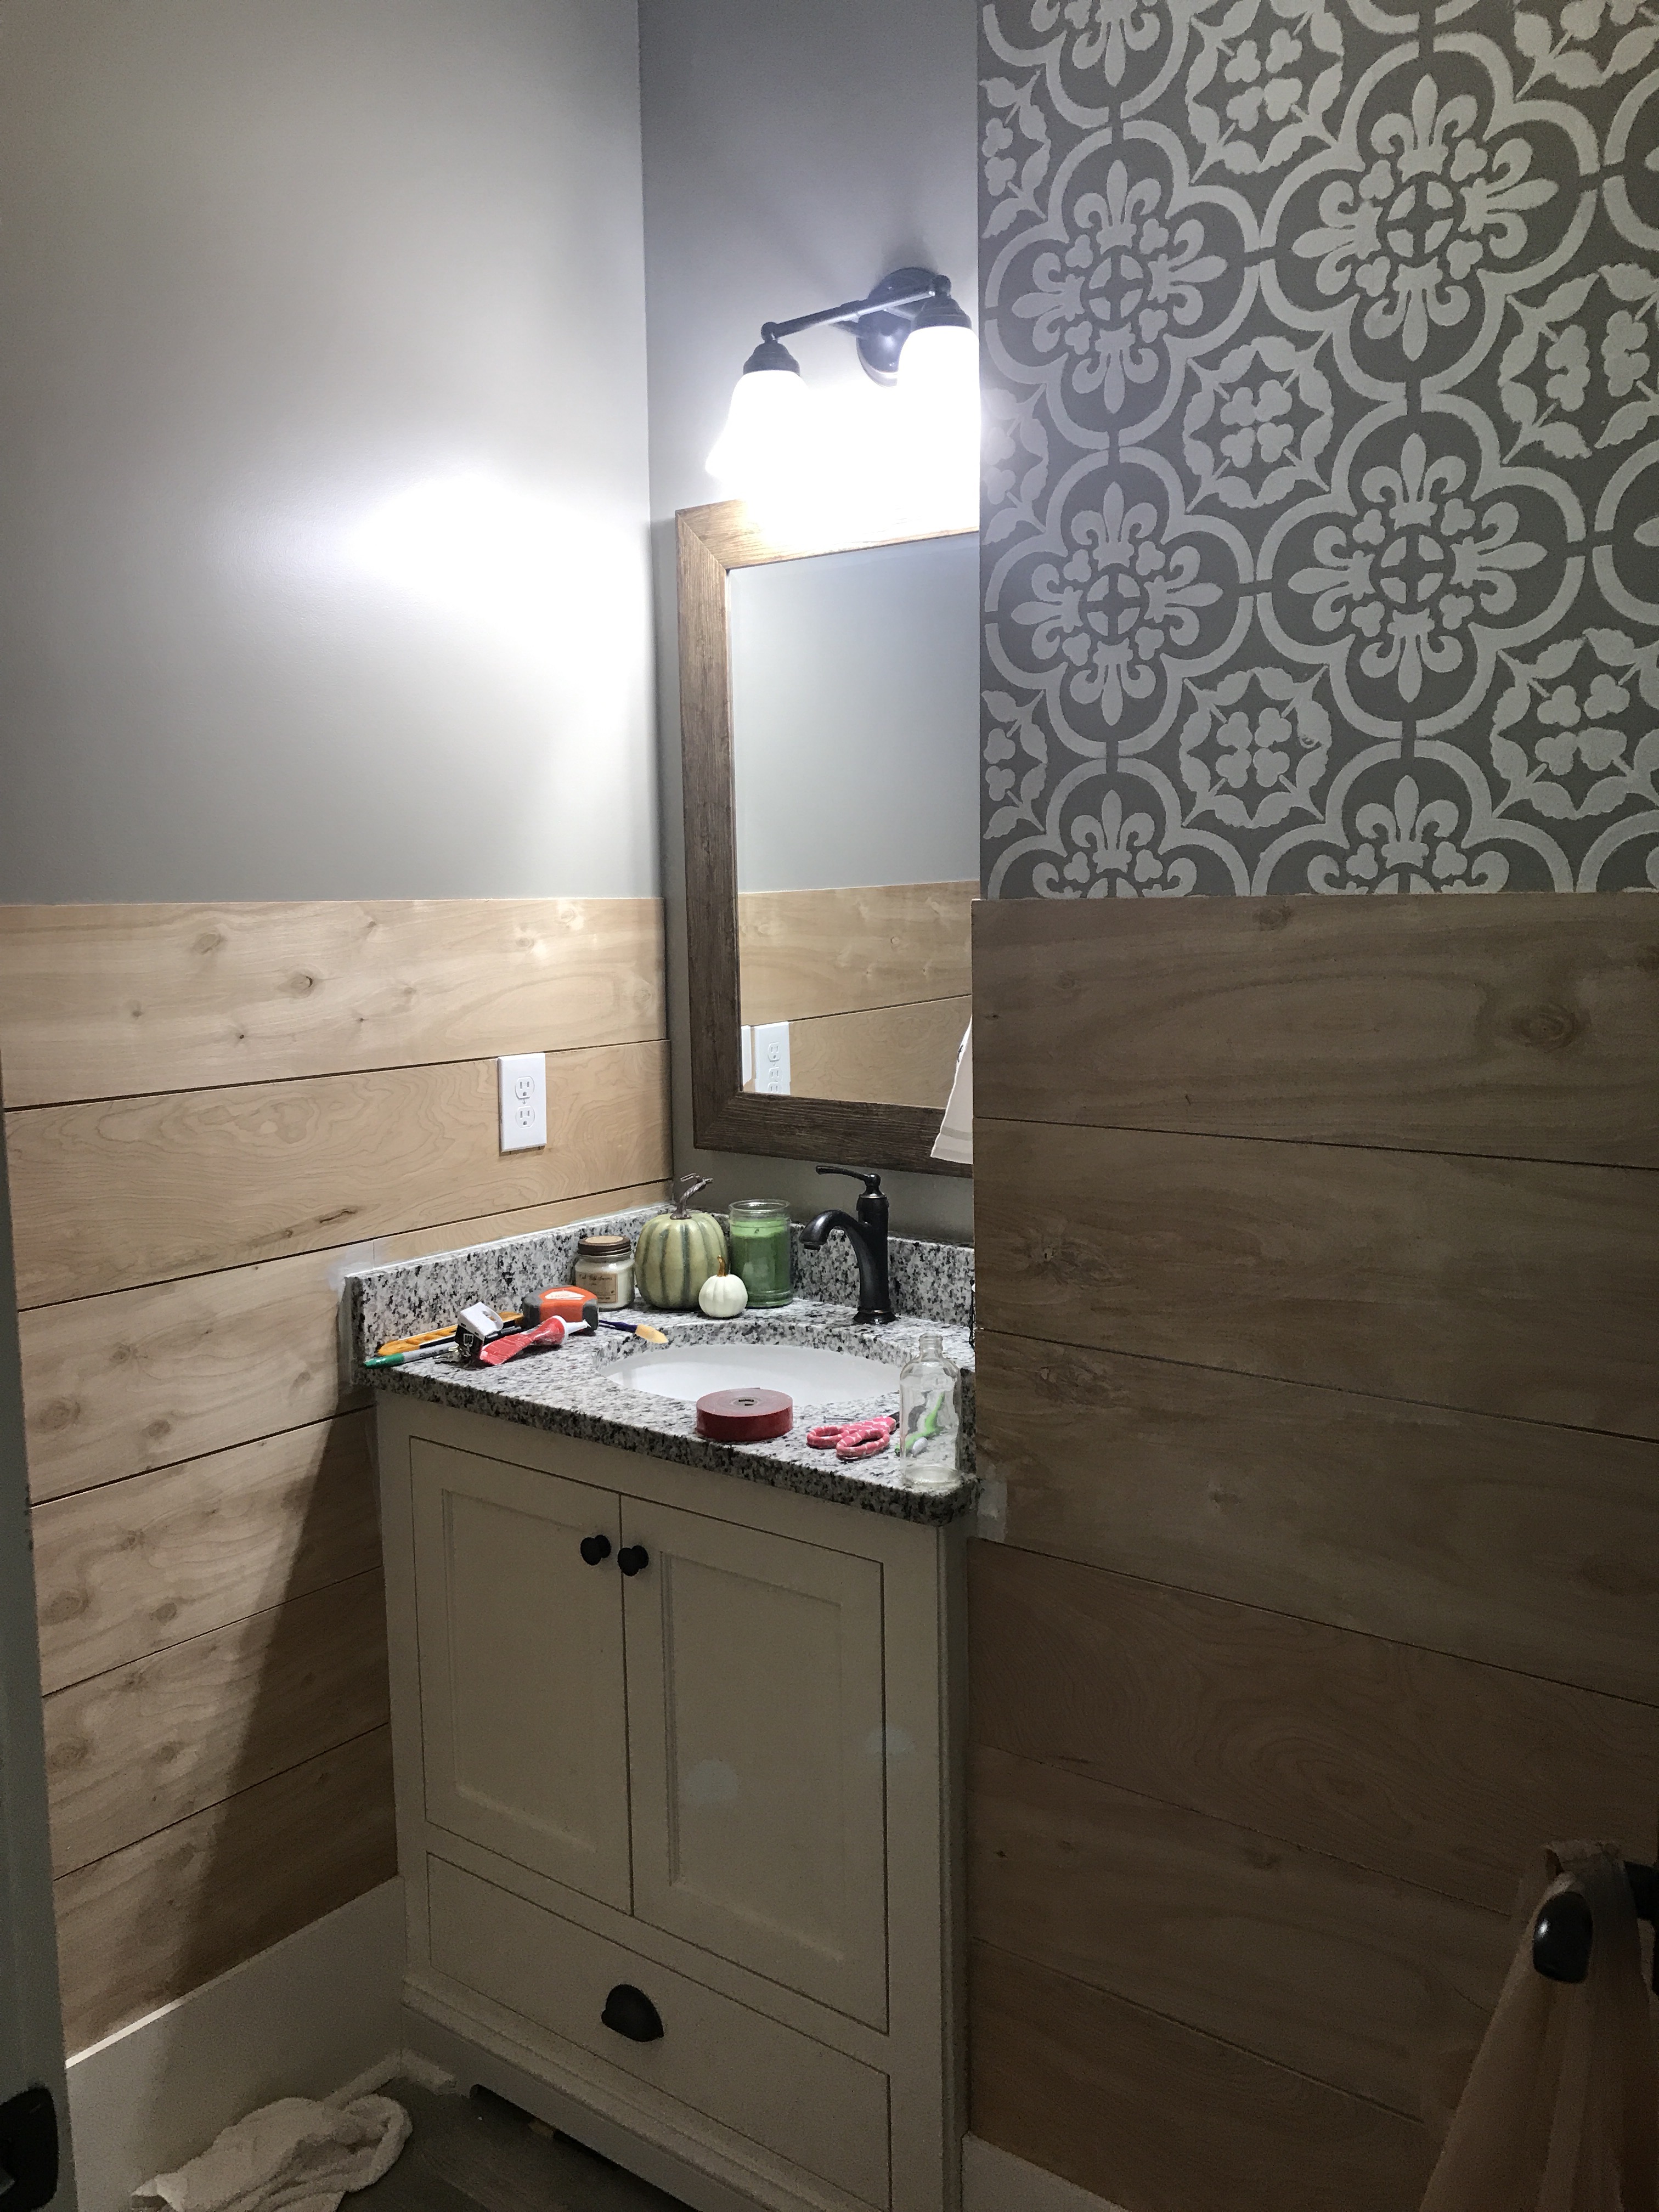
Home Depot had ripped my plywood to the correct 8” planks, but I had to cut them to the correct length. Light switches and plates should be removed and the shiplap cut around the outlet and the cover replaced on top of the wood.
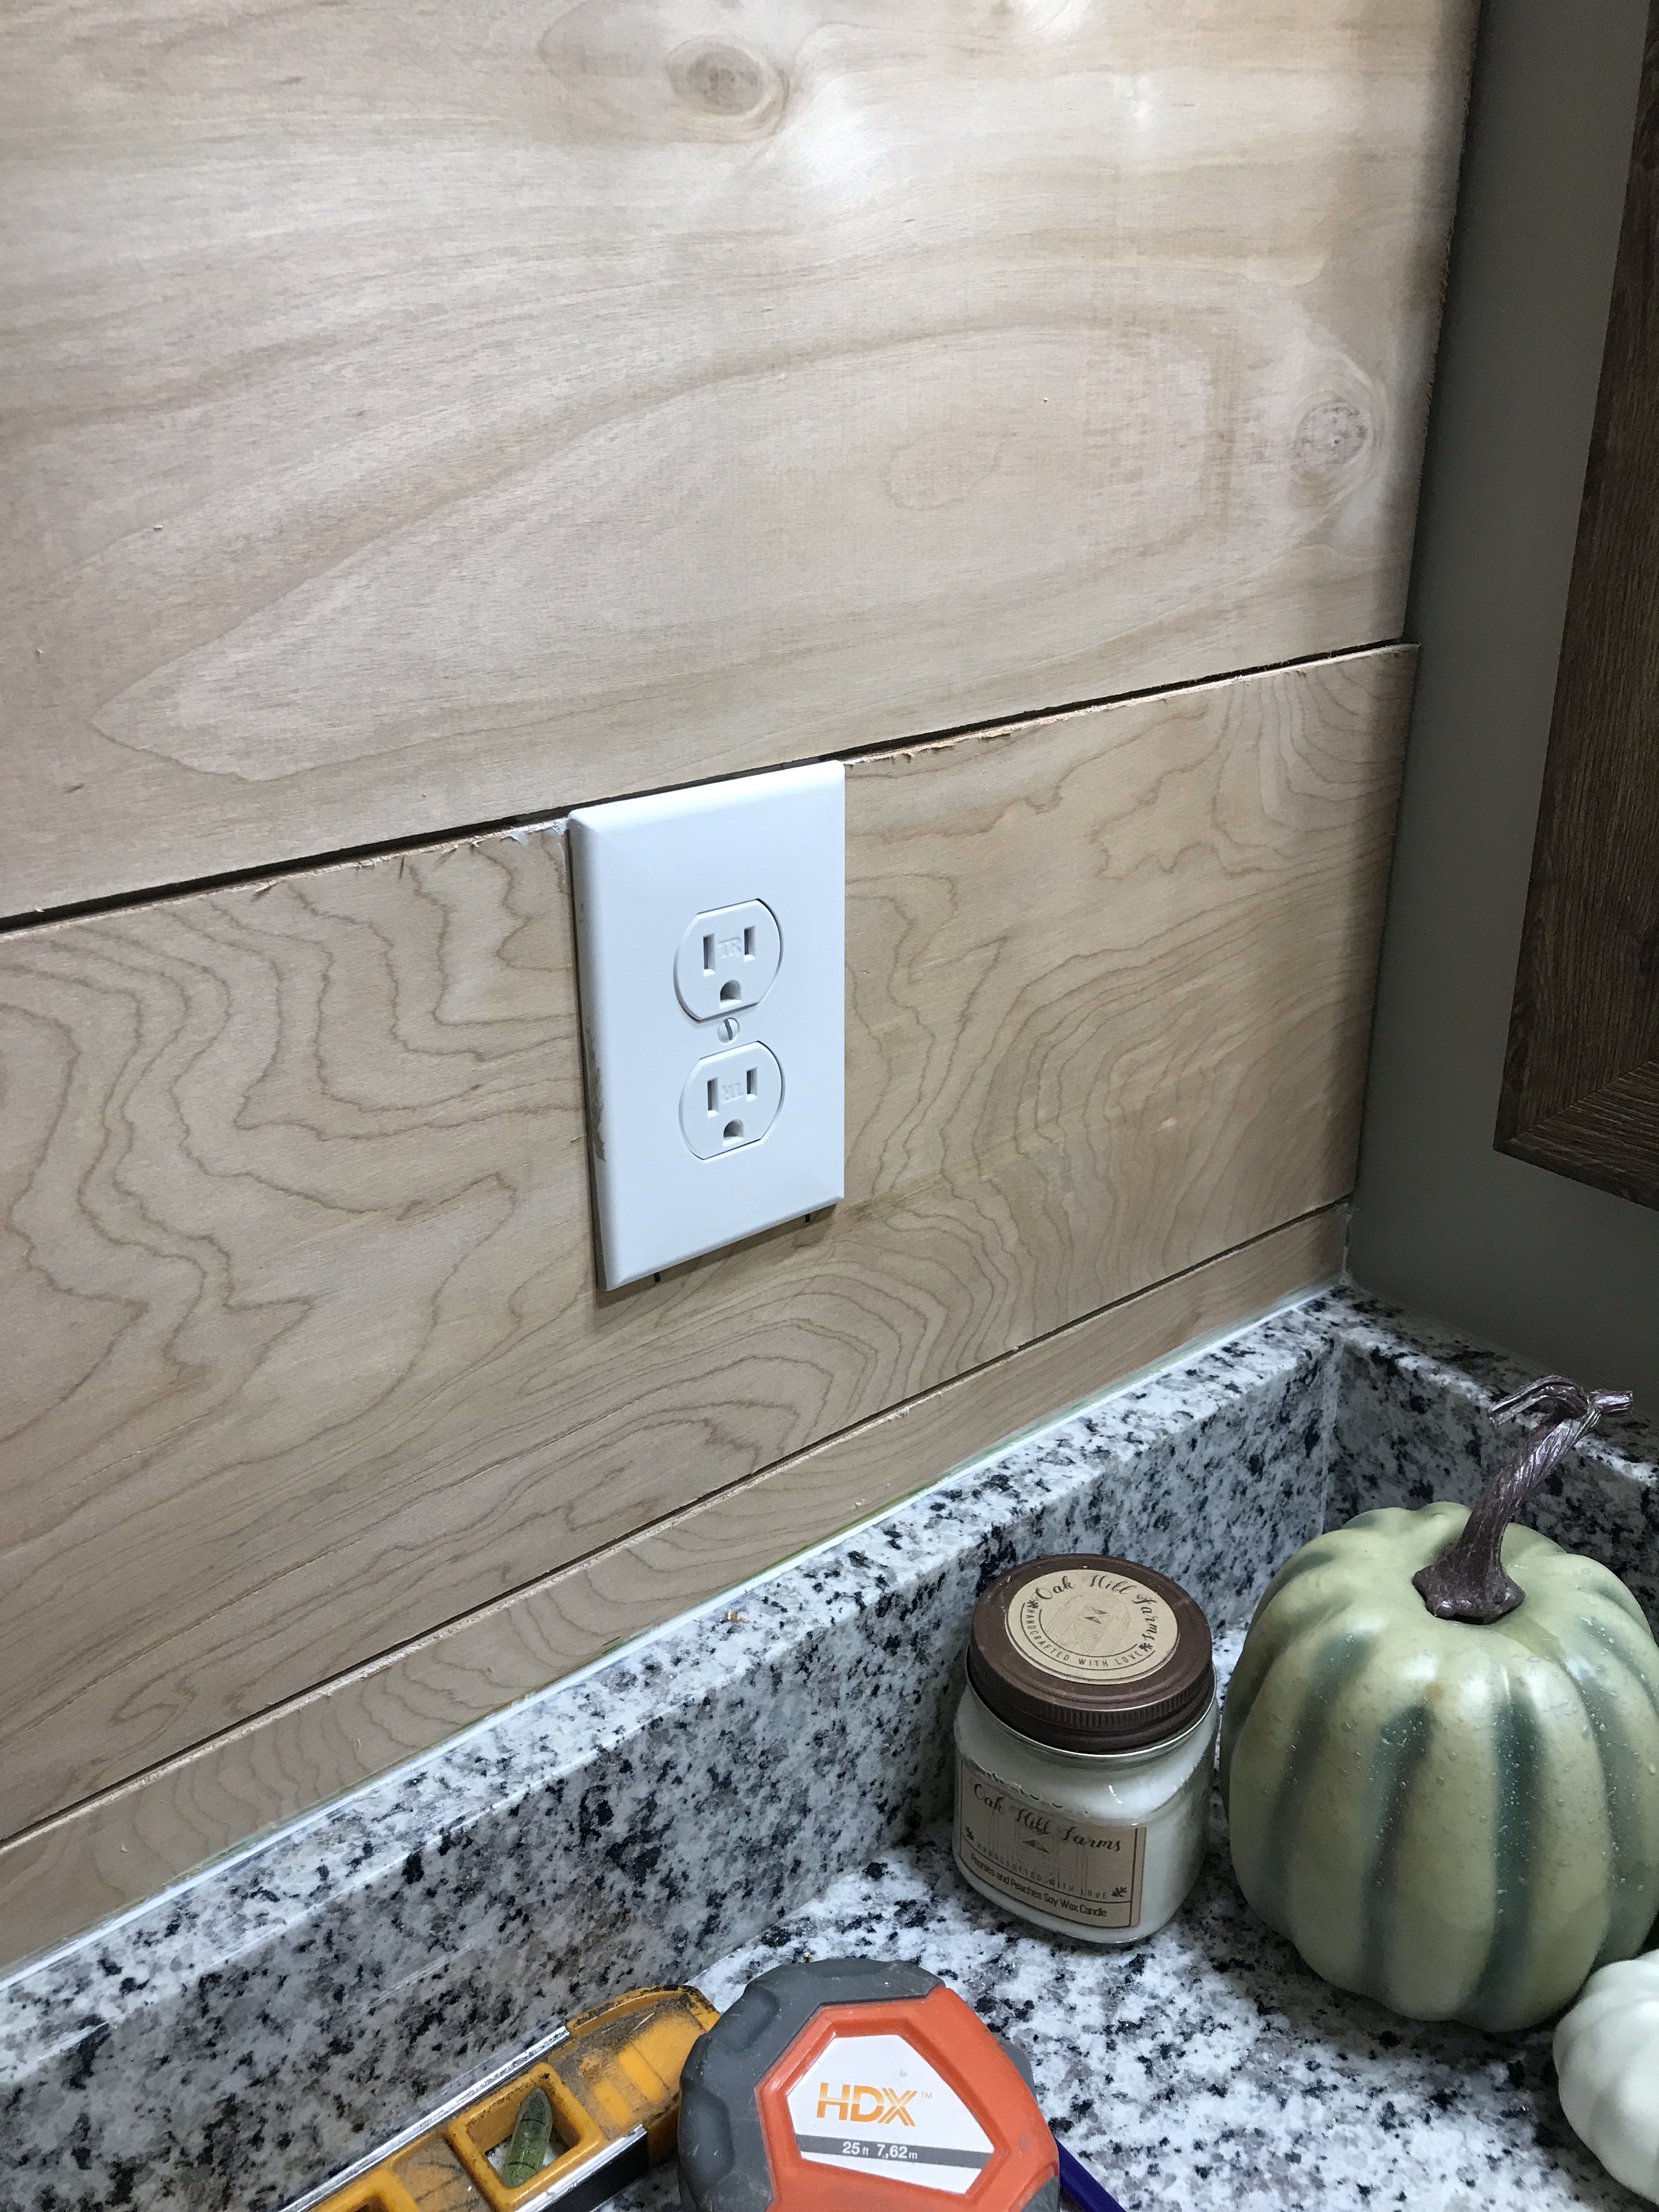
I placed the double sided tape cut into approximately in 3” pieces every 6-12” on the back of the shiplap. Across the whole back of the board.
Using a level, carefully attach it to the wall by pushing. You have to be very careful to place it to the wall level because there is no adjustment once the tape is stuck.

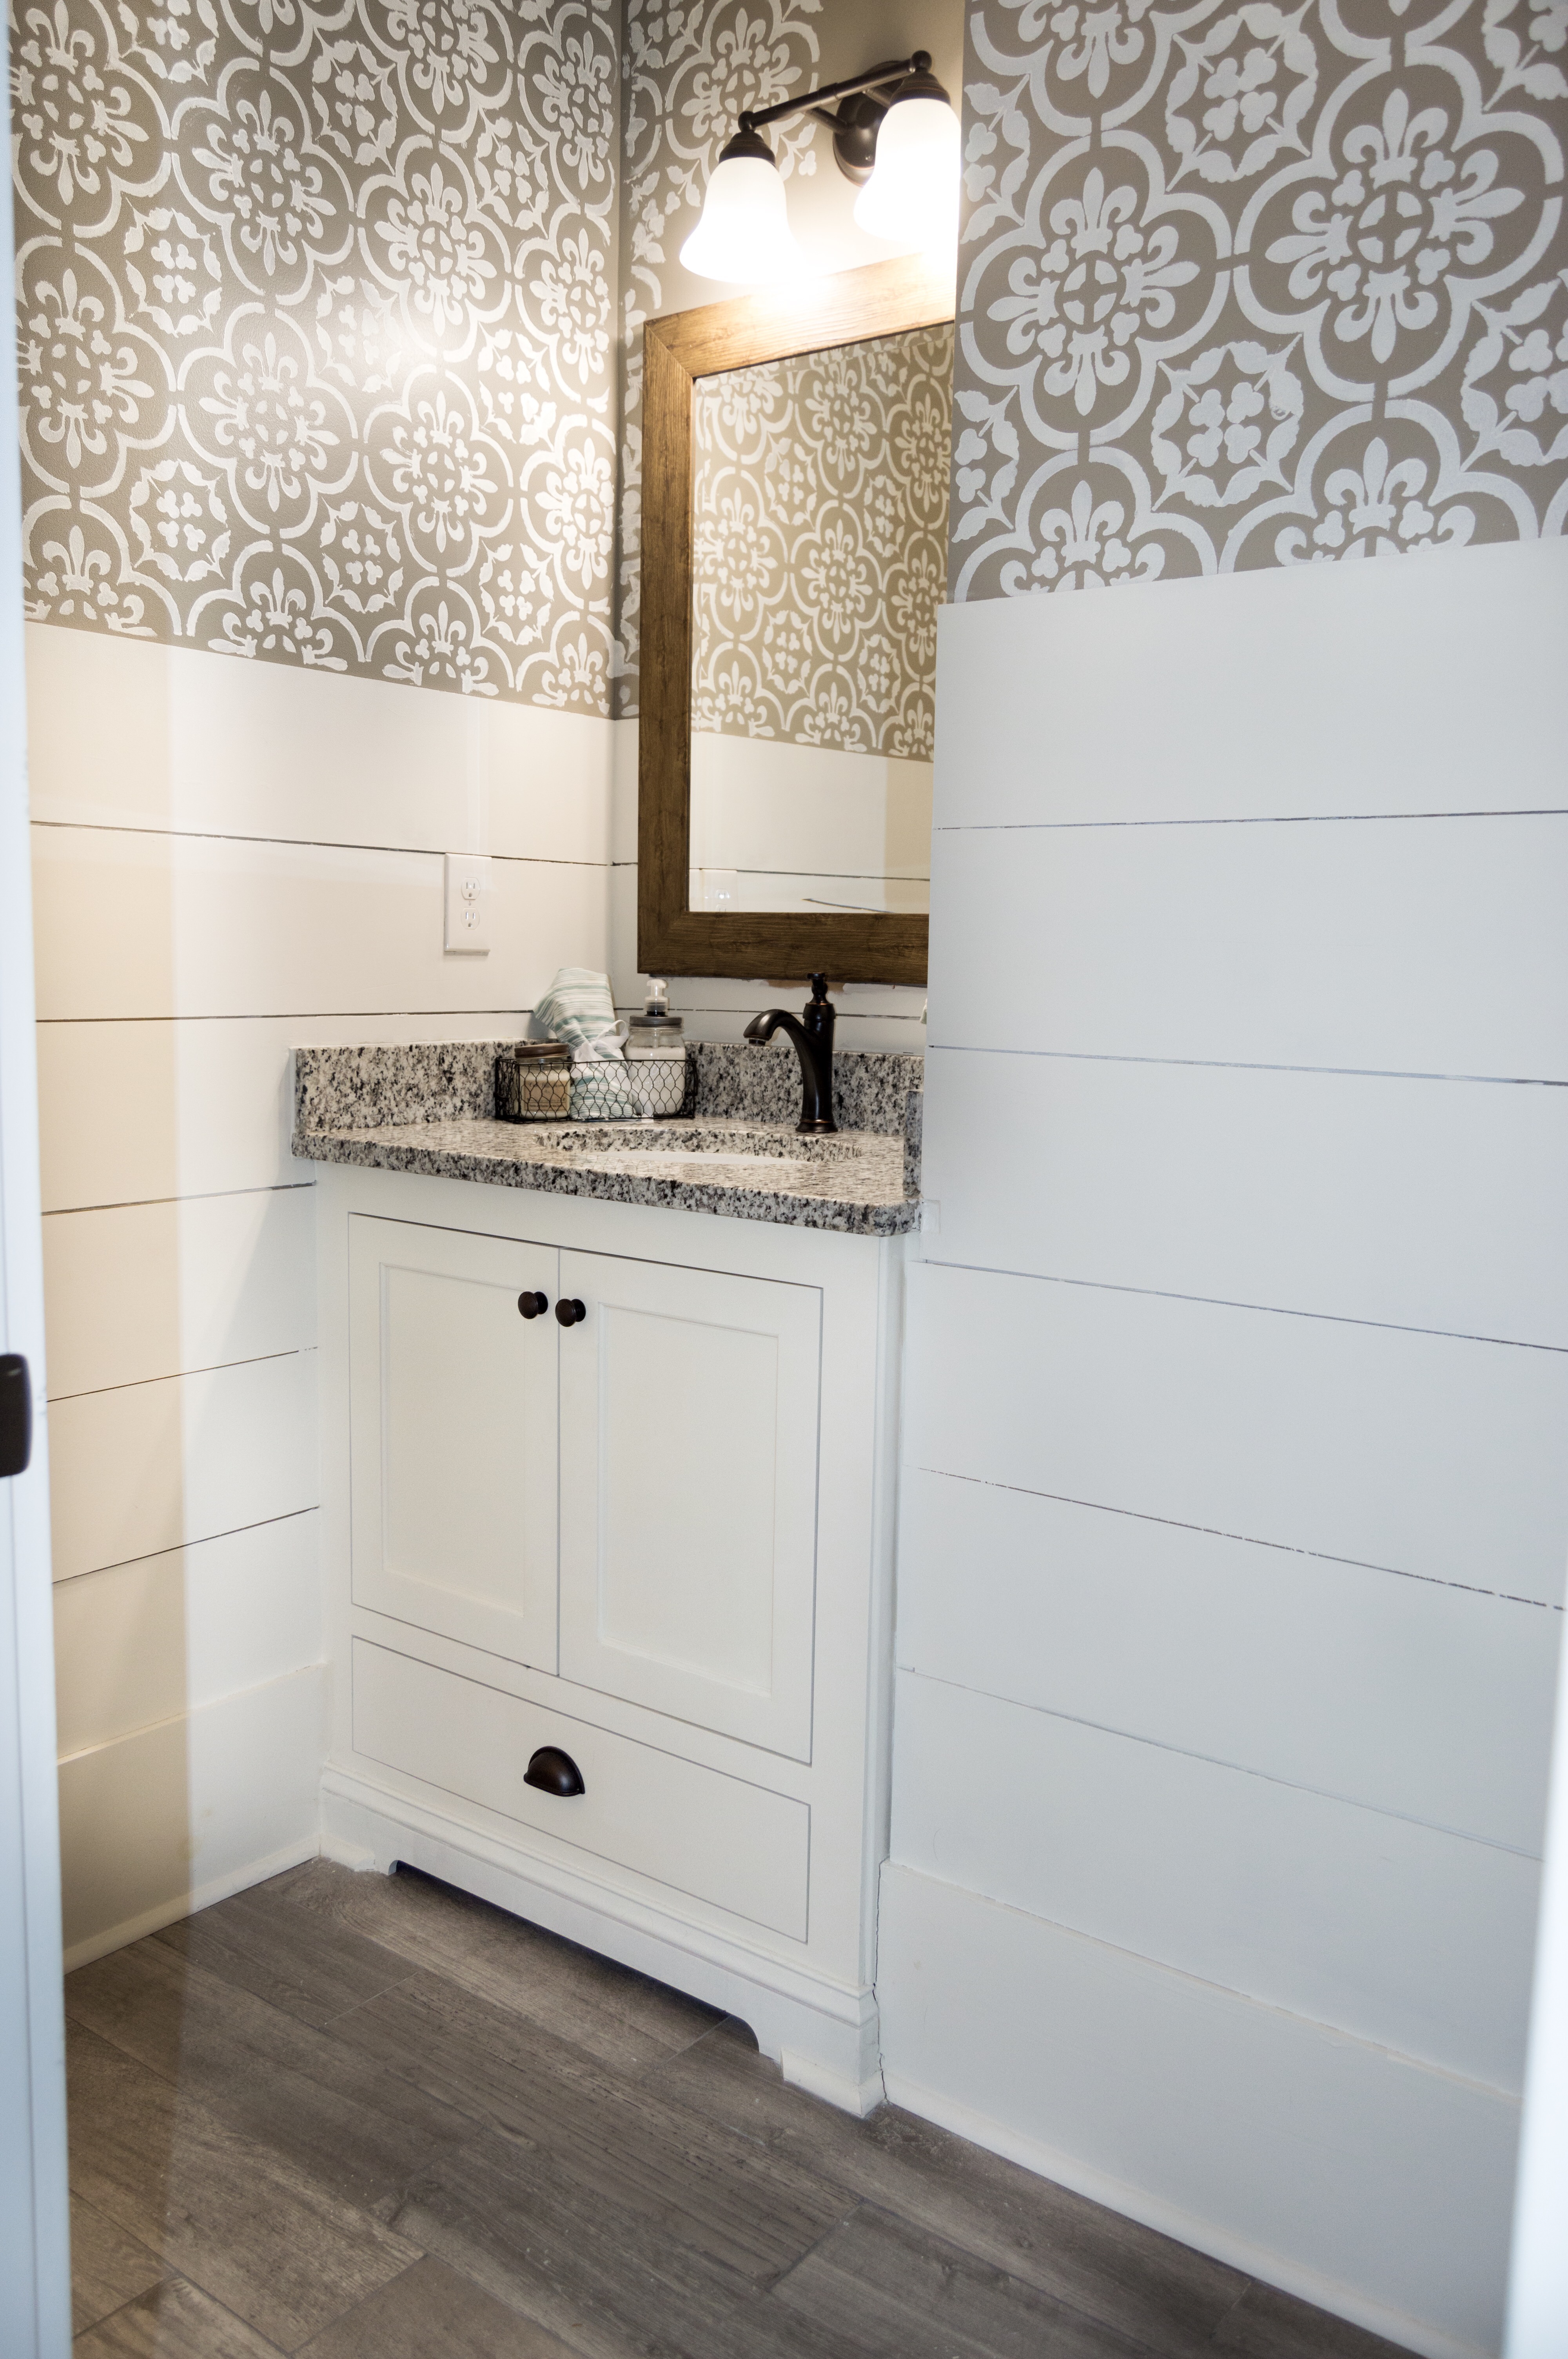
Once I finally got my shiplap done I painted it using Sherwin Williams Alabaster.
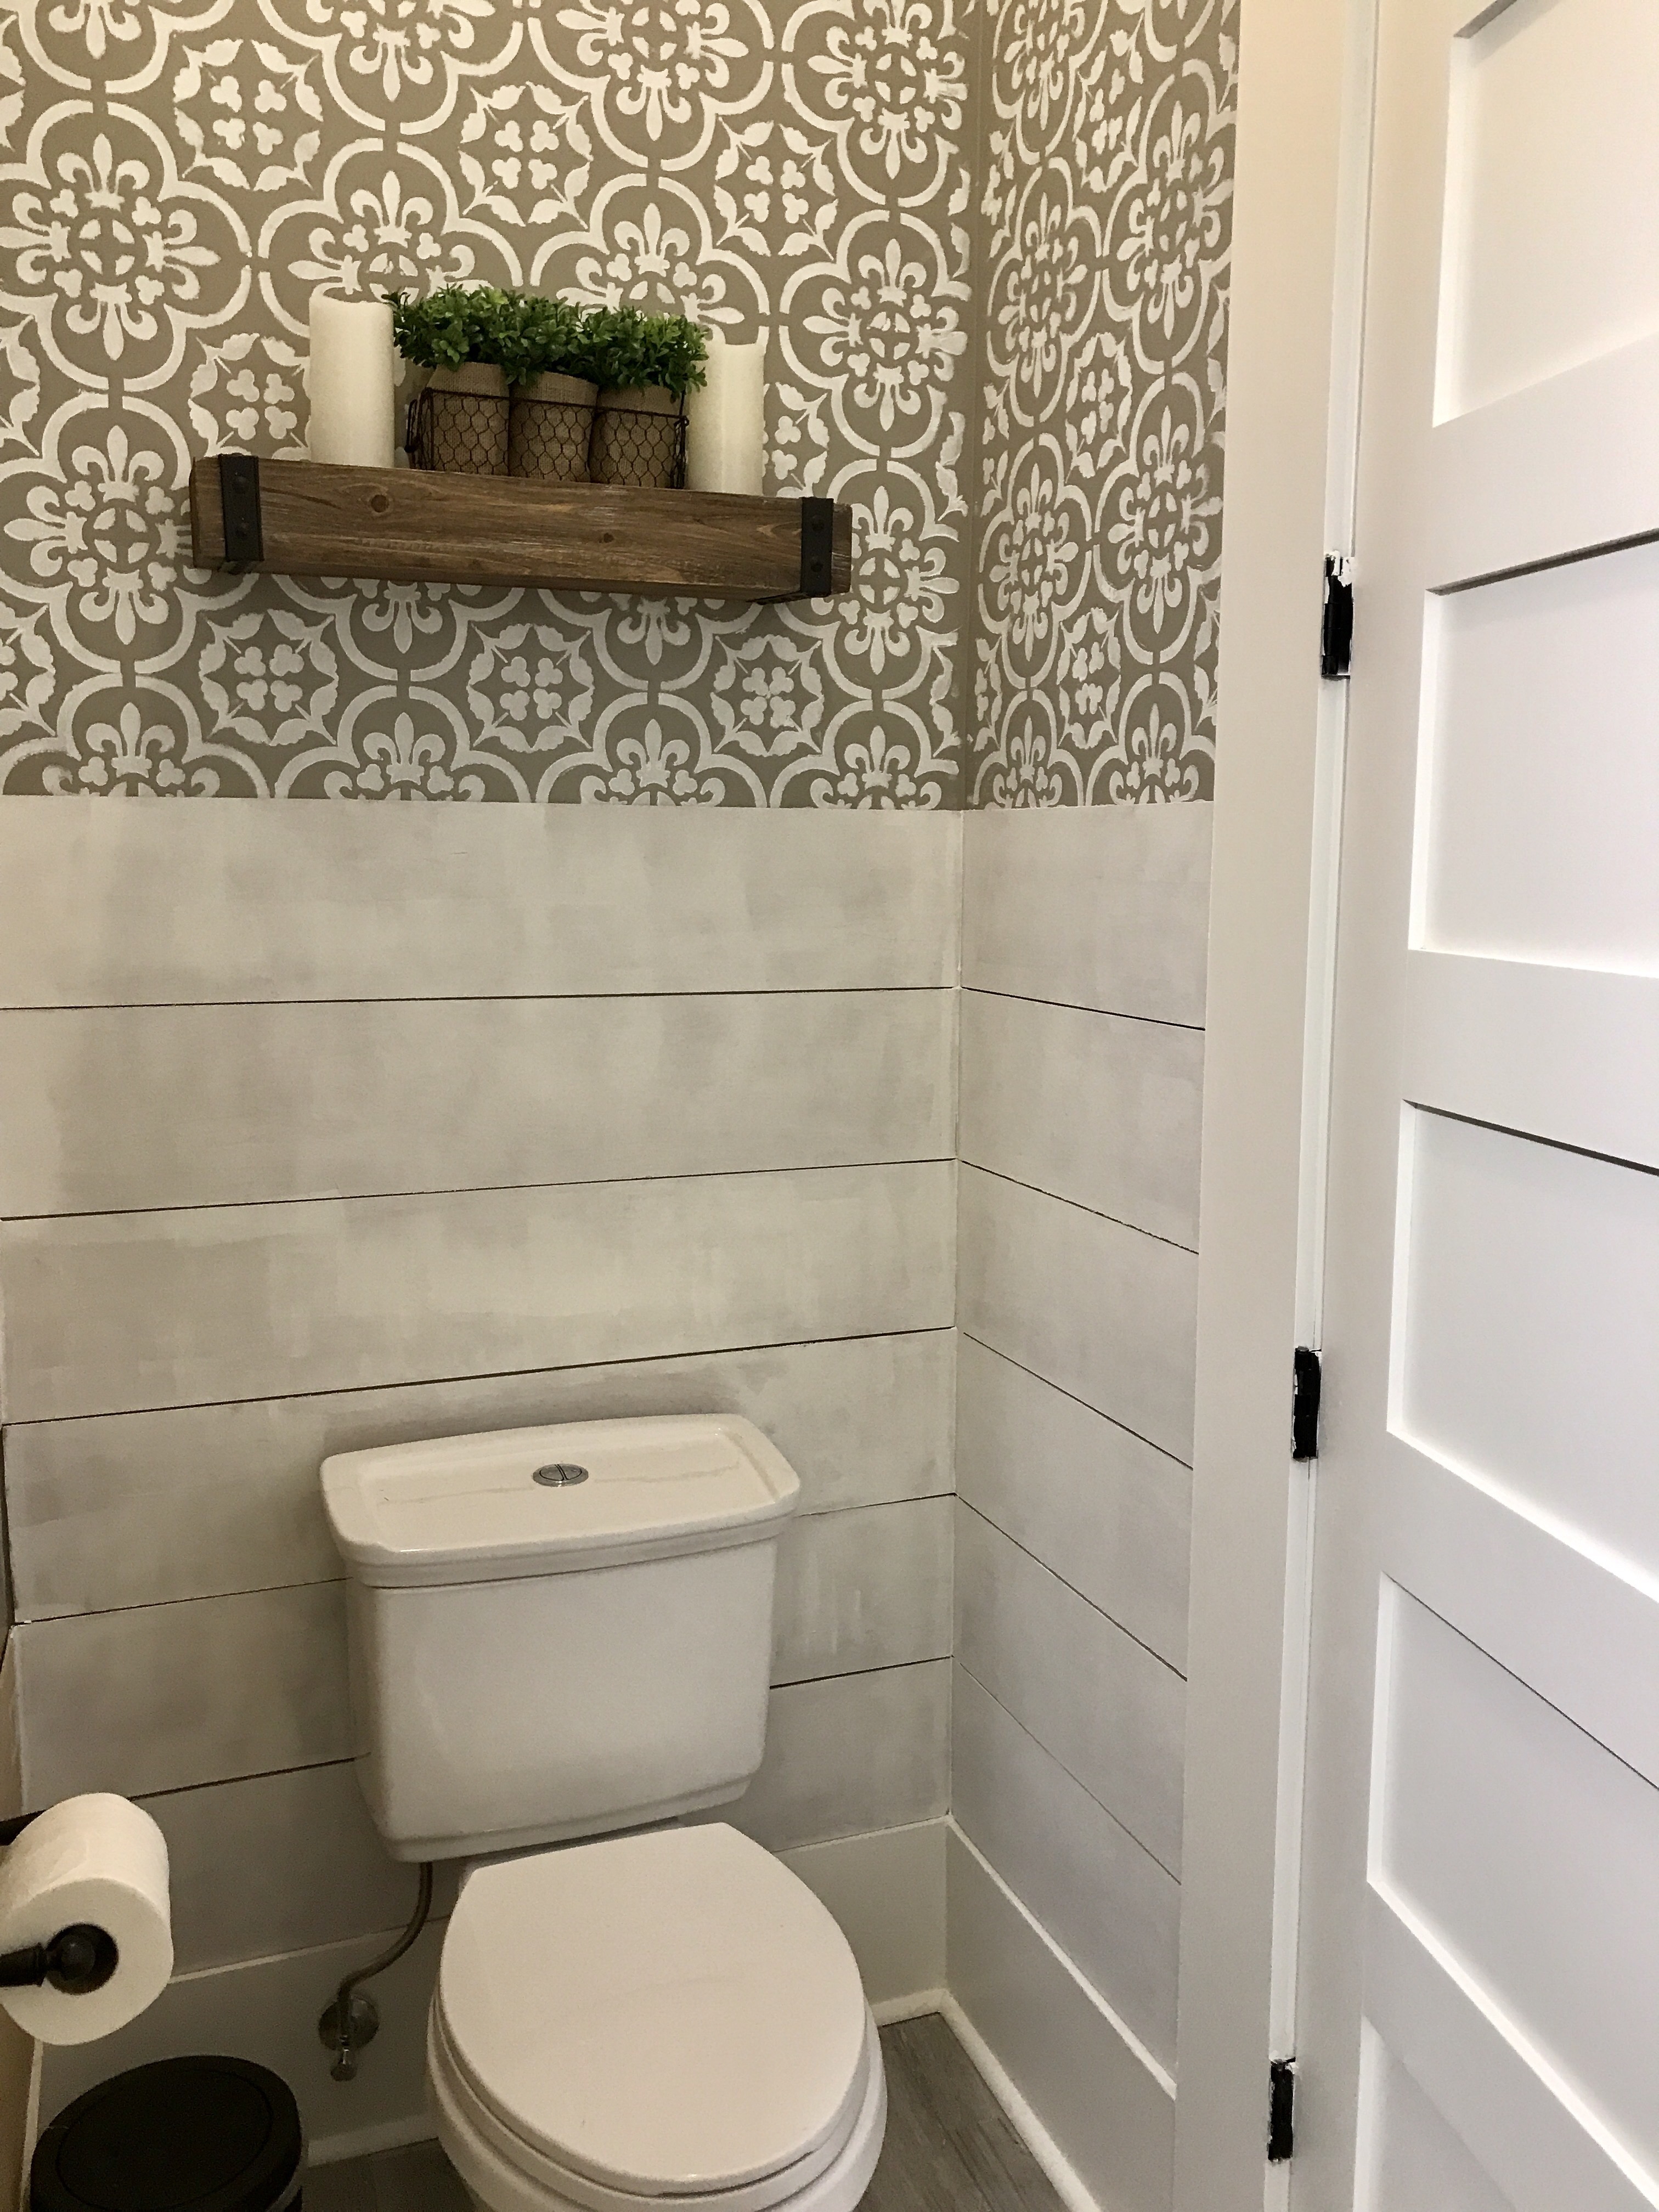
I still want to add some trim to the top of my shiplap and obviously finish the stencil. So long as you don’t look up all the way the bathroom looks great! 😉


Do you remember if you used the Med. sized stencil(7.1in x 7.1in) or the large (10in x 10 in)? I just want to make sure I order the right sized stencil:) The bathroom is beautiful!
I got the large! Thank you!!